Garden stakes do more than mark your plants. They add personality to your outdoor space while keeping things organized.
I’ve made dozens of DIY garden stakes over the years, and they work beautifully for any skill level.
This guide covers simple projects using items you probably have at home. You’ll learn how to create both functional markers and decorative pieces that stand up to the weather. Each project takes under an hour.
I’ll show you eleven different styles from beaded stakes to painted spoons. If you’re labeling tomatoes or adding charm to your flower beds, these DIY garden stakes will help you craft markers that actually last.
Let’s get started.
Why Make Your Own DIY Garden Stakes?
Making your own garden stakes lets you express your style. You choose the colors, shapes, and designs that match your space.
It saves money too. Store-bought markers can be expensive. DIY versions cost pennies and work just as well.
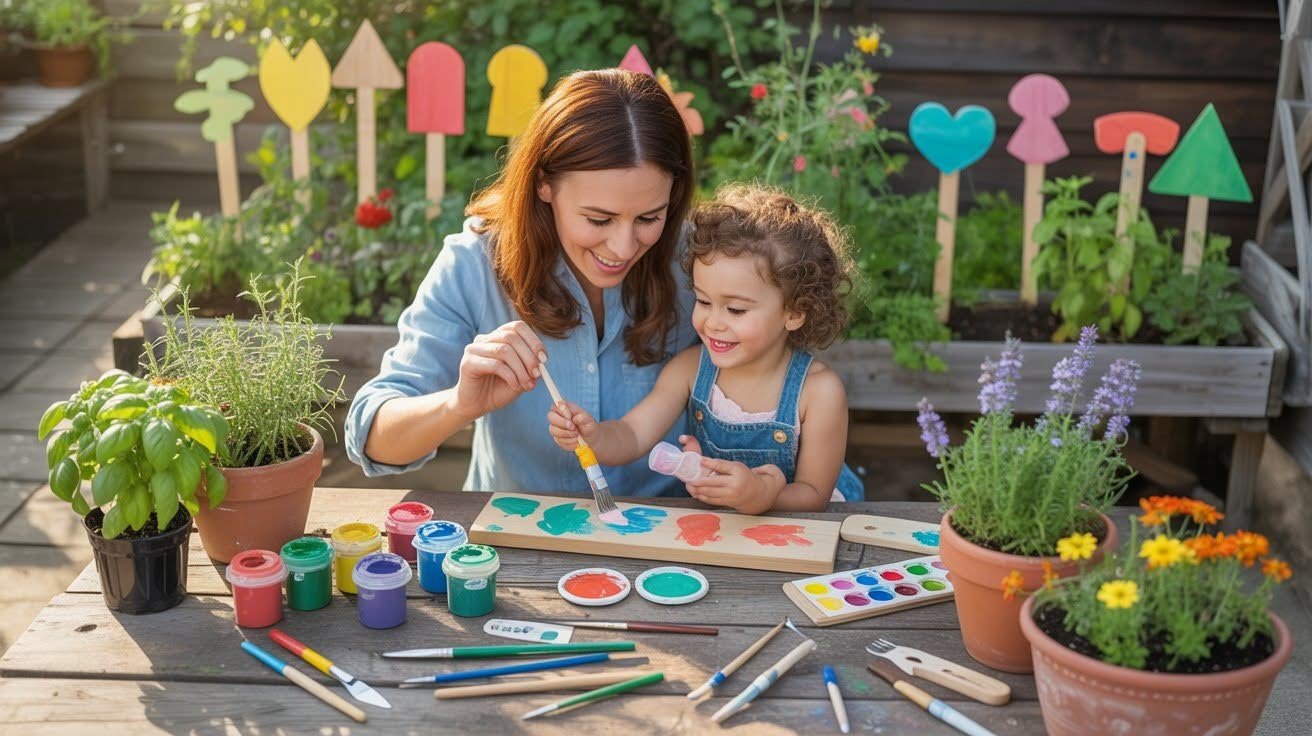
These projects make great weekend activities for families. Kids love painting and decorating their own plant markers.
You can customize everything. Match your garden’s theme or create something totally unique.
Materials You Might Need
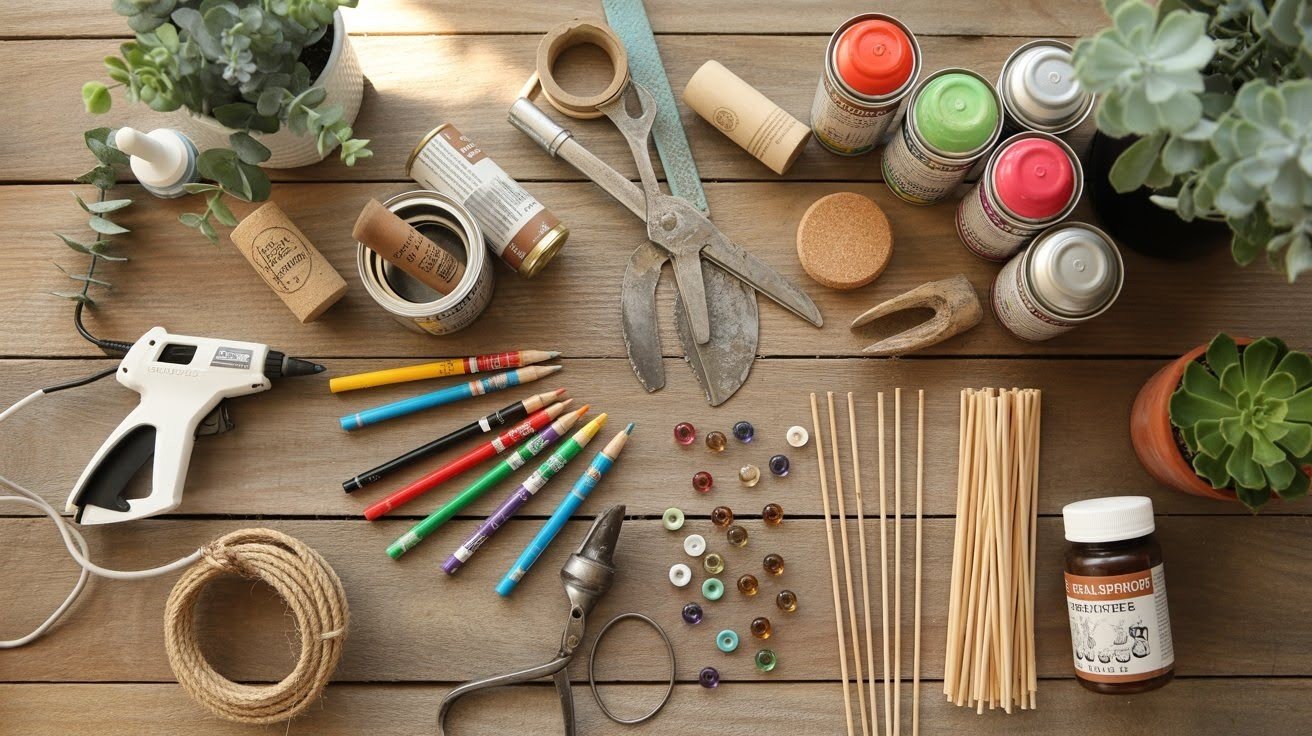
Most projects use basic supplies you already own. A glue gun helps attach pieces securely. Spray paint adds color fast.
Markers and paint pens work for writing plant names. Beads and string create decorative touches.
You’ll need wire cutters for some projects. Wood sticks, dowels, or skewers serve as the main stakes.
Recycled items like spoons, corks, and jar lids work perfectly. This keeps costs down and helps the planet.
Consider adding weatherproof sealant. It protects your finished stakes from rain and sun damage.
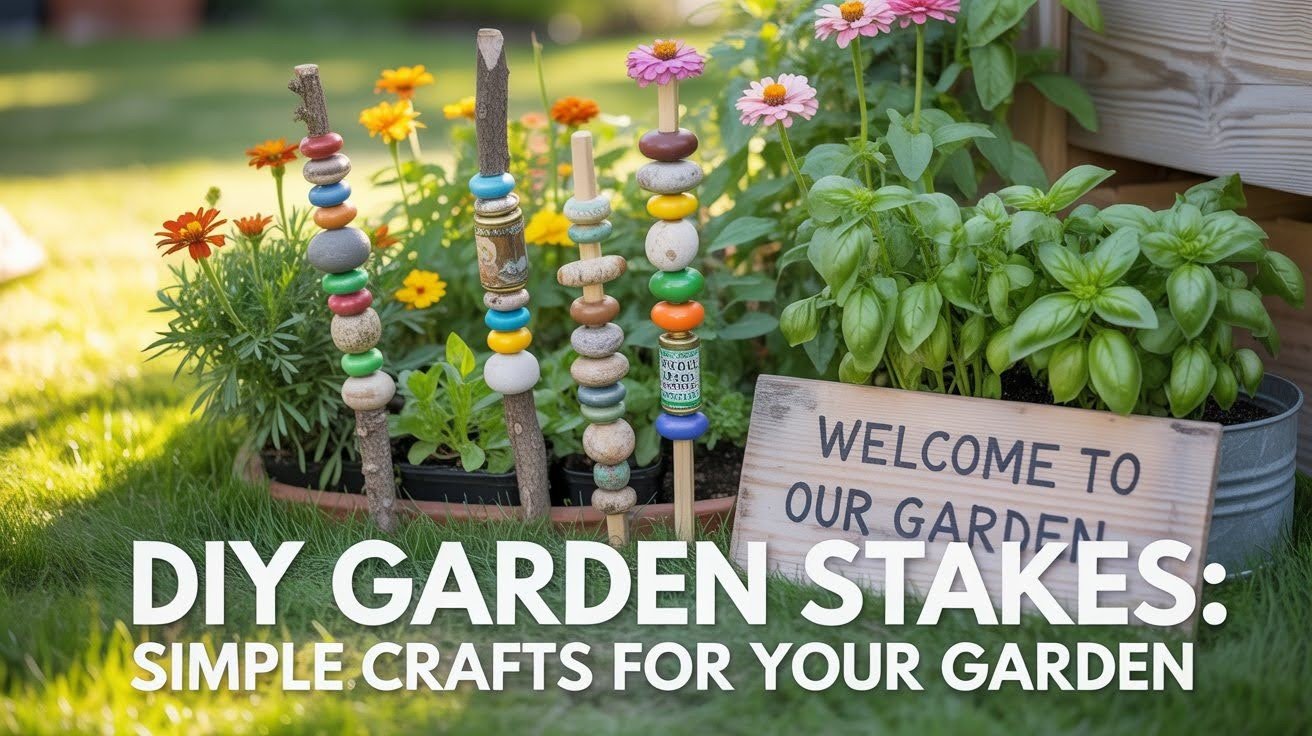
11 Easy DIY Garden Stake Ideas
Here are simple projects that bring both style and function to your outdoor space.
1. Beaded Garden Stakes
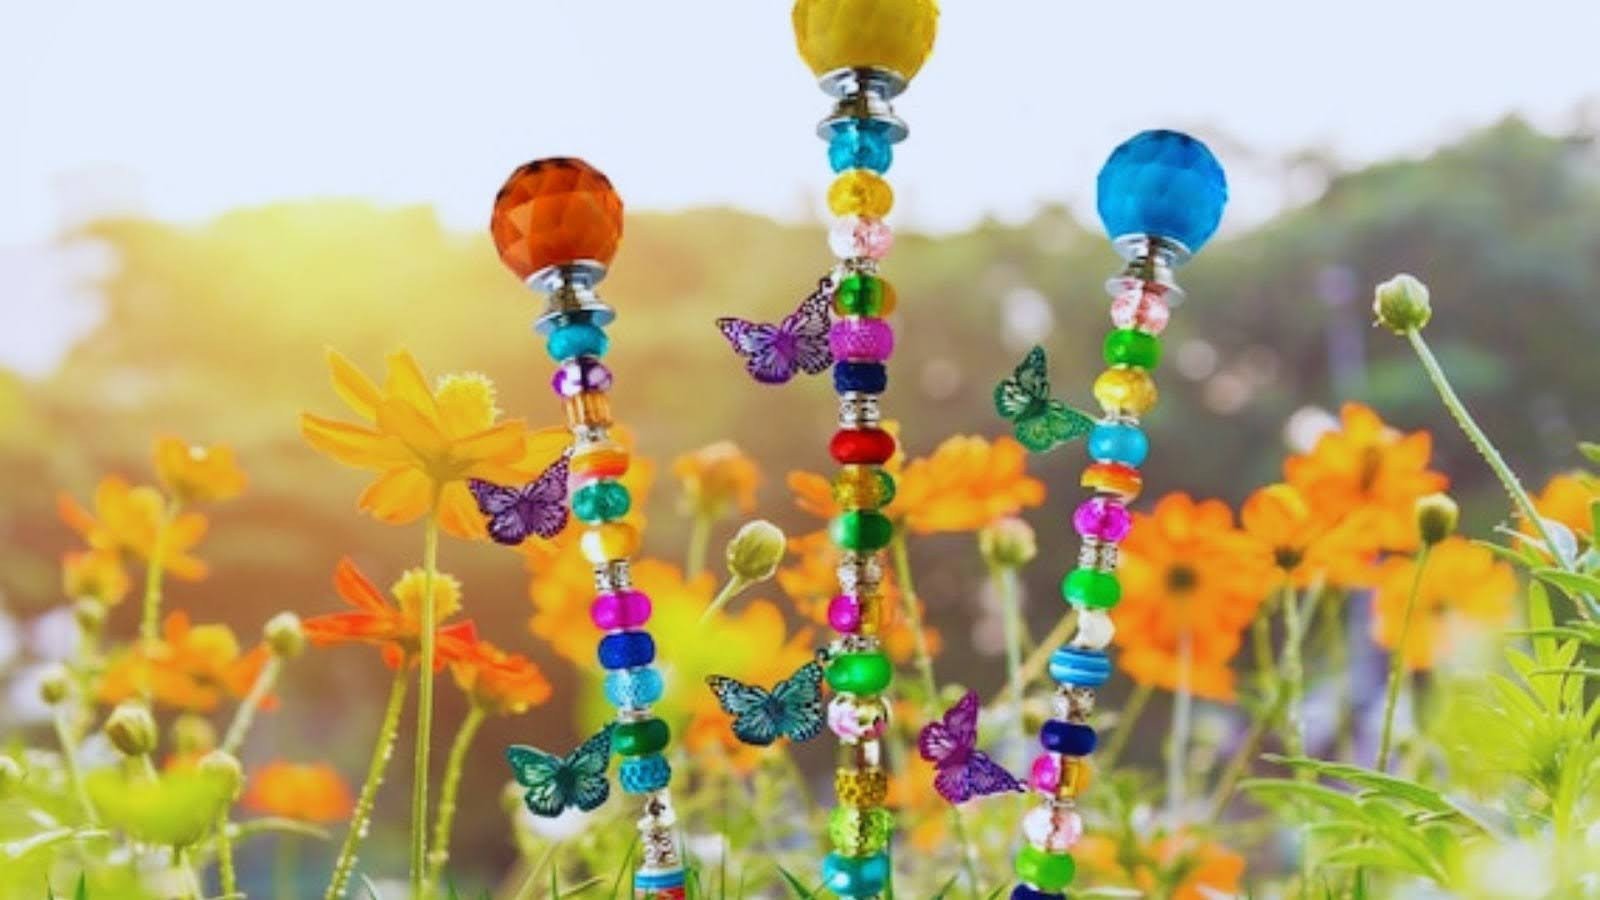
Thread colorful glass or wooden beads onto coated wire stakes. This creates a bright, eye-catching marker.
Start at the bottom and thread beads upward. Add a decorative knob or cap at the top. Push the stake firmly into your soil.
Mix different bead colors and sizes. The variety catches sunlight beautifully and adds a whimsical touch to any garden bed.
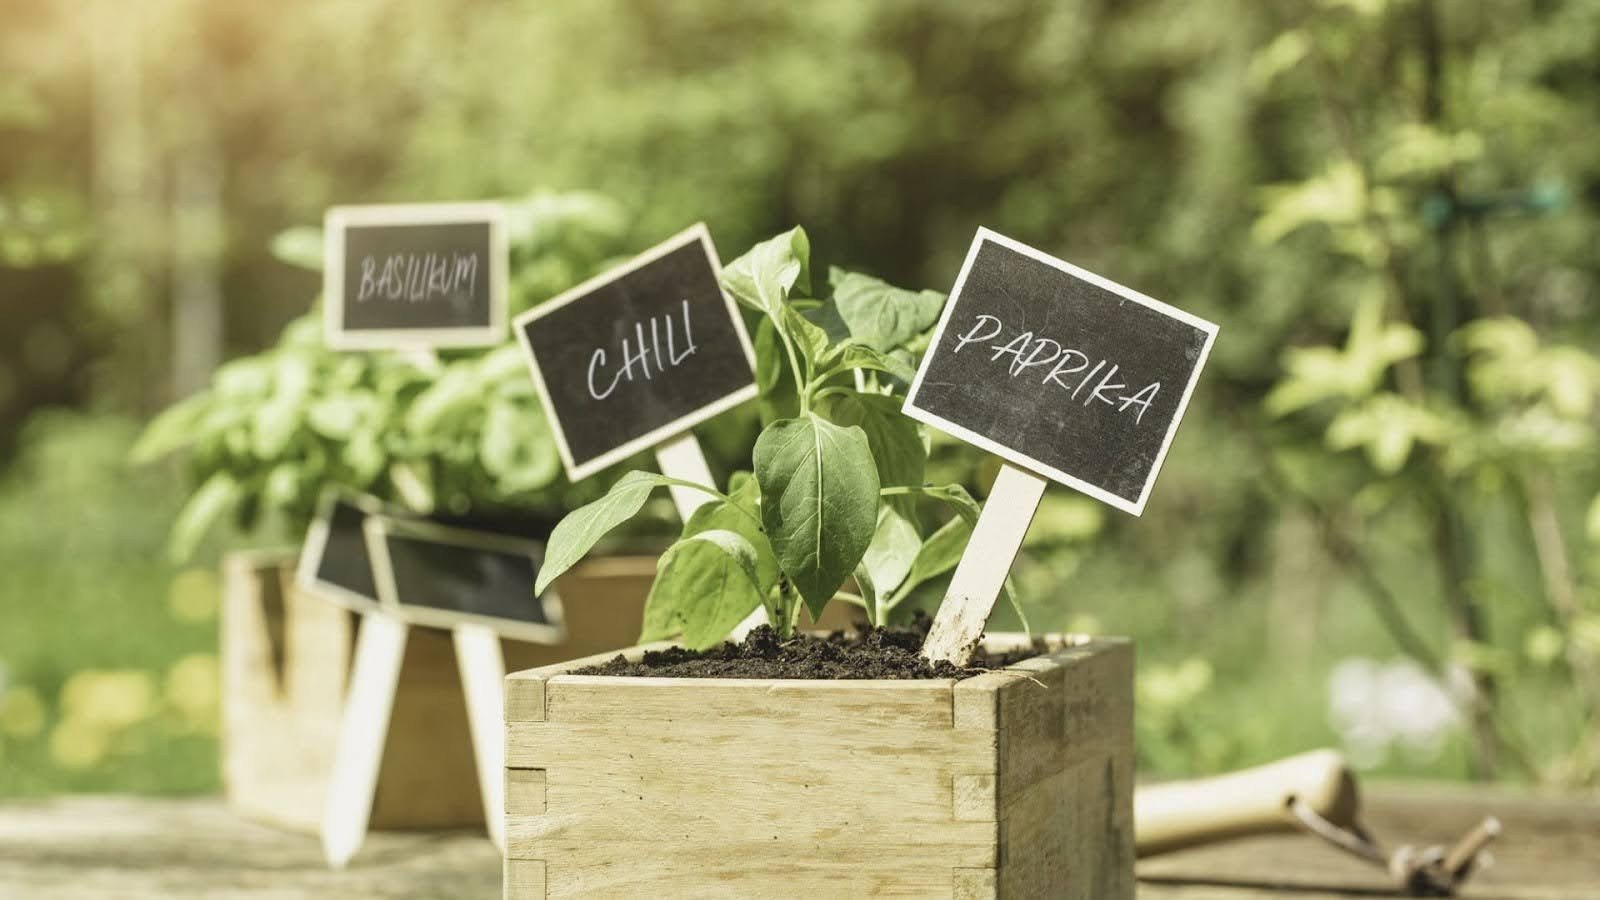
2. Wooden Spoon Garden Markers
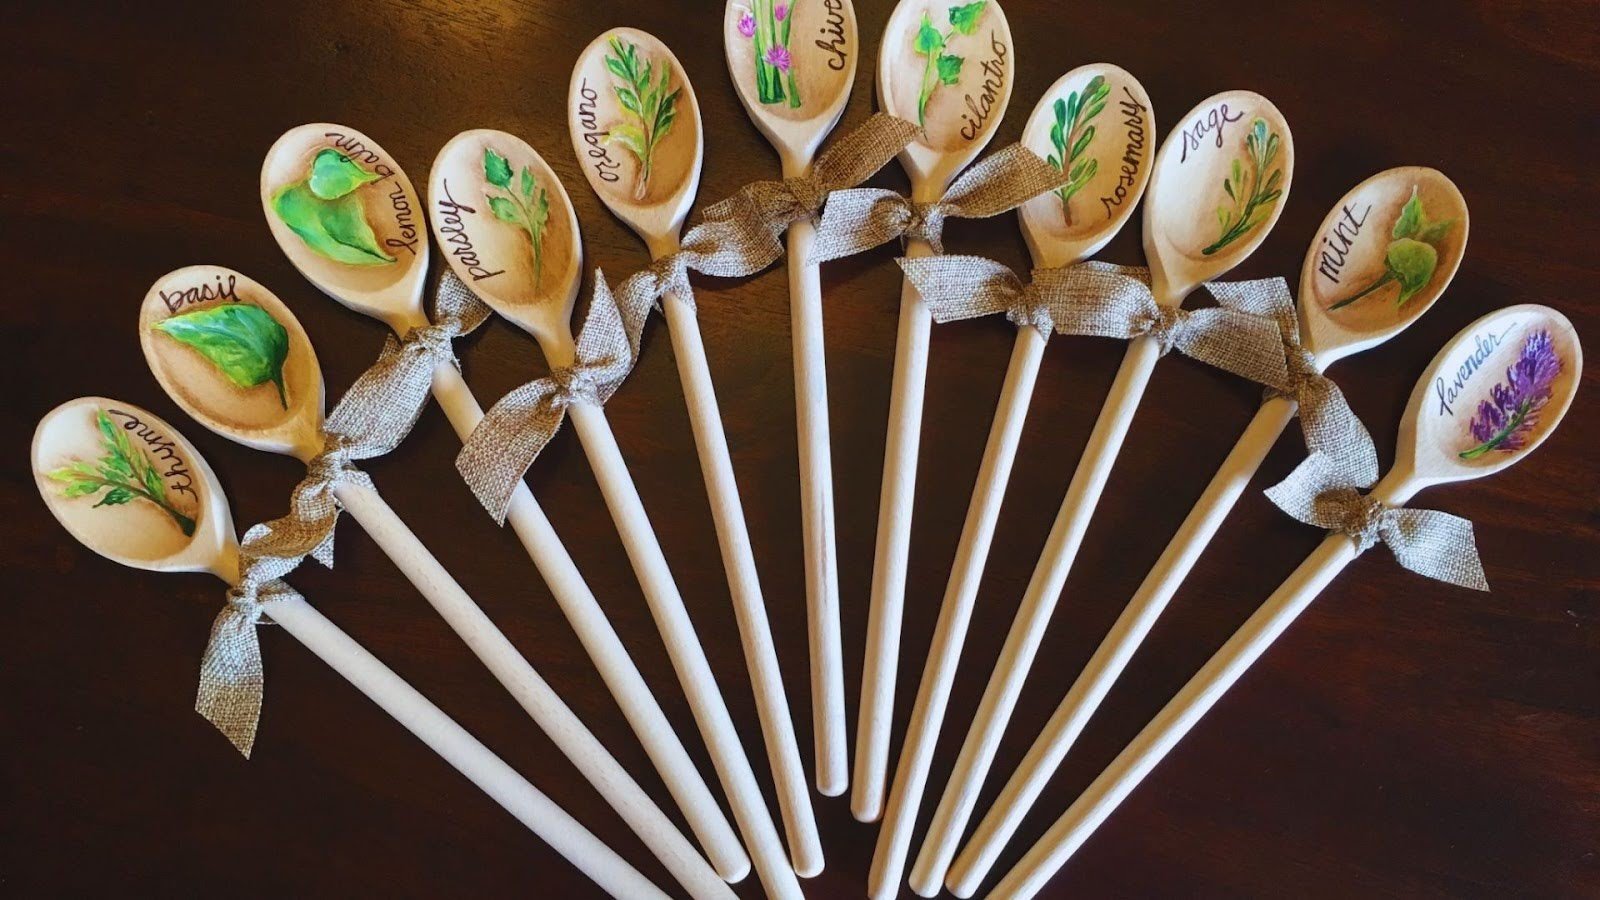
Old wooden spoons get a second life as plant markers. This works especially well for herb gardens.
Paint the handle in your favorite color. Let it dry completely. Write the plant name on the spoon part using permanent marker or paint pen.
Ideal for herb gardens and small container plants. The wide spoon surface gives you plenty of room to write clear labels.
3. Upcycled Mason Jar Lid Stakes
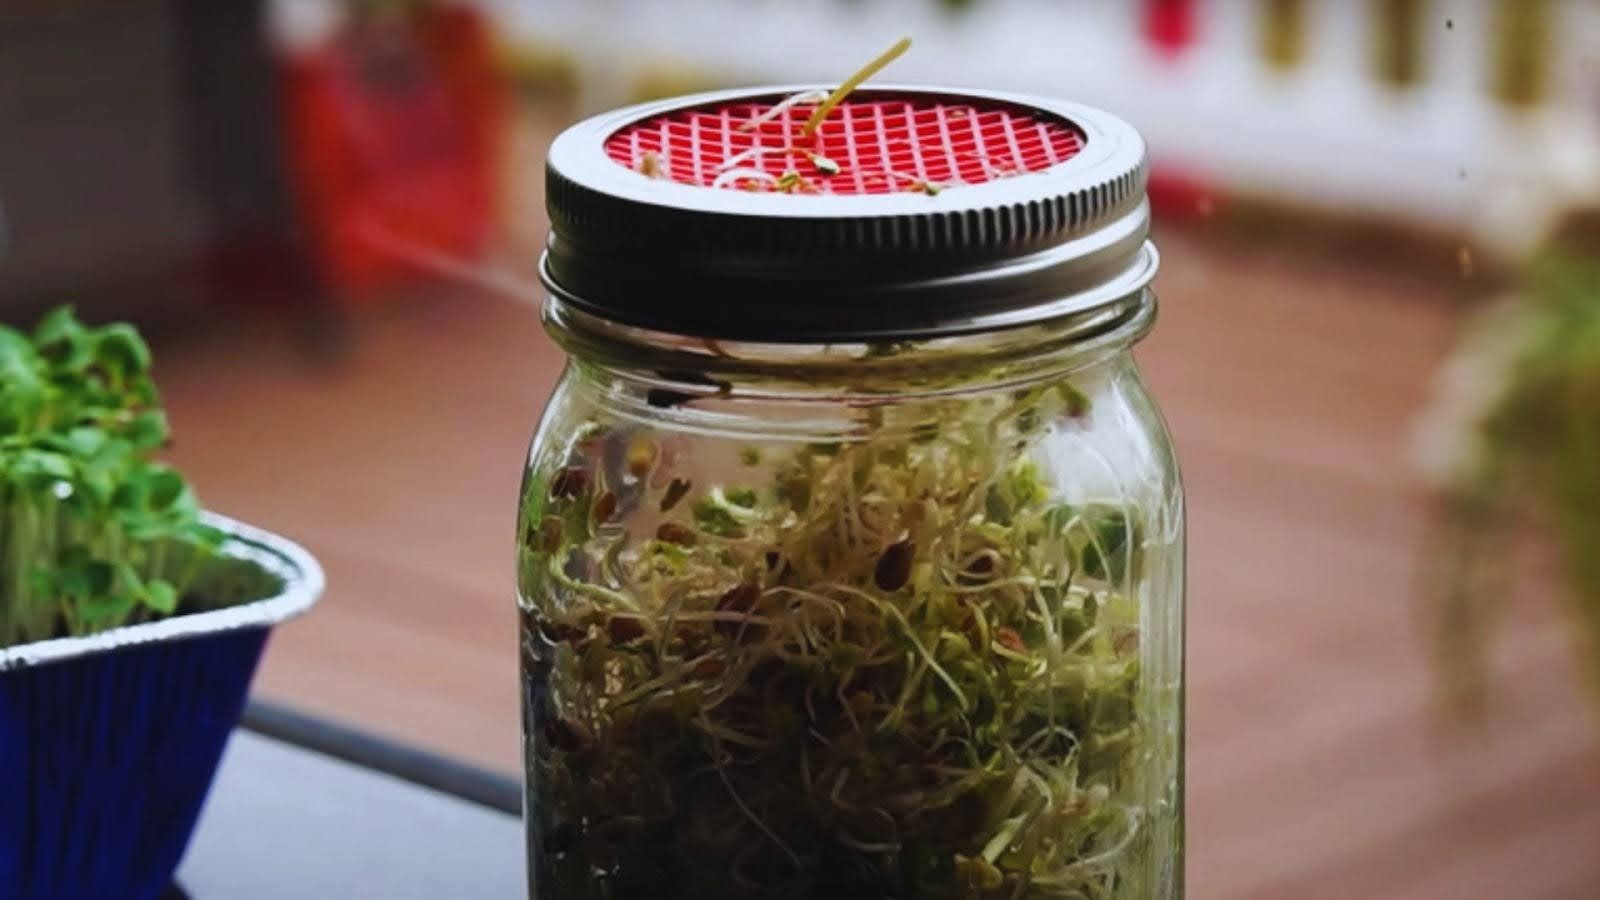
Attach mason jar lids to thin metal rods using strong glue or wire. The flat surface is perfect for labels.
Decorate with paint or stickers. Write plant names directly on the lid. You can also insert laminated index cards inside the lid ring.
Laminated cards stay readable even after heavy rain. Switch them out easily when you replant.
4. Wine Cork Garden Stakes
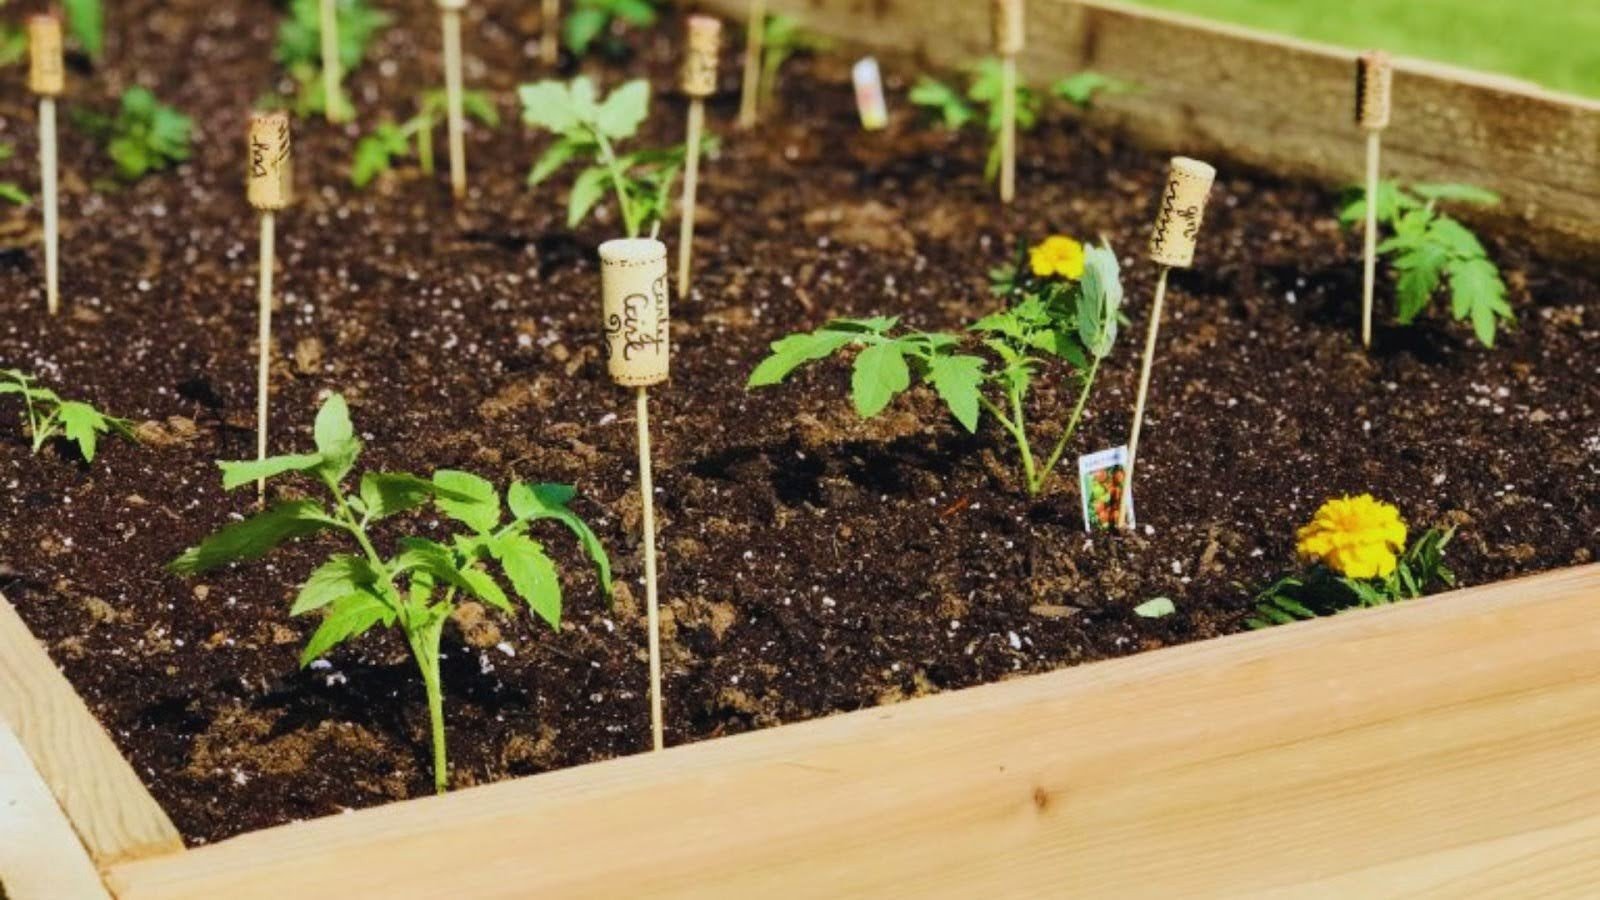
Save your wine corks for this simple project. Write plant names directly on the cork using permanent markers.
Attach corks to bamboo skewers or thin sticks with hot glue. Make sure the connection is secure.
Seal with clear varnish to protect against moisture. This simple step makes them last through multiple growing seasons.
5. Clay Garden Stakes
Shape polymer clay or air-dry clay into flat rectangular labels. Keep them about the size of a large stamp.
Stamp or carve plant names into the clay before it dries. Use letter stamps, a toothpick, or a pencil.
Paint after drying if you want color. Seal everything with outdoor varnish for a rustic, handmade finish that withstands weather.
6. Herb Stone Markers
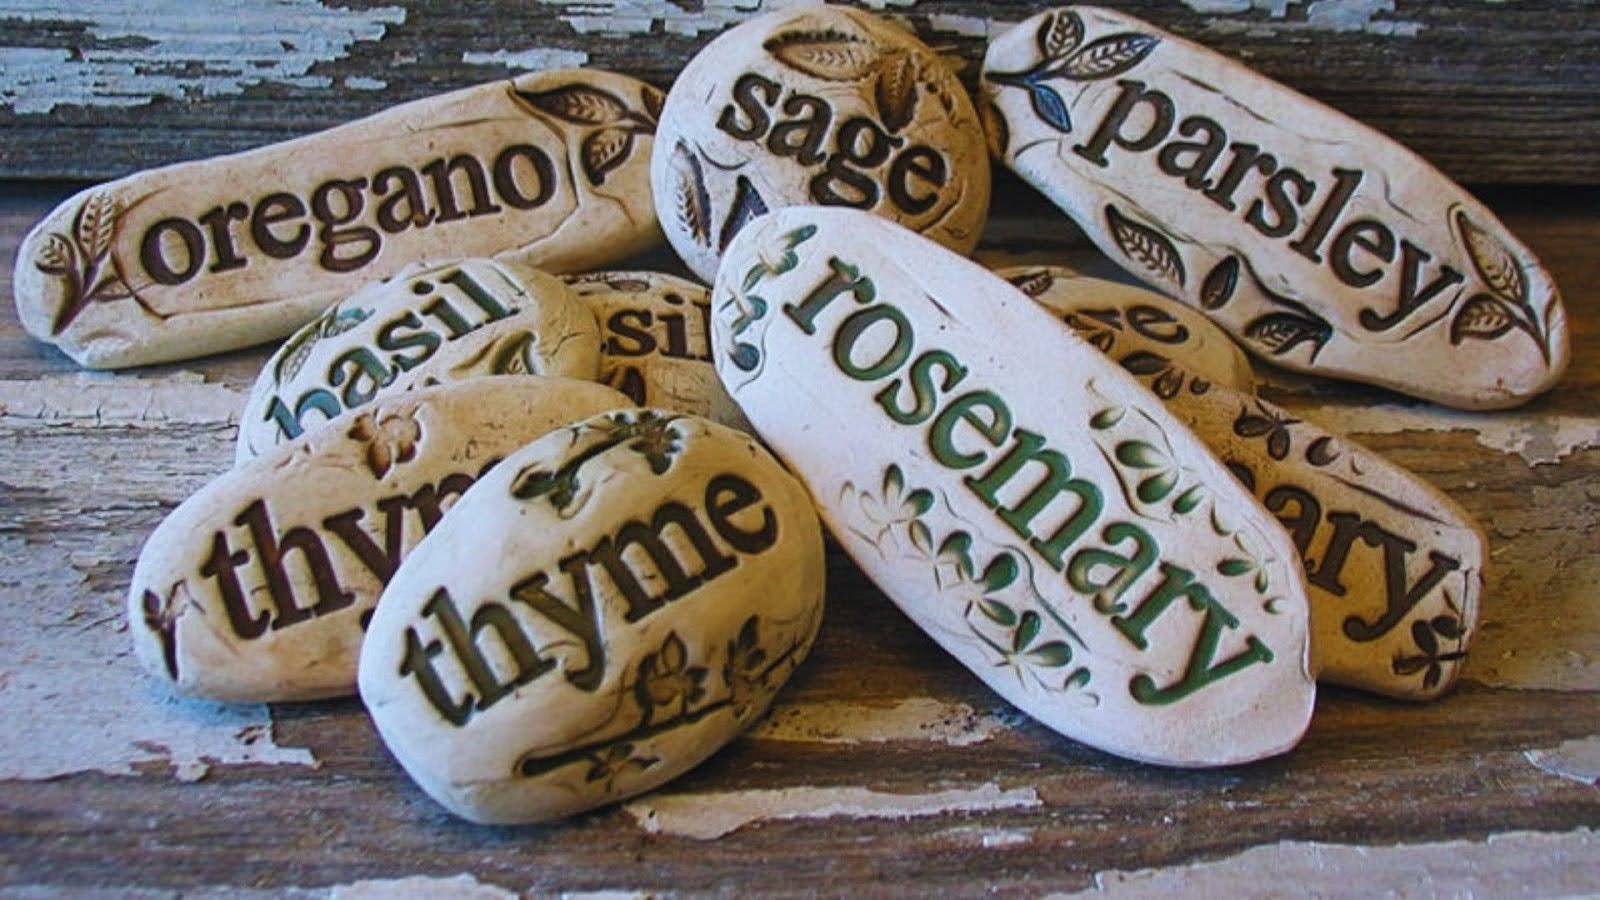
Collect smooth, flat stones from your yard or a craft store. The smoother the surface, the easier to write on.
Paint plant names using acrylic paint or permanent markers. Add small doodles like herb leaves for artistic flair.
Optional: Seal with clear outdoor sealer. These look natural nestled between plants and blend into garden beds beautifully.
7. Tin Can Lid Stakes
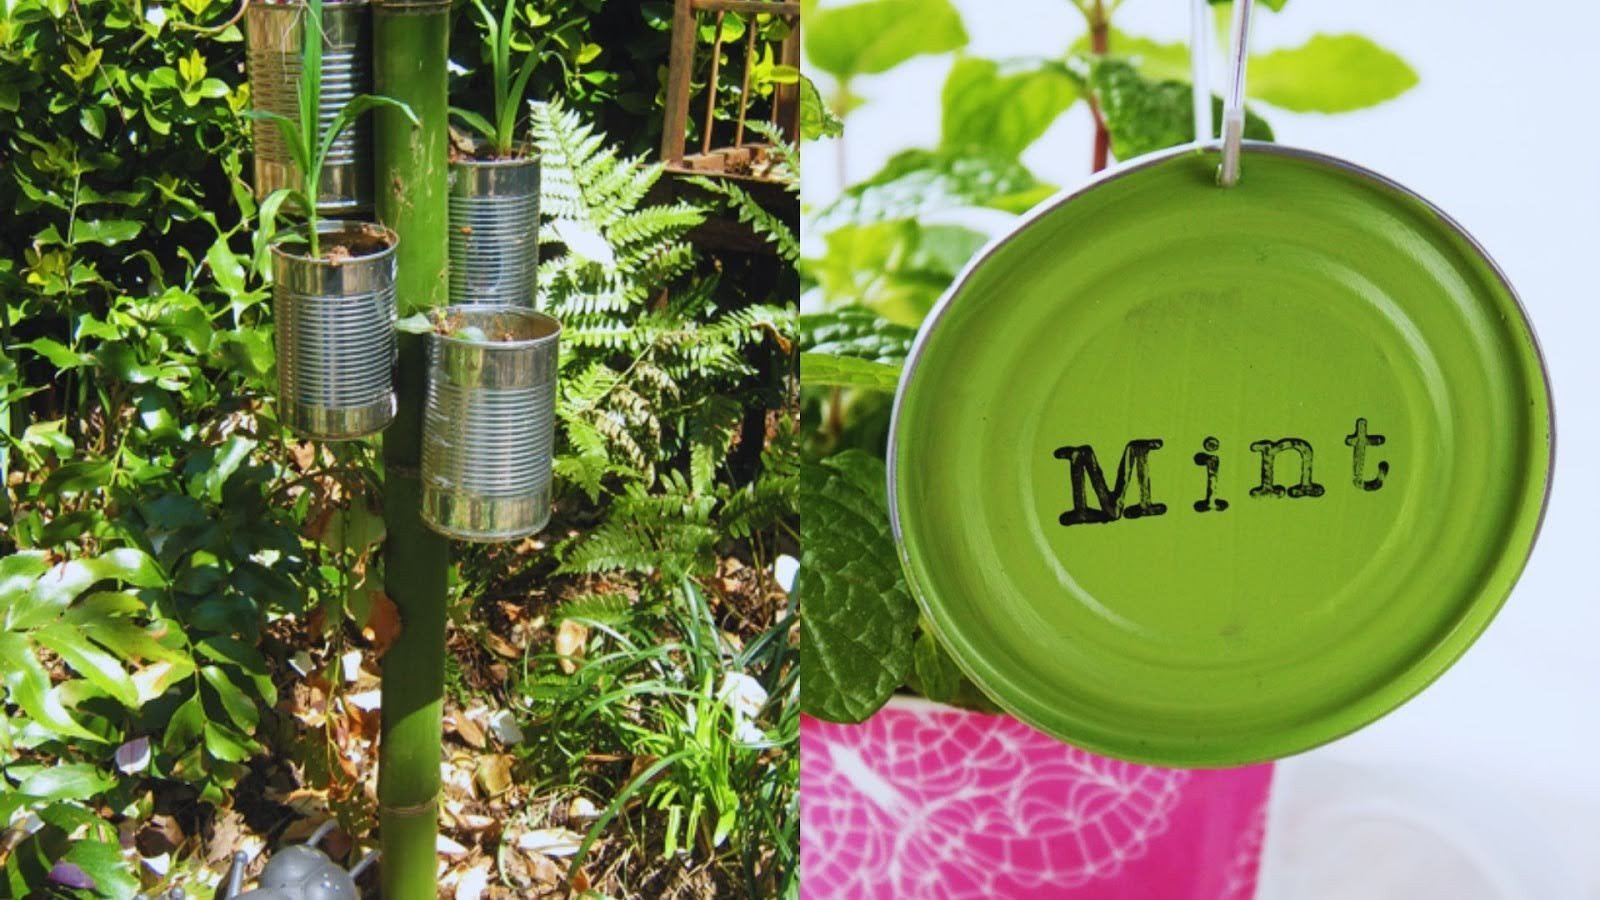
Recycle clean tin can lids by attaching them to wooden dowels or metal rods. This gives you a sturdy, flat labeling surface.
Label with permanent marker or outdoor paint pen. Write clearly so names stay readable.
Add clear sealant on top. This prevents the ink from fading under bright sunlight and protects against rust.
8. Wooden Spool Garden Stakes
Stack empty wooden thread spools on bamboo skewers or thin dowels. Glue them in place as you stack.
Decorate with scrapbook paper wrapped around each spool. Add the plant name on the top spool.
Best for covered areas like patio gardens or indoor herb containers. These stakes do better with some weather protection.
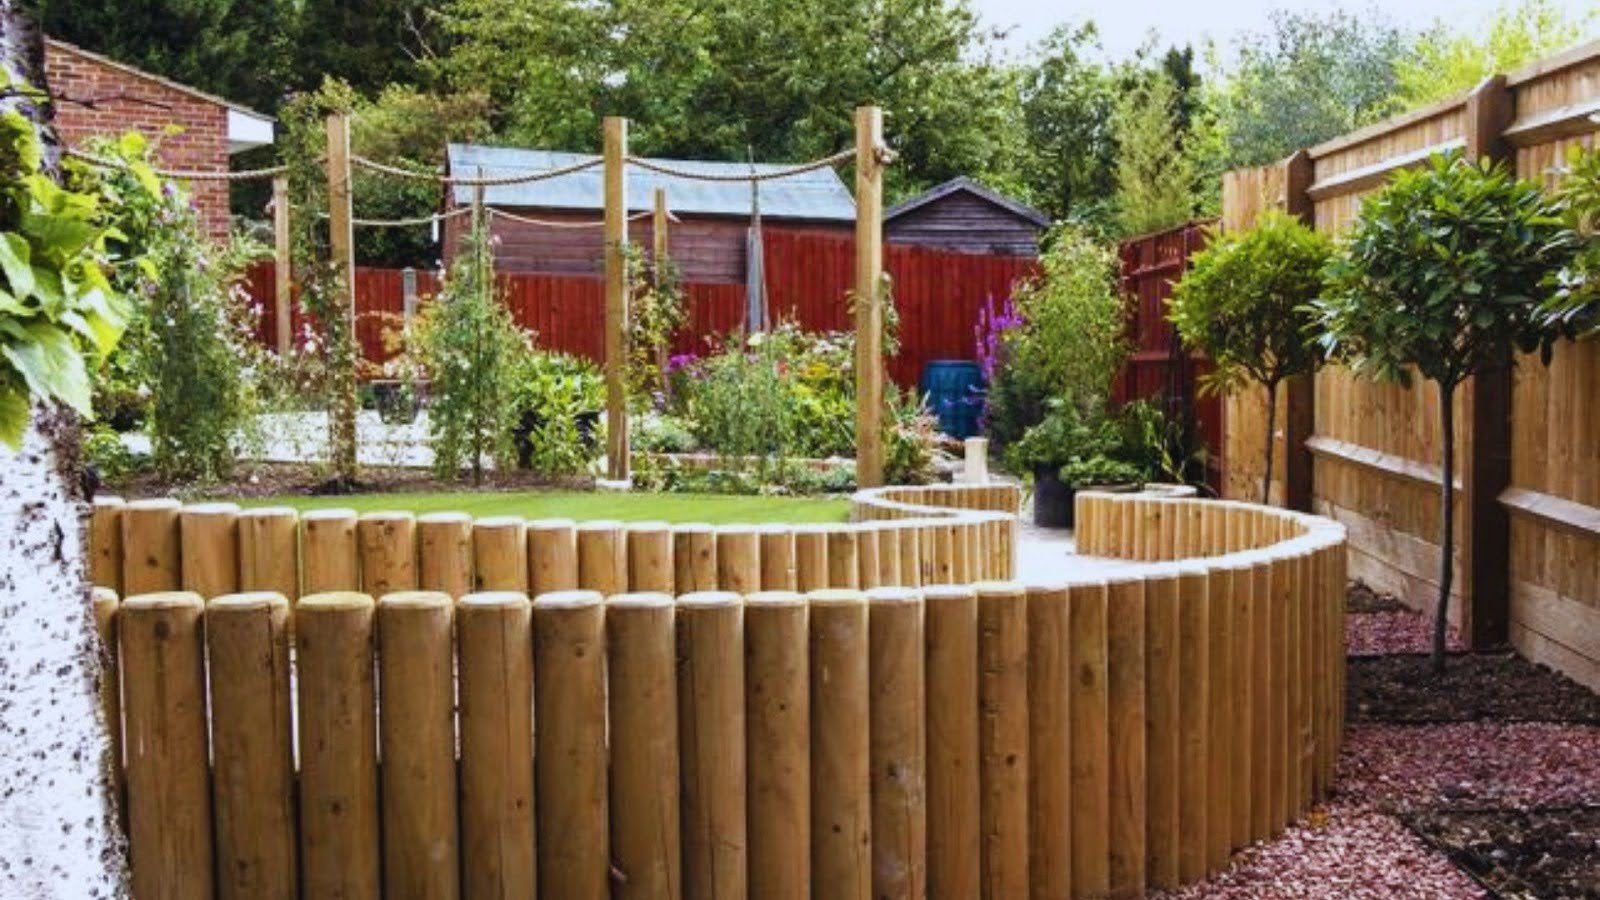
9. Repurposed Branch or Bamboo Stakes
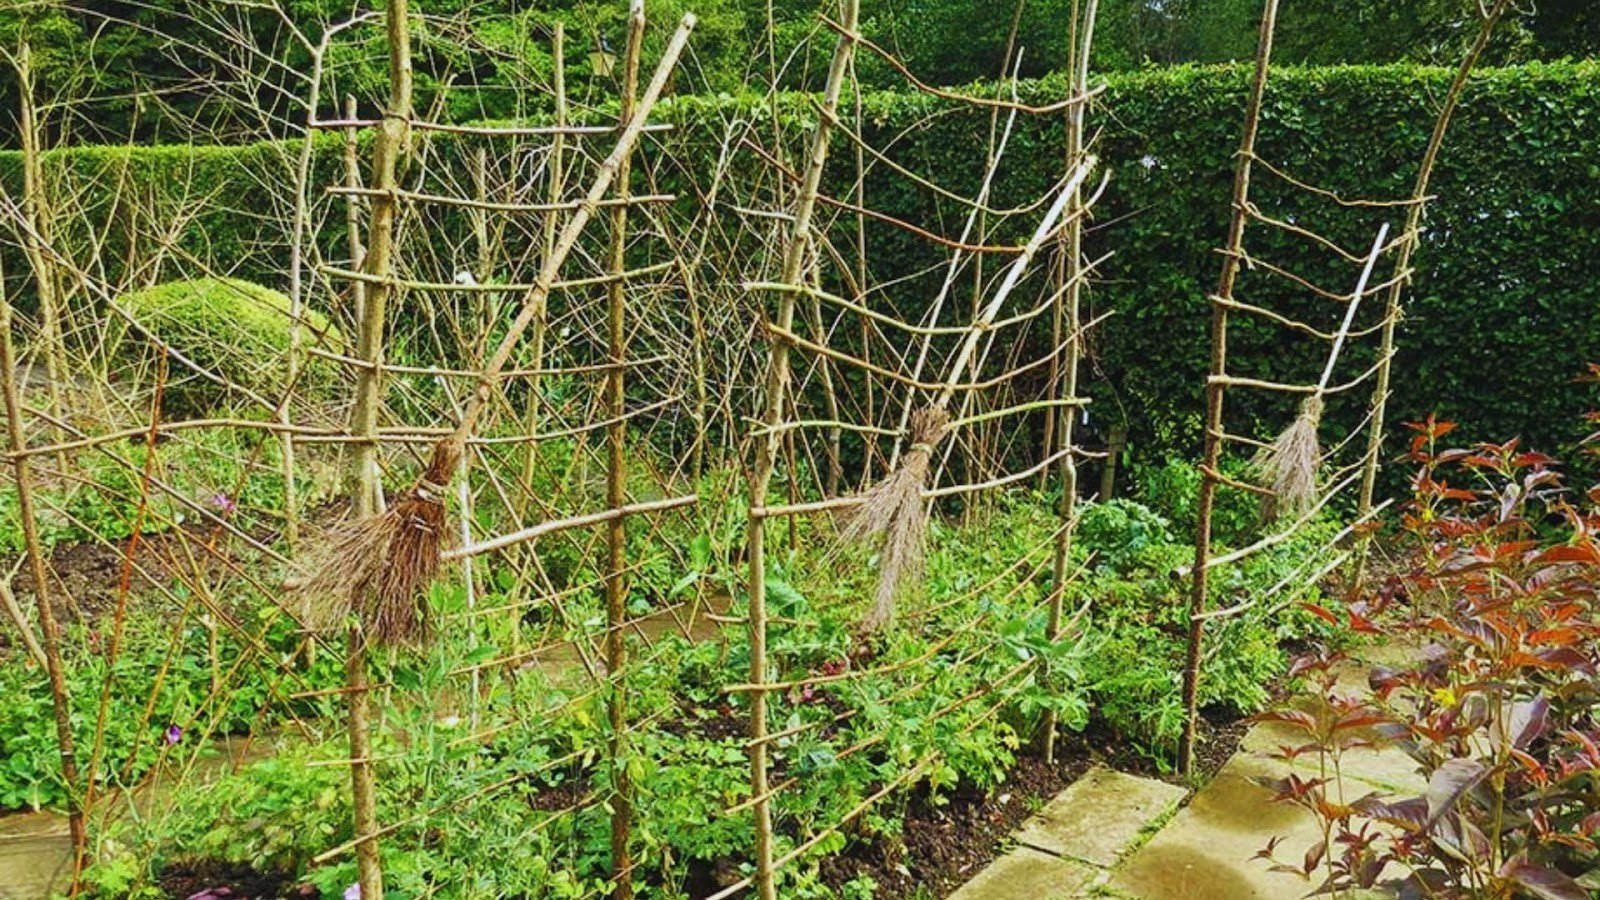
Use sturdy branches, bamboo poles, or old broom handles as plant supports. Cut them to your desired height.
Paint in bright colors for a modern look or leave natural for rustic charm. You can also carve notches or attach small labels.
These work great as both decorative elements and actual plant supports for tomatoes, beans, and climbing flowers.
10. Chalkboard Garden Markers
Paint small wooden plaques or flat wooden sticks with chalkboard paint. Apply two coats for best coverage.
Write plant names using chalk or chalk paint pens. The chalk pens stay more permanent through light rain.
Easy to update when you change plants. Just wipe off the old name and write something new.
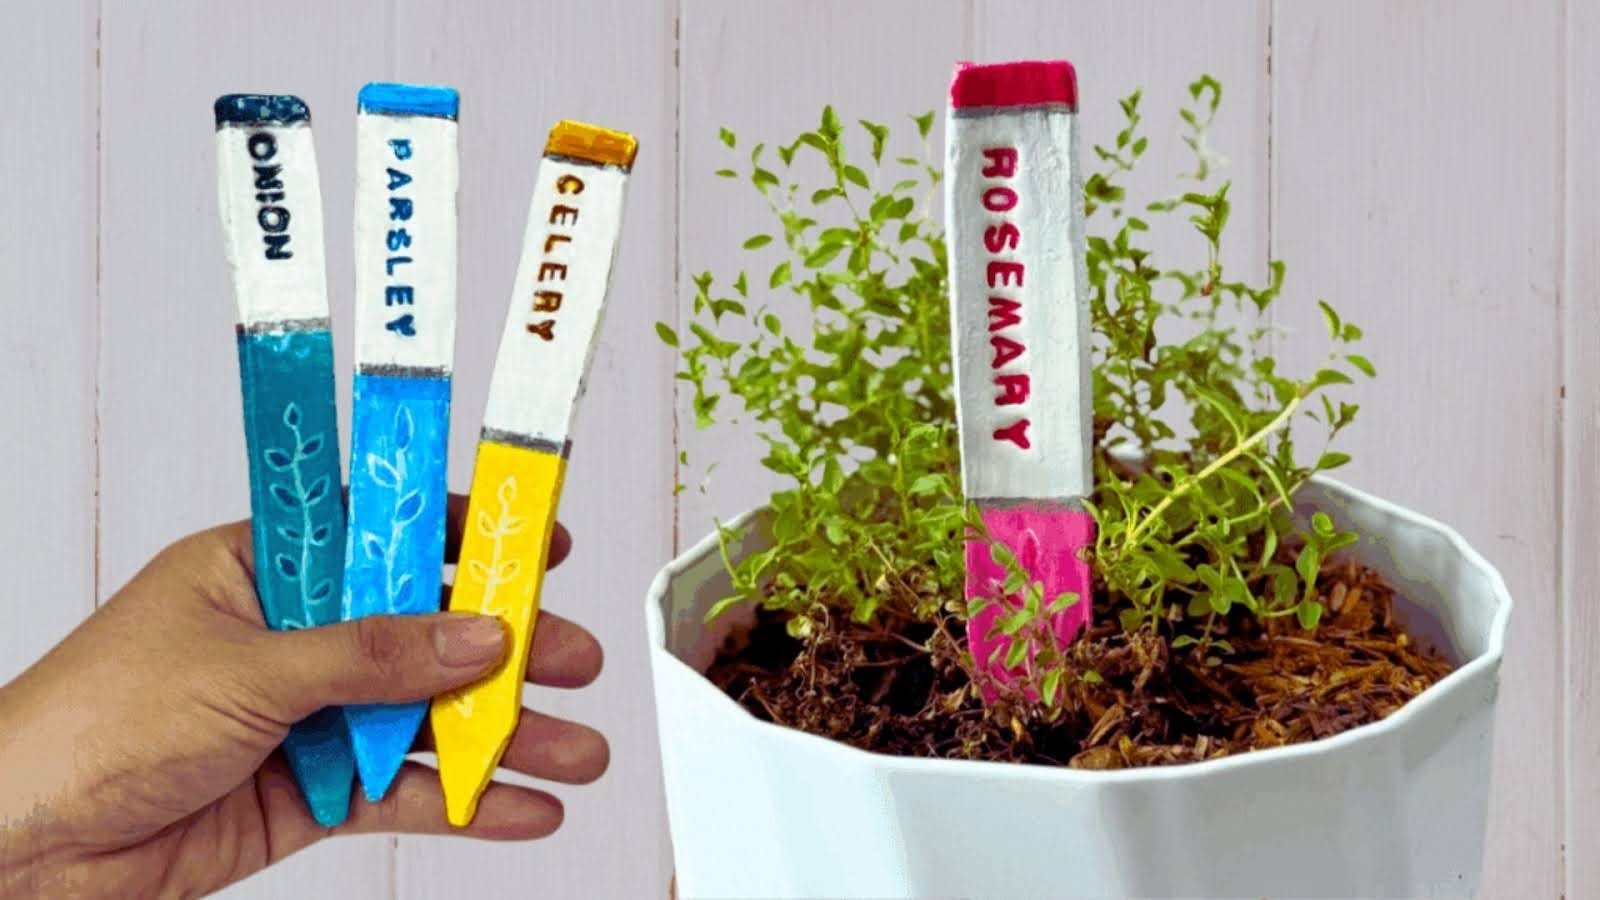
11. Flower-Accented Welcome Stake

Create a cheerful garden entrance sign using craft wood pieces. Cut and arrange them into a small rectangular sign.
Write “Welcome” or your favorite greeting using colored glue, paint, or markers. Make the letters bold and clear.
Decorate with silk flowers glued around the edges. This adds instant charm to your garden entrance or fence line.
Tips for Making Long-Lasting Garden Stakes
Protect your finished stakes with outdoor varnish or clear spray sealer. This simple step extends their life by months.
- Choose weatherproof paints and permanent markers designed for outdoor use. Regular markers fade quickly in sunlight.
- Store your markers indoors during heavy storms or winter months. Bring them back out each spring for years of use.
- Apply sealant in thin, even coats. Let each layer dry completely before adding another. This prevents drips and ensures coverage.
Conclusion
My favorite DIY garden stakes are the painted stones. They’ve lasted through rain, snow, and three summers in my herb bed. Pick one project from this list and try it this weekend.
You’ll love how personal touches make your garden feel more like home. These handmade markers also make thoughtful gifts for fellow gardeners. Mix different ideas to match your style.
Which design speaks to you? Drop a comment below with your favorite, or tag me with photos of your finished DIY garden stakes. I can’t wait to see them.
Frequently Asked Questions
What materials work best for outdoor garden stakes?
Wood, metal, stone, and sealed clay hold up well outdoors. Always protect them with weatherproof sealant or outdoor varnish.
How do I make garden stakes weather-resistant?
Apply two coats of outdoor varnish over your finished design. Use permanent markers and outdoor paint for best results.
Can kids help make these garden stakes?
Yes. Projects like painted stones, beaded stakes, and wooden spoons are perfect for children. Just supervise hot glue gun use.
How long do DIY garden stakes typically last?
Properly sealed stakes last one to three years outdoors. Stone and metal versions last longer than wood or cork.
What’s the easiest garden stake project for beginners?
Painted stones or wooden spoon markers require minimal supplies. Just write plant names with permanent markers and you’re done.