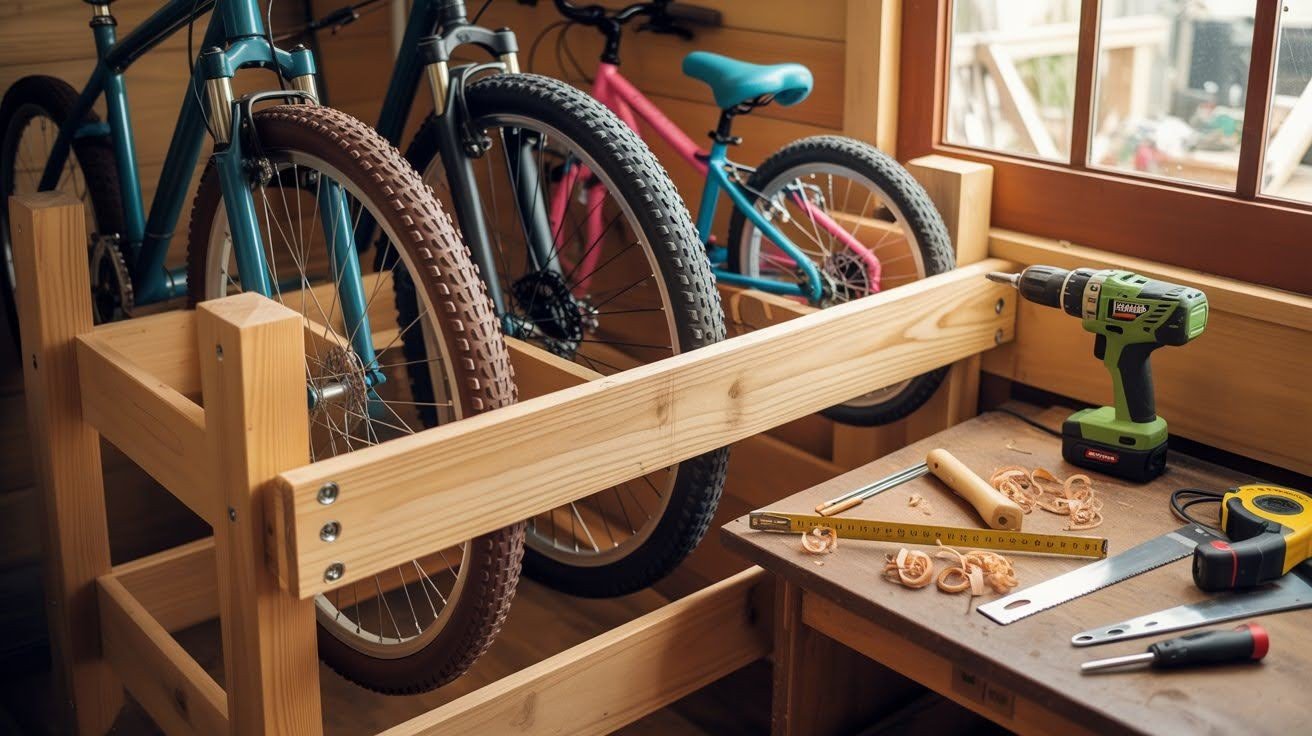
Tired of tripping over bikes in your garage? I get it. The clutter drives me crazy too. That’s why I built my own homemade DIY wooden bike rack, and I’m here to show you how.
This guide walks you through every step, from cutting wood to final assembly. You’ll learn exactly what materials you need, how to build it safely, and ways to customize it for your family.
Trust me, this works. I’ve done it myself, and now my garage finally has some breathing room. We’ll cover the materials list, step-by-step building instructions, customization options, and cost breakdown.
Let’s tackle this together and get those bikes organized for good.
Why Build a Homemade DIY Wooden Bike Rack
Building your own bike rack beats buying metal ones from stores. Custom wooden racks fit your exact space. You control the size, height, and number of slots based on what you own.
Kids’ bikes need less room than adult mountain bikes. This makes a perfect weekend project using basic tools and affordable materials.
The build takes just a few hours, and you save money compared to pre-made options. Wood also looks better in most garages since you can paint or stain it to match your space.
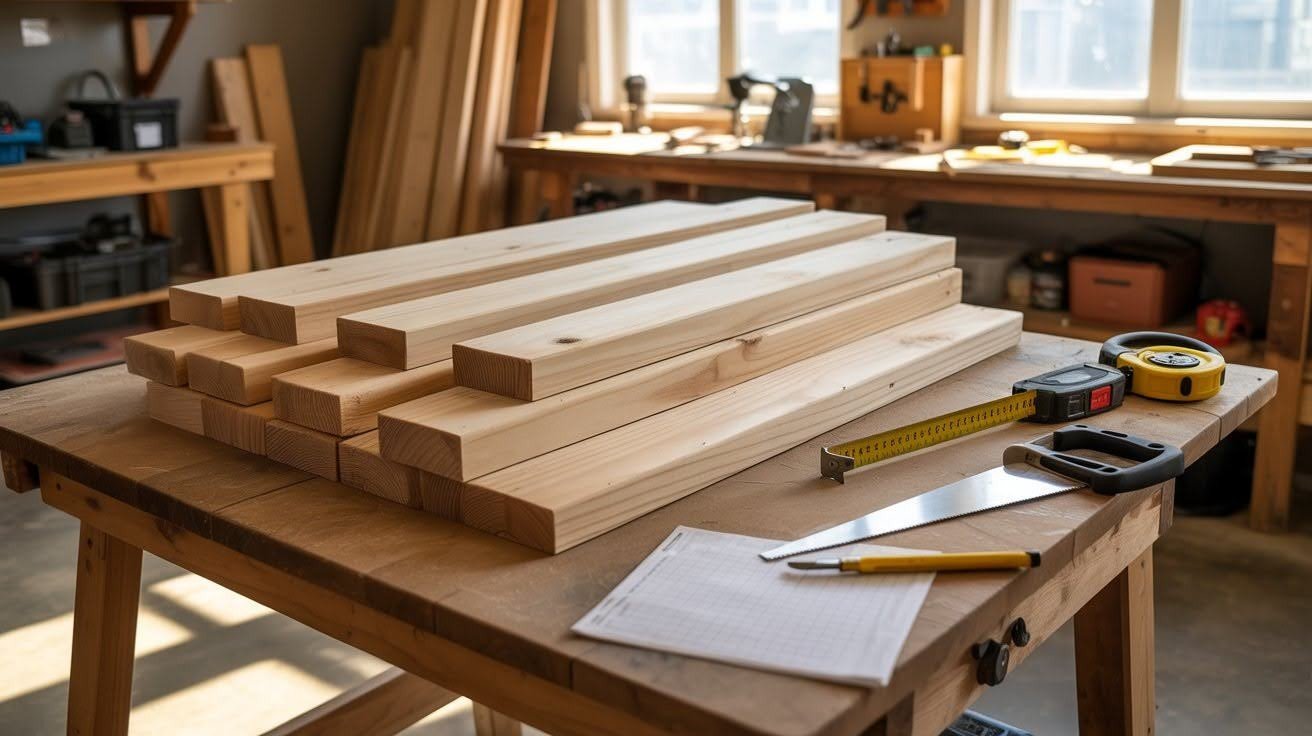
Materials and Tools Needed

Grab these supplies from your local hardware store. You need 2×4 boards for the base and back frame, 2×2 boards for wheel supports, wood screws (2.5 inch and 1.5 inch), and wood glue.
Optional items include paint or stain, sandpaper (120 and 220 grit), and clear finish.
For tools, you need a miter saw, power drill with bits, tape measure, pencil, and sander. Safety gear is required: goggles, work gloves, and ear protection.
Buy extra lumber in case you make mistakes. Check your drill battery before starting.
Step-by-Step Instructions
Follow these five simple steps to build your homemade DIY wooden bike rack from start to finish.
Step 1: Cut and Prep the Wood
Start by measuring and cutting all your pieces. Follow your cut list carefully. Measure twice, cut once really does matter here.
Cut the base pieces first. Then move to the back frame. Save the angled supports for last.
Sand every piece after cutting. Use 120 grit sandpaper to remove rough edges. This prevents splinters when you handle the wood during assembly.
Pay special attention to cut ends. These tend to be roughest. A smooth finish now makes assembly easier later.
Lay out all your cut pieces. Double check that you have everything before moving to assembly.
Step 2: Build the Base and Back Frame
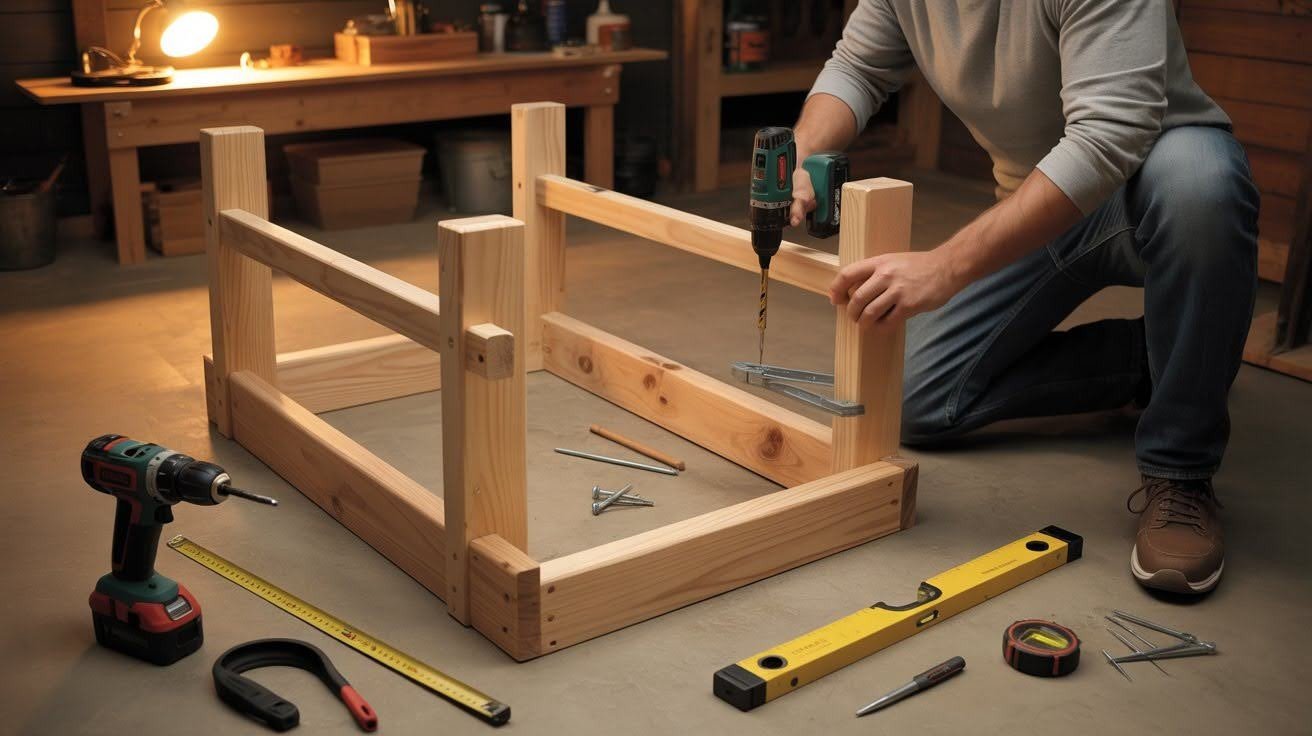
Apply wood glue to joints before screwing pieces together. This adds strength to your rack.
Attach the side supports to the base first. Pre-drill screw holes to prevent splitting. Use 2.5 inch screws for these main connections.
Build the back frame separately. Connect the vertical and horizontal pieces. Make sure corners form 90-degree angles.
Check that your frame sits level on the ground. Uneven frames cause bikes to lean or fall. Adjust now before proceeding.
Let the glue dry for at least 30 minutes. This ensures strong bonds between pieces.
Step 3: Add Angled Wheel Supports
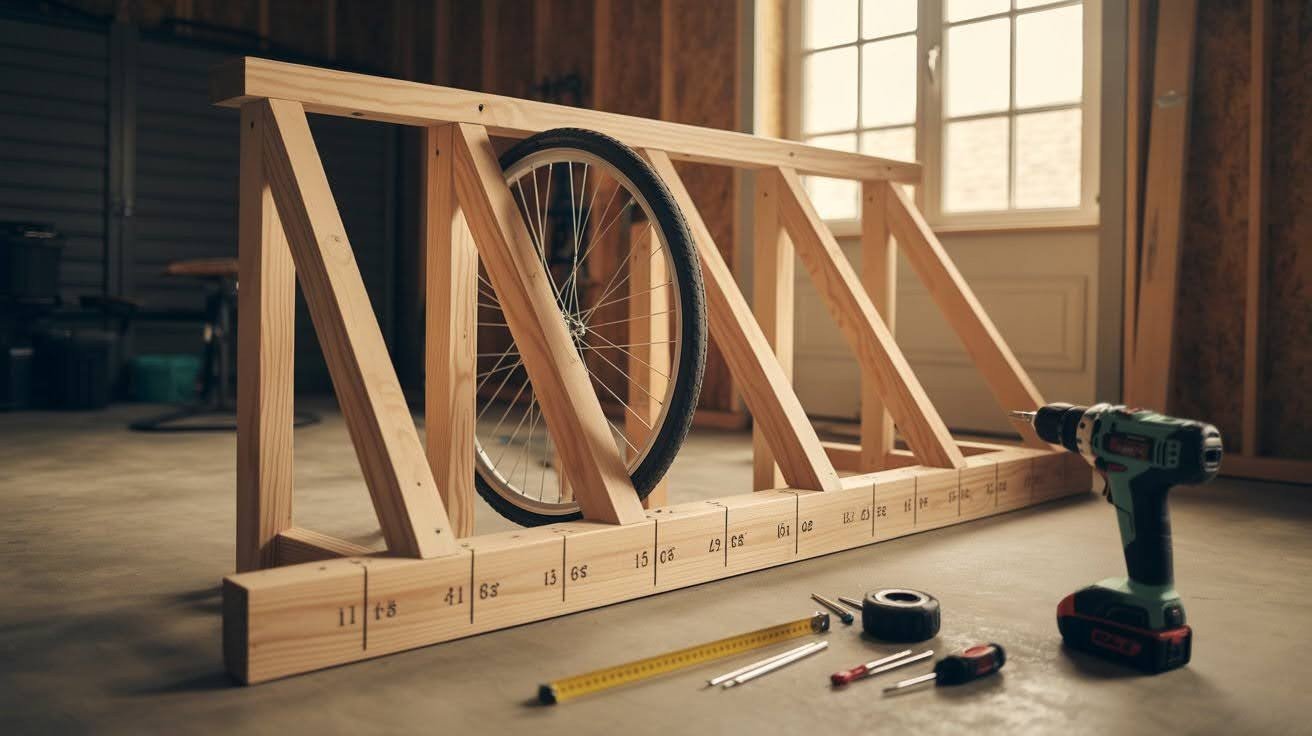
Mark where each bike wheel will sit. Space marks 3 inches apart for bikes. Use 4 inches for scooters since they have wider decks.
Cut 2×2 boards at a 15-degree angle. This angle keeps bikes stable without leaning too far back.
Pre-drill holes in the angled supports. This makes installation much easier and prevents wood from splitting.
Attach supports to both the base and back frame. Use 1.5 inch screws for these connections. Each support needs at least two screws, one at the top and one at the bottom.
Test the spacing with an actual bike wheel. Make adjustments before securing all supports permanently.
Step 4: Assemble and Reinforce
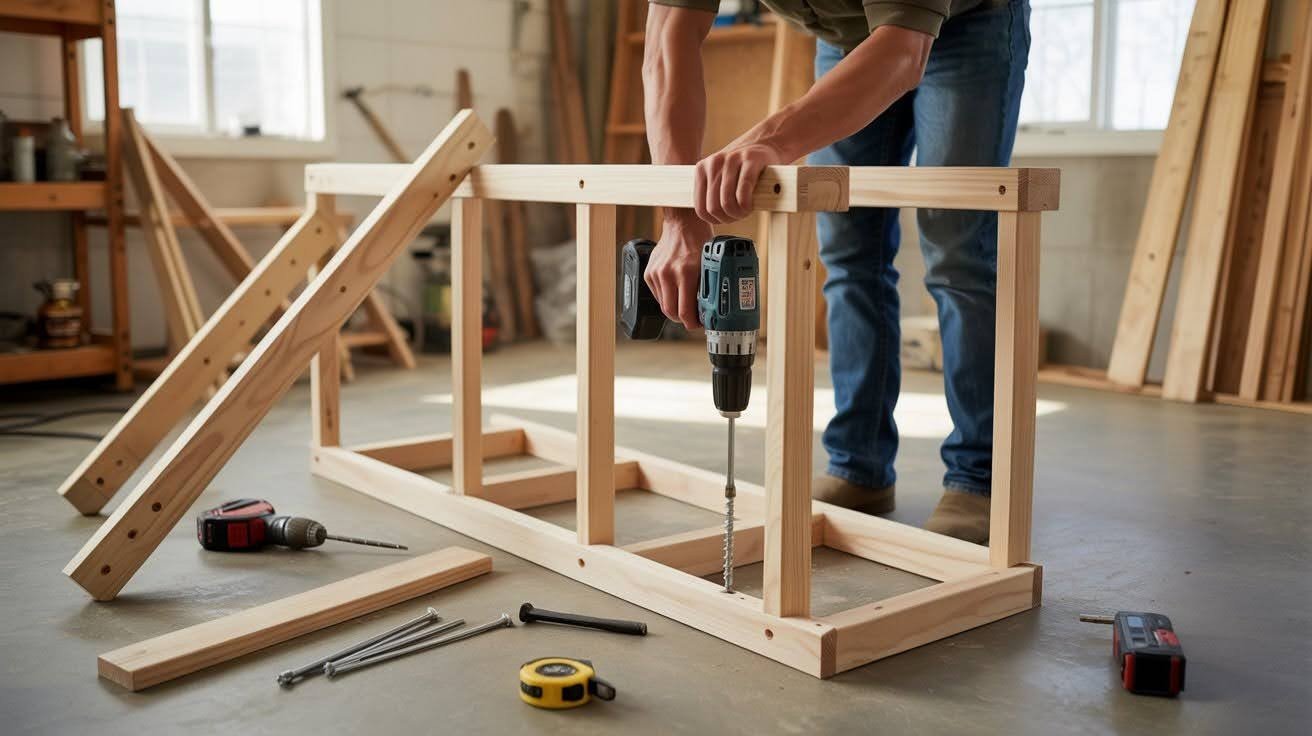
Connect the base and back frame together. This creates the main structure of your rack.
Add diagonal braces if you want extra stability. These go between the base and back frame at the corners.
Check every connection point. Tighten any loose screws. Give the rack a gentle shake to test stability.
Place the rack in its final location. Make sure it sits flat and doesn’t wobble. Shim under legs if needed to level it out.
Stand back and look at your work. The hard part is done.
Step 5: Sand, Paint, or Stain
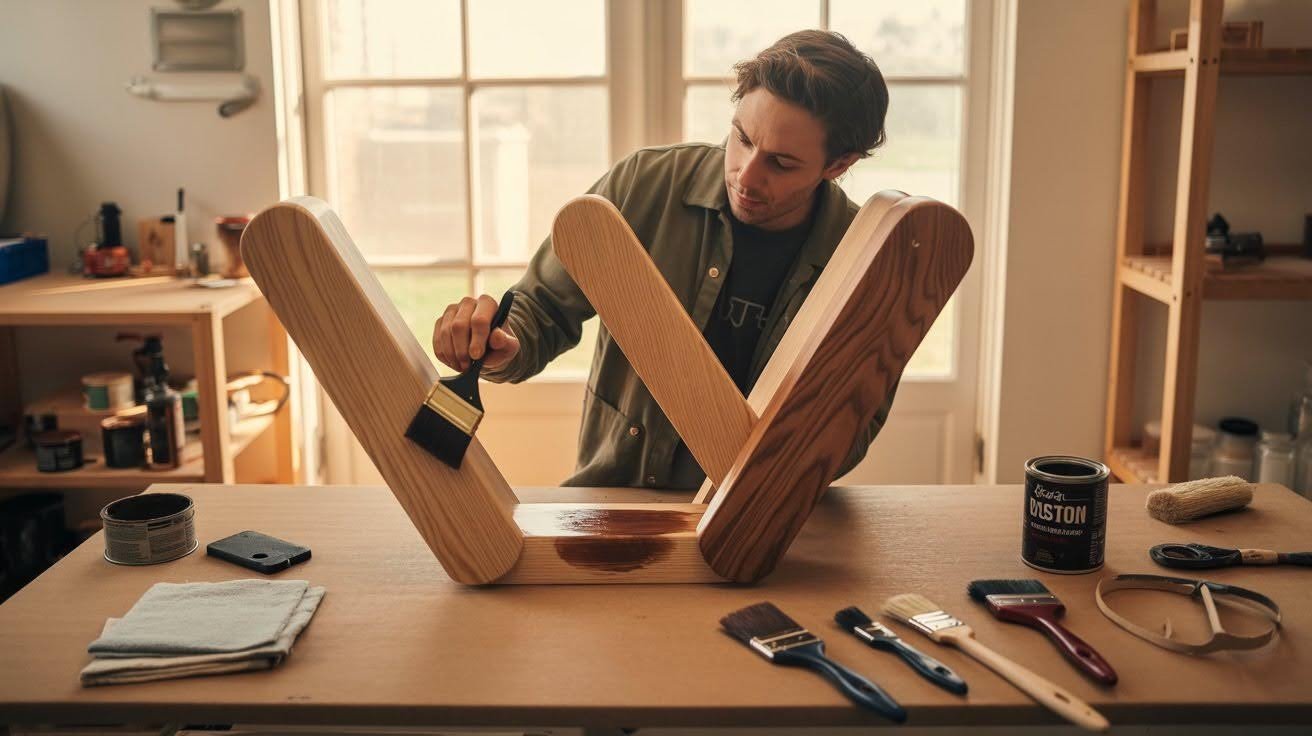
Sand the entire rack with 220 grit sandpaper. This creates a smooth surface for finishing.
Wipe away all dust with a damp cloth. Let the wood dry completely before painting.
Apply paint or stain in thin, even coats. Two light coats work better than one heavy coat. Let each coat dry fully before adding the next.
For outdoor racks, use exterior paint or sealant. This protects wood from weather damage.
Let everything cure for 24 hours before loading bikes. This ensures the finish sets properly.
Customization Tips
Make this rack truly yours with these modifications.
- Add name labels above each slot. Kids love seeing their names. Use vinyl letters or paint stencils for clean results.
- Install hooks on the back frame for helmets and gear. This keeps everything in one spot.
- Adjust slot width based on your bikes. Kids’ bikes fit closer together. Adult bikes with wide handlebars need more space.
- Paint the rack in your family’s favorite colors. Or match it to your local sports team. This adds personality to a basic garage item.
- Use outdoor-rated materials if keeping the rack outside. Treated lumber and weather-resistant paint last longer in the elements.
Safety Tips for DIY Builders
Stay safe while building your rack. These tips prevent common accidents.
- Always pre-drill screw holes. This stops wood from splitting and keeps your cuts clean. Splitting wood can send sharp pieces flying.
- Wear safety goggles whenever cutting or drilling. Sawdust and wood chips fly in unpredictable directions. Protect your eyes every single time.
- Use work gloves when handling cut lumber. Fresh cuts create splinters that can ruin your day.
- Keep your work area clean. Sweep up sawdust regularly. Slipping on debris causes falls and injuries.
- Take breaks if you feel tired. Fatigue leads to mistakes. A rested builder is a safe builder.
- Unplug tools when changing bits or blades. This prevents accidental starts that cause serious injuries.
Conclusion
Building your own homemade DIY wooden bike rack changed how my garage functions. I built mine on a Saturday morning, and by afternoon, every bike had its spot. No more tripping, no more arguing with the kids about cleanup.
The best part? Watching my daughter proudly show her friends where her bike goes. You can do this too.
Grab your tools this weekend and make it happen. Your future self will thank you when you walk into that organized garage.
Drop a comment below with your build. I’d love to see how yours turns out.
Frequently Asked Questions
How much weight can a homemade wooden bike rack hold?
A properly built rack holds 4 to 6 bikes easily. Each slot supports about 50 pounds with proper construction.
Can I build this rack without a miter saw?
Yes, a circular saw or hand saw works fine. Cuts take longer but a speed square keeps angles straight.
What type of wood works best for bike racks?
Pine costs less and works great indoors. Cedar or treated lumber handles outdoor weather better.
How do I prevent bikes from scratching each other?
Space supports 3 inches apart minimum. Add foam padding or pool noodles for extra protection.
Can this rack work for electric bikes?
Yes, standard designs hold regular e-bikes fine. Use 2×6 lumber for heavier models over 60 pounds.