I’ll never forget the first time I made my own house number sign. I was tired of looking at the faded, generic numbers on my front porch, but custom signs cost over $100.
So I grabbed some wood, paint, and numbers from the hardware store and spent an afternoon creating something I actually loved.
The best part? It cost me less than $40 and looked better than anything I found online. Now I help friends make their own signs all the time.
You don’t need special skills or fancy tools to do this. Just a free weekend and basic supplies. If you’re ready to give your home a personal touch, I’ll walk you through every step.
Why Make a DIY House Number Sign?
Creating your own house number sign is easier than you think. You don’t need special skills or expensive tools. Just a few basic materials and some free time on the weekend.
Your home’s exterior makes the first impression on visitors, and a well-designed sign catches the eye instantly. Most people spend between $15 to $40 on materials, compared to store-bought custom signs that cost $100 or more.
When you make your own, you control every detail. Choose the size, color, font, and finish that matches your home perfectly.
Basic supplies include wood or metal backing, house numbers, paint or stain, and mounting hardware. You can start and finish your project in a single afternoon.
Tools & Materials You’ll Need
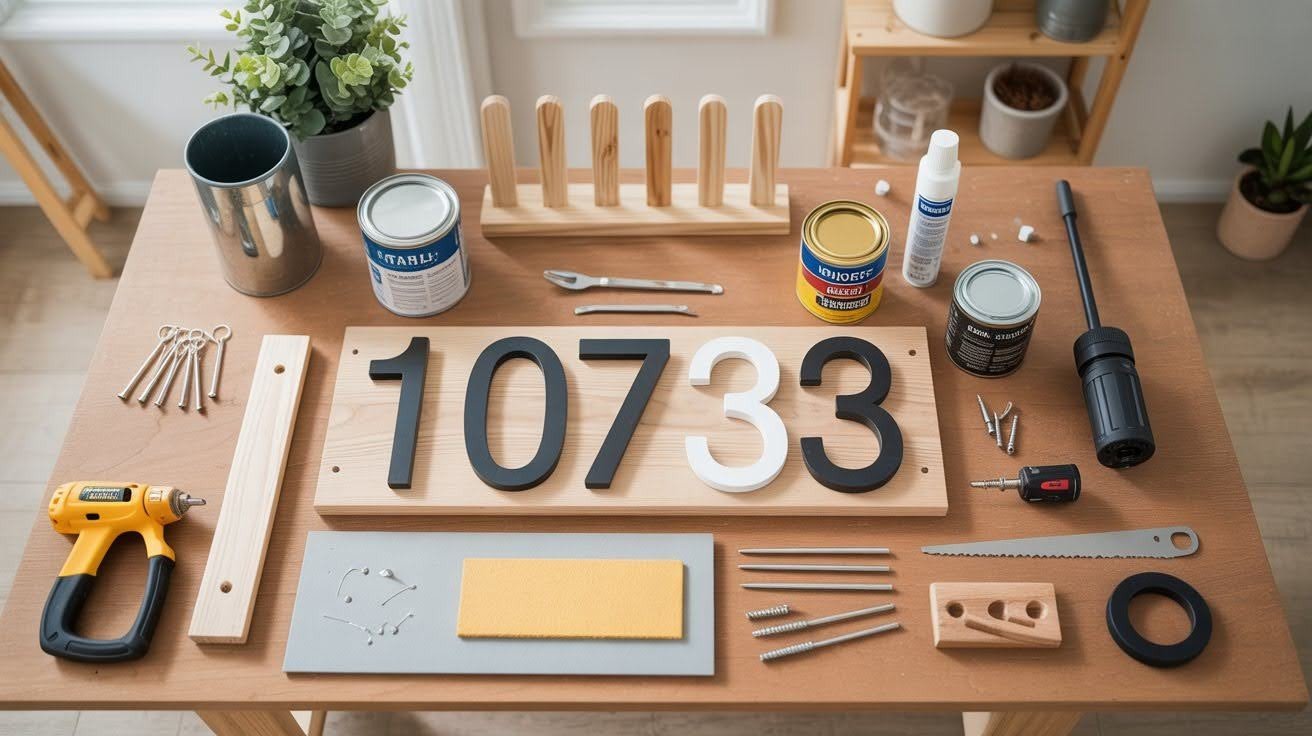
Gather these essential materials and tools before starting your project. Most items are affordable and available at local hardware stores.
Basic Supplies for Every Project
You only need a handful of items to create a great-looking house number sign.
Materials:
- Wood board or backing material
- House numbers (metal, wood, or vinyl)
- Paint, stain, or sealant (outdoor-rated)
- Strong adhesive glue or small nails
- Hanging hardware (brackets, screws, or D-rings)
Tools:
- Sandpaper
- Saw
- Drill
Pick outdoor-rated products that can handle rain, sun, and temperature changes. Metal numbers give a modern look. Wood numbers offer a warm feel. Vinyl numbers are the most budget-friendly option.
Optional Decorative Add-Ons
Take your sign to the next level with these extras:
- Planters: Attach small planters for seasonal flowers
- Hooks: Hang wreaths or seasonal decorations
- Lighting: Solar-powered numbers or LED lights for nighttime visibility
- Trim frames: Add wooden or metal borders for a polished look
These additions are optional. Your sign will look great with just the basics.
How to Make a DIY House Number Sign (Step-by-Step)
Follow these seven simple steps to create a professional-looking house number sign. Each step builds on the last for perfect results.
Step 1 – Choose Your Base Material
Wood is the most popular choice because it’s easy to work with and affordable. Cedar and redwood resist rot naturally. Metal creates a modern look and lasts for decades but costs more.
Tile offers a classic Mediterranean style but can crack in freezing temperatures. Acrylic is lightweight and weather-resistant, perfect for contemporary homes.
Step 2 – Measure and Cut Your Base
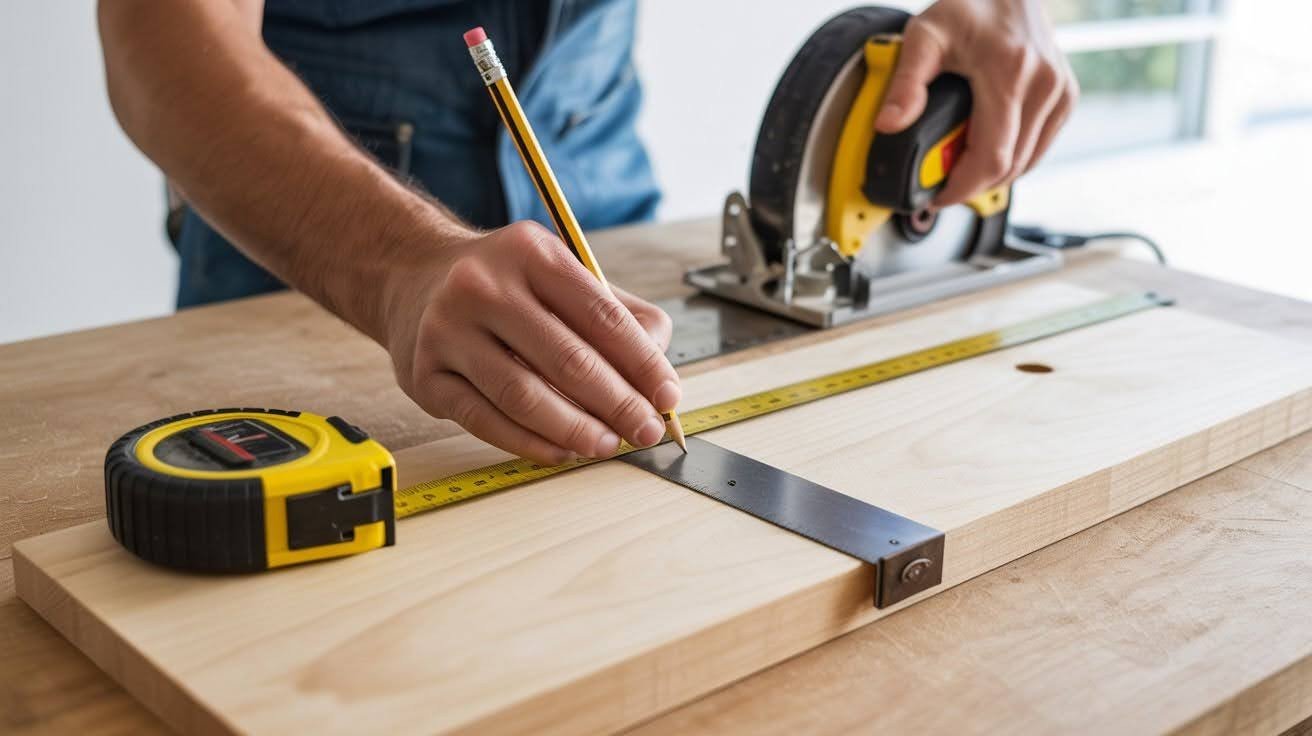
Single-digit addresses need a board about 6-8 inches wide. Two or three digits work well on 10-12 inch boards. Four or five digits require 14-18 inches of space.
Leave at least one inch of border around your numbers. Mark your cut lines clearly with a pencil and straightedge before sawing for clean, accurate edges.
Step 3 – Sand and Prep the Surface
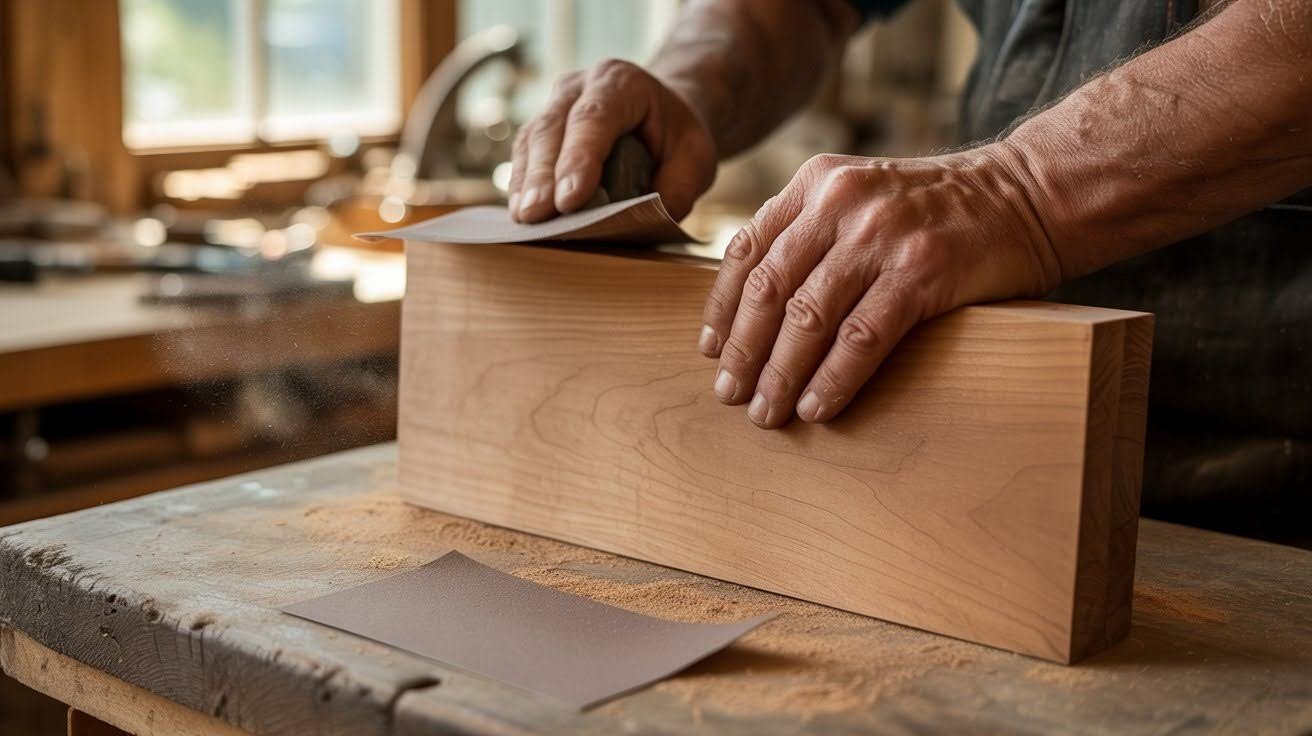
Rough wood splinters and holds paint unevenly. Start with medium-grit sandpaper to remove bumps and rough spots. Finish with fine-grit sandpaper for a smooth surface.
Wipe away all dust with a damp cloth before moving forward. This step ensures your paint or stain applies evenly and looks professional when finished.
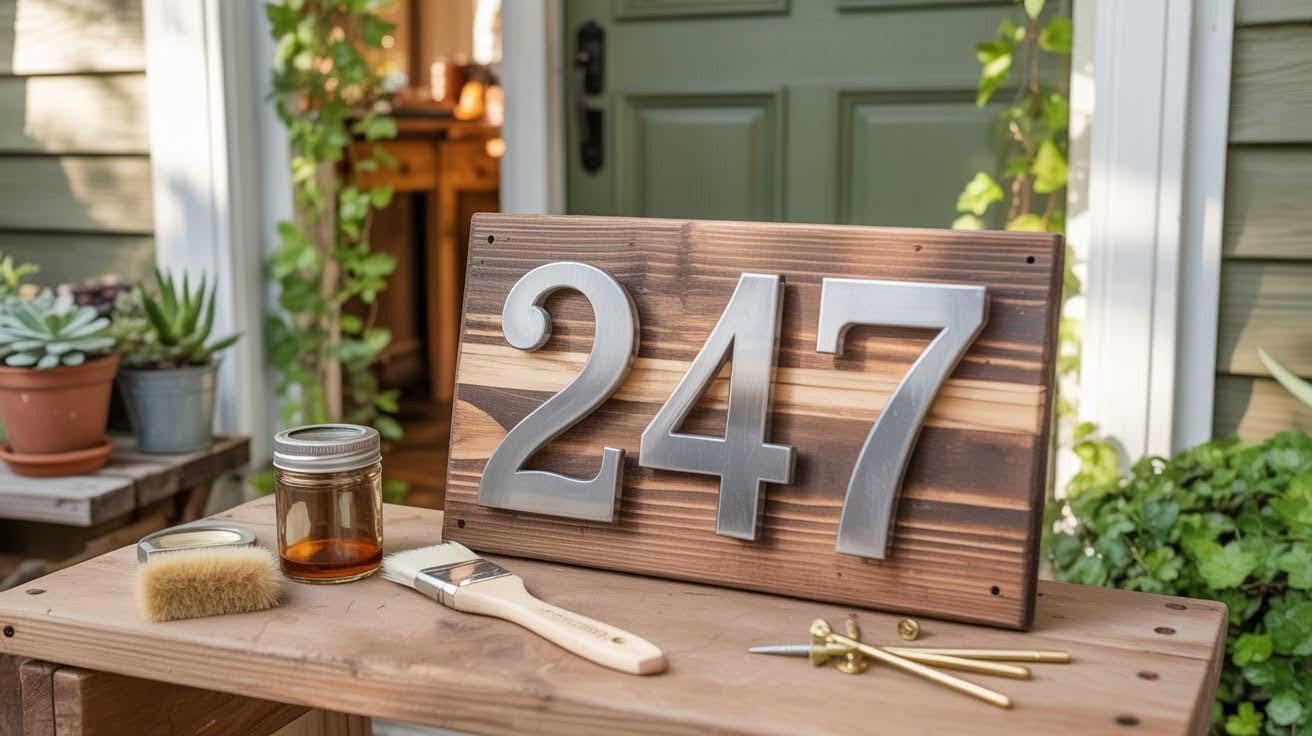
Step 4 – Paint, Stain, or Seal
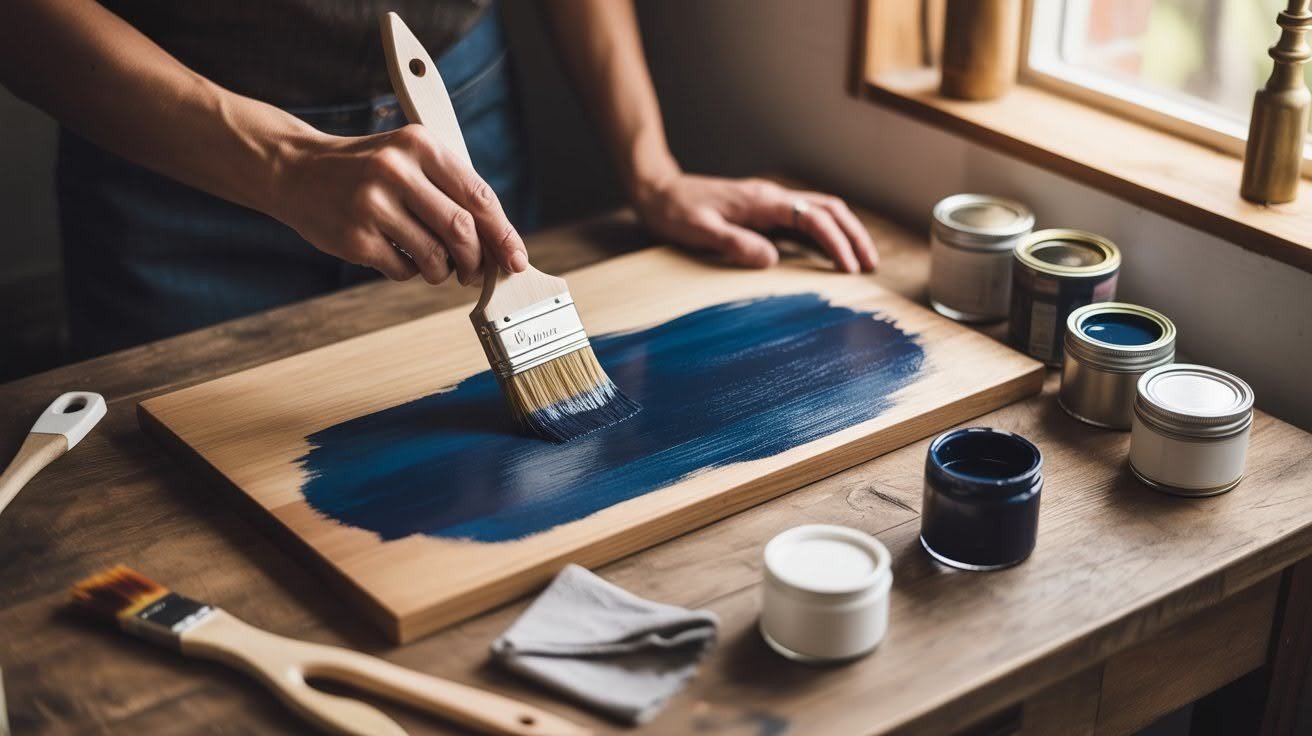
Dark colors like navy, black, or charcoal work well on light-colored homes. White or cream numbers pop against dark siding. Natural wood stain suits rustic or farmhouse styles beautifully.
Apply two thin coats instead of one thick coat for better coverage. Always use outdoor-rated products to protect against fading and weather damage over time.
Step 5 – Attach the Numbers
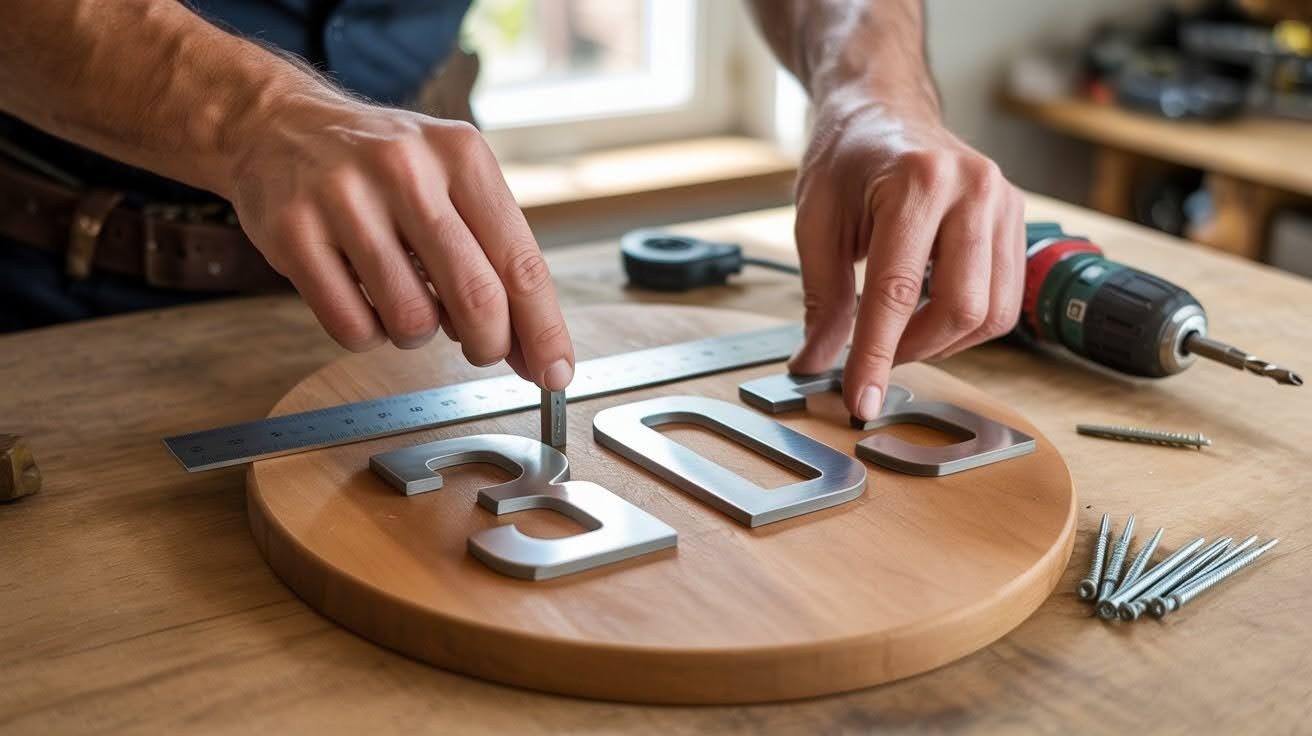
Strong construction adhesive works for most number types and creates a clean look without visible hardware. Let it cure for 24 hours before hanging.
Floating numbers with standoffs add depth and shadow for dramatic effect. Small screws provide the strongest hold for heavy metal numbers. Space your numbers evenly using a ruler or tape measure.
Step 6 – Add Decorative Details
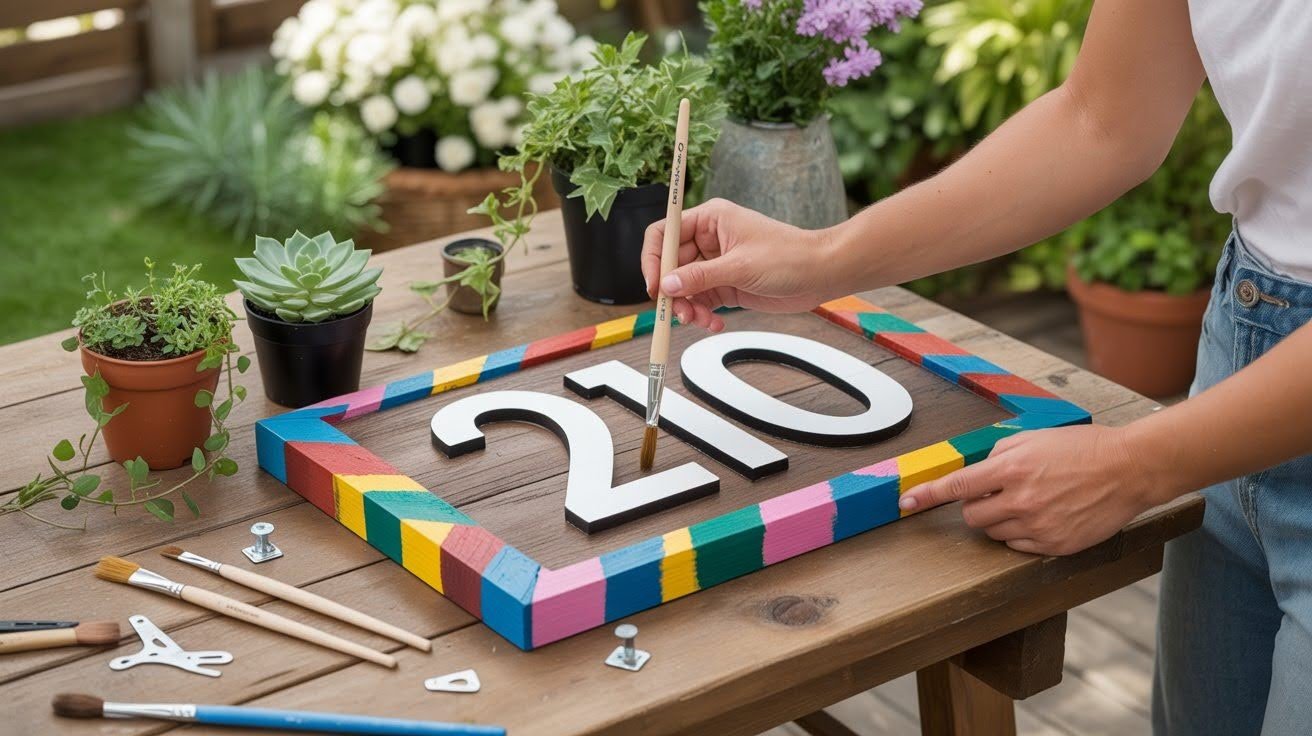
Paint thin stripes or geometric patterns around the edges for visual interest. Attach a small wooden frame to create defined borders. Mount metal corner brackets for an industrial touch.
Add small hooks below the numbers to hang seasonal greenery. Keep decorations simple so your house numbers remain easy to read from the street.
Step 7 – Mount and Display
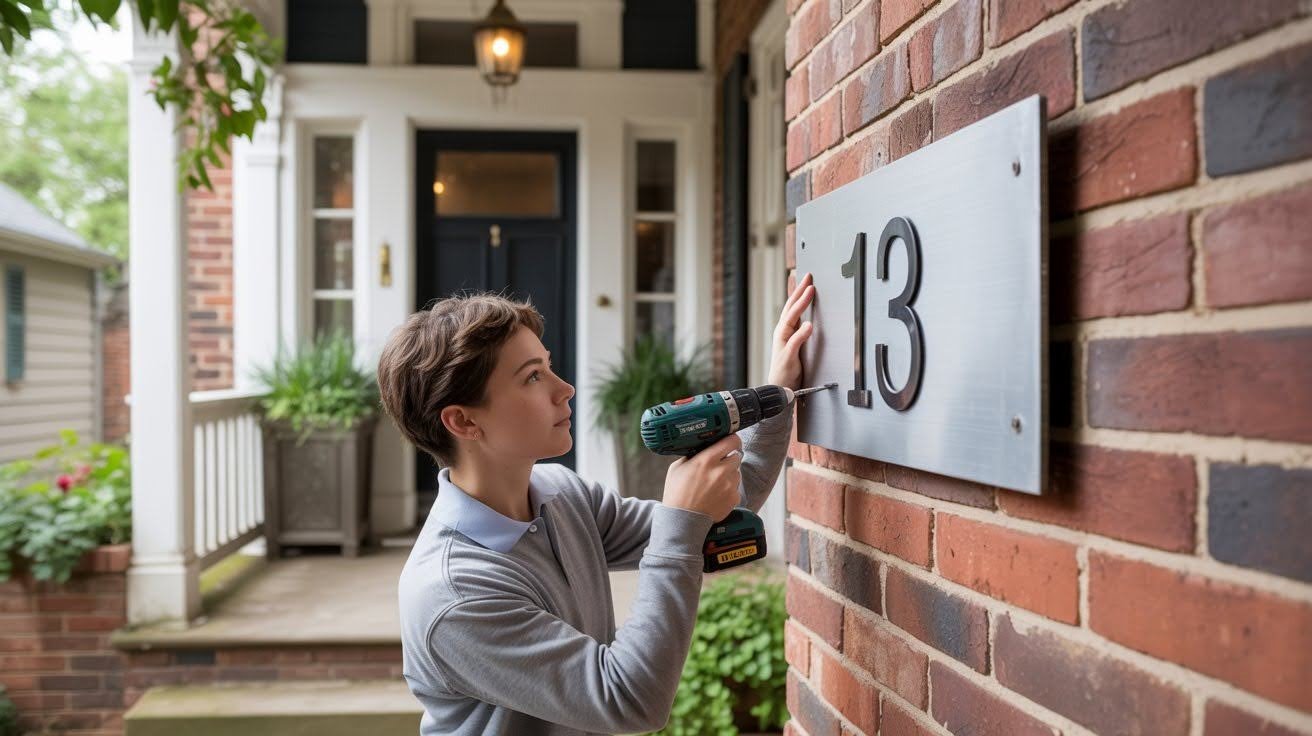
For brick walls, use masonry anchors and a hammer drill with the correct bit size. Vinyl or wood siding works well with exterior-grade screws driven into studs when possible.
Fence posts need weatherproof screws or bolts that go completely through the wood. Use a level to ensure your sign hangs straight. Mount at eye level, typically 4-6 feet from the ground.
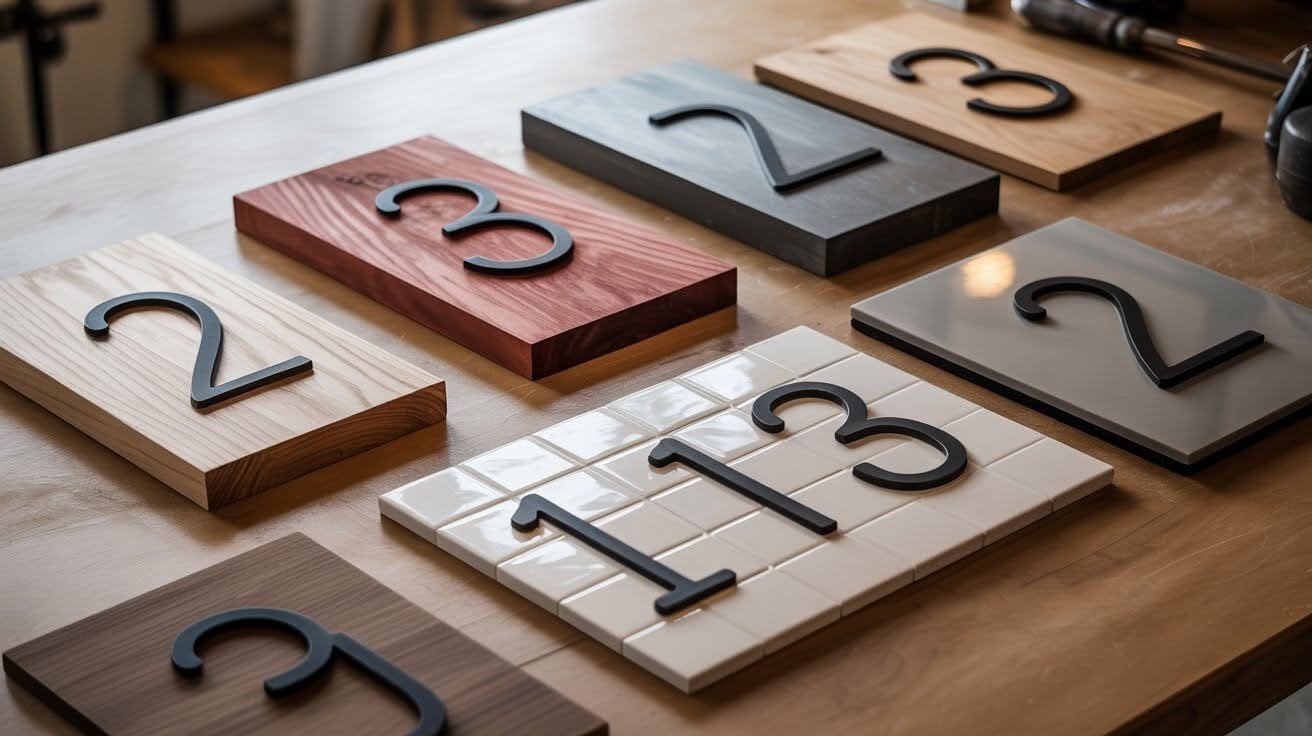
DIY House Number Sign Ideas by Style
Choose a style that matches your home’s exterior. These five design ideas work for modern, traditional, and eclectic properties alike.
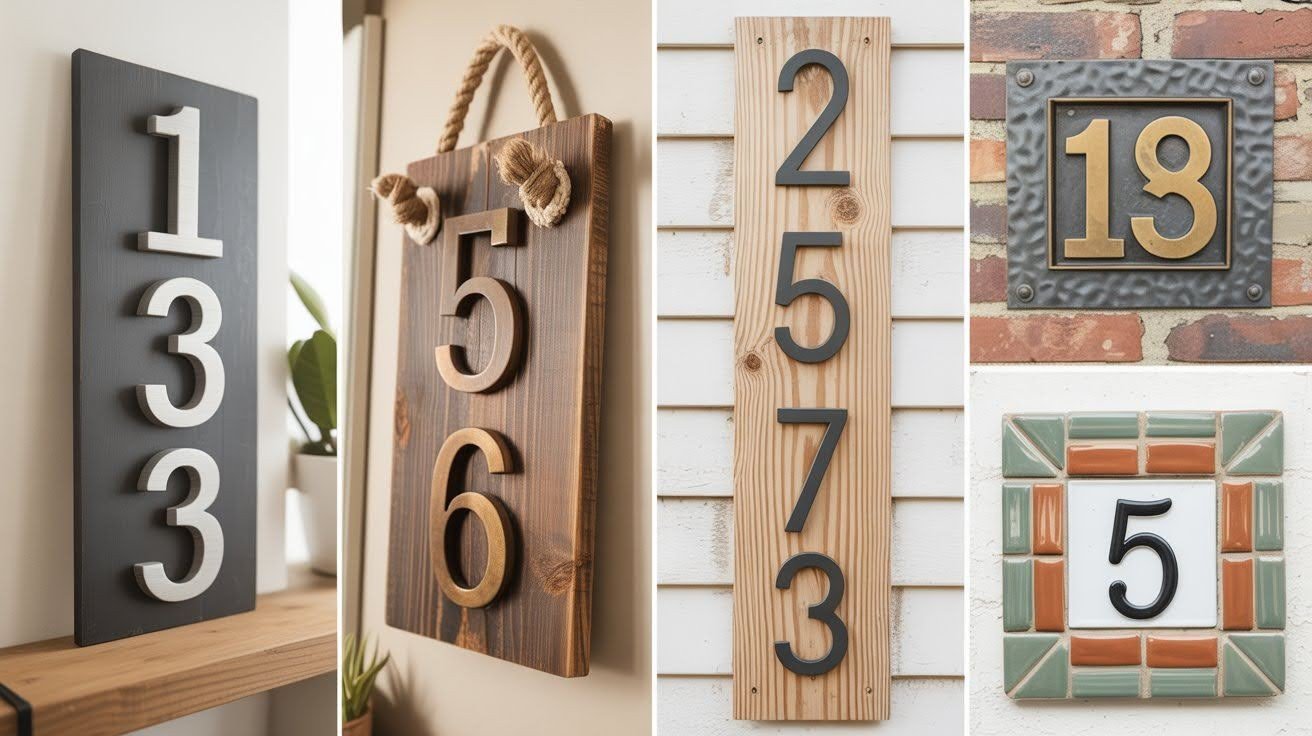
1. Modern Floating Number Sign
This clean design features numbers that stand away from the backing board. Use a smooth wood plank or metal sheet as your base.
Paint it in matte black, white, or gray. Attach 3D numbers with spacers to create depth and shadow effects that make numbers visible from far away.
2. Rustic Wooden Address Board
Reclaimed barn wood or weathered cedar creates authentic farmhouse charm. Sand lightly to keep natural texture. Apply dark walnut or gray stain for a weathered look.
Attach wooden or metal numbers in contrasting colors. Add rope handles or wrought iron brackets for extra character.
3. Industrial Metal Sign
Steel or aluminum backing gives serious durability and modern edge. Choose brushed, hammered, or powder-coated finishes.
Bold metal numerals in contrasting tones create strong impact. This style works well on brick homes and urban properties. Metal-on-metal combinations withstand harsh weather without maintenance.
4. Vertical Address Sign for Narrow Spaces
Tight spaces need vertical designs. Cut a narrow board measuring 4-6 inches wide and 18-24 inches tall. Stack numbers vertically with even spacing.
This layout works perfectly for townhouses, condos, or homes with limited wall space. Mount on fence posts or narrow siding sections.
5. Painted or Tile Mosaic Sign
Get creative with colorful tiles or hand-painted designs. Arrange small ceramic tiles around your numbers. Use outdoor acrylic paint to add borders or decorative motifs.
Stencils help create clean lines if painting freehand feels intimidating. This artistic approach adds personality and makes your home memorable.
Tips for a Professional Finish
- Apply weatherproof sealant: Coat your finished sign with outdoor polyurethane or marine-grade sealant. This protects against rain, snow, and UV rays that cause fading and cracking over time.
- Choose readable fonts: Sans-serif fonts like Arial or Helvetica work best for clear visibility from the street. Avoid overly decorative or script fonts that become hard to read from a distance.
- Size numbers appropriately: Use 4-6 inch tall numbers for homes set back 50 feet from the road. Closer homes can use 3-4 inch numbers while properties farther back need 6-8 inch digits.
- Create strong contrast: Pair light numbers with dark backgrounds or vice versa for maximum readability. High contrast ensures emergency services and visitors can spot your address quickly, especially at night.
- Test color combinations first: Hold paint samples against your home’s exterior before committing to final colors. Choose shades that complement your siding, trim, and door without clashing or disappearing.
- Consider lighting needs: If your entrance lacks good lighting, choose reflective numbers or add small LED spotlights. Illuminated addresses help delivery drivers and guests find your home after dark.
Final Thoughts
Creating your own house number sign is a rewarding weekend project that adds instant personality to your home.
Don’t be afraid to experiment with different colors, finishes, and layouts until you find what feels right. Mix materials, try bold color combinations, or keep it simple.
There’s no wrong way to do this. I’ve made several signs over the years, and each one taught me something new. The best part? You end up with something unique that reflects your style.
Your home deserves a sign that stands out. Grab your supplies and start building today. You’ll be surprised how professional your creation looks.
Frequently Asked Questions
What is the best material for an outdoor house number sign?
Cedar and redwood are excellent wood choices because they resist rot naturally and handle weather well. Metal options like aluminum or steel last even longer and need almost no maintenance over the years.
How big should my house numbers be?
Use 4-6 inch tall numbers if your home sits 50 feet from the street. Homes closer to the road can use 3-4 inch numbers, while properties farther back need 6-8 inch digits for clear visibility.
Can I make a house number sign without power tools?
Yes, you can buy pre-cut wood boards from hardware stores and skip the sawing step entirely. All you need is sandpaper, a paintbrush, and adhesive to attach the numbers to your base.
How do I protect my DIY sign from weather damage?
Apply two coats of outdoor polyurethane or marine-grade sealant after painting or staining your sign. Reapply the protective coating every 1-2 years to keep your sign looking fresh and prevent fading.
What’s the easiest way to hang my house number sign straight?
Use a level tool and mark your screw holes with a pencil before drilling. For brick walls, masonry anchors work best, while wood or vinyl siding needs screws driven into wall studs for secure mounting.