If you have kids who love Legos, you know the struggle. Those tiny bricks end up everywhere. On the floor, under the couch, and somehow in your shoe at 2 AM. It’s frustrating for everyone.
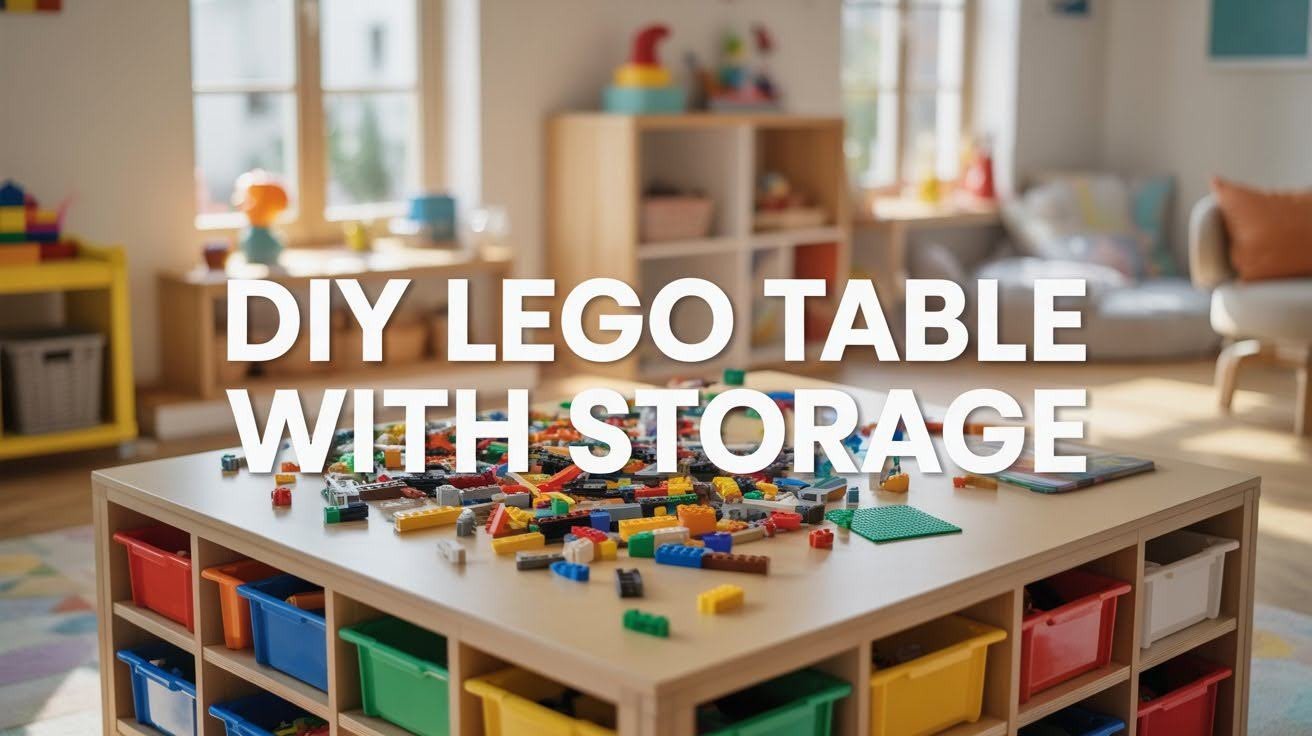
A dedicated Lego table can fix this problem. Your children get a proper space to build their creations. You get a cleaner home. Everyone wins.
This guide shows you how to build a sturdy Lego table with smart storage. I’ll walk you through each step and share tips I learned along the way.
Let’s create something your kids will actually use.
Why Build a DIY Lego Table Instead of Buying One

Store-bought Lego tables can cost hundreds of dollars. Building your own saves money and gives you exactly what you need.
When you make it yourself, you control everything. Pick the size that fits your room. Choose colors that match your space. Select materials that work with your budget.
The best part is adding storage that actually works. Built-in compartments keep bricks sorted by color or size. Drawers slide underneath to hide pieces when playtime ends.
There’s something special about making furniture with your own hands. You’ll feel proud every time your kids use it. The whole project takes just a weekend. The results last for years.
Step-by-Step Guide to Make DIY Lego Table
Follow these simple steps to build a functional Lego table with storage that keeps bricks organized and creates a dedicated play space.
Step 1: Plan Your DIY Lego Table Design
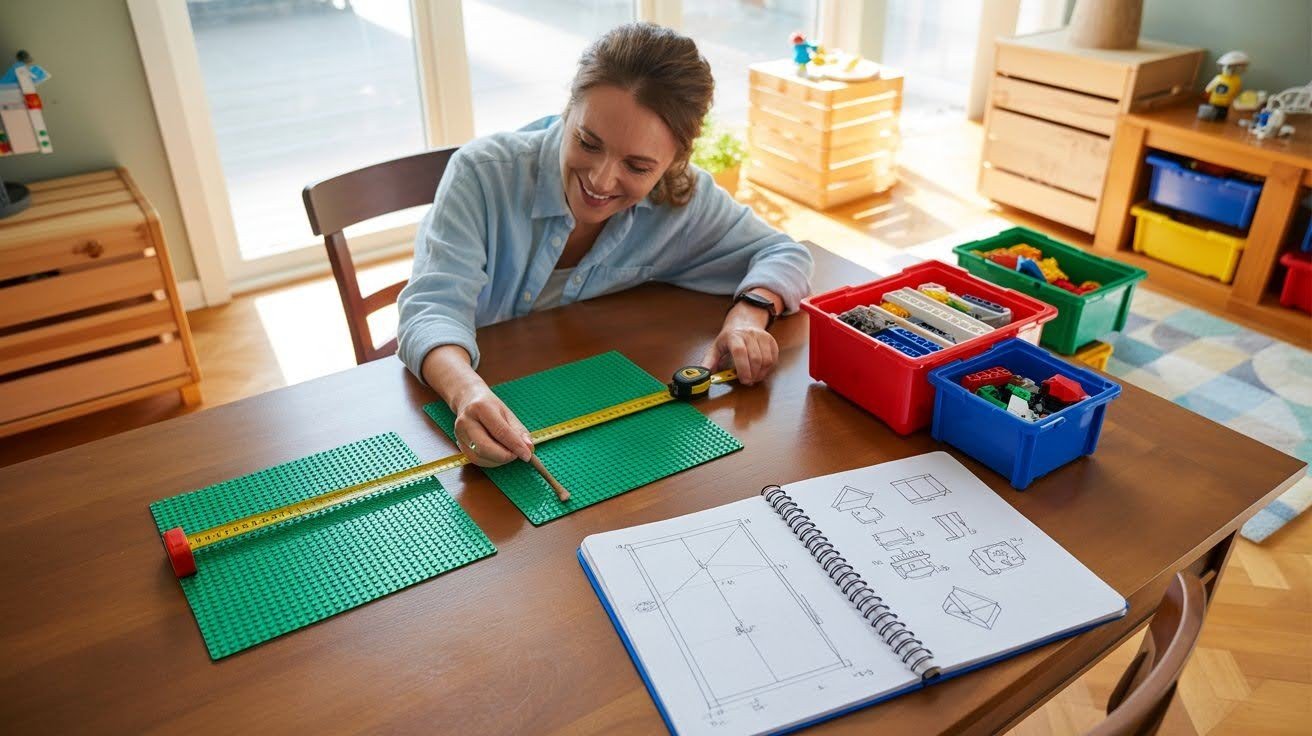
Decide on Size and Functionality
Measure your available space first. Use a tape measure to check where the table will sit. Leave room for kids to move around it.
Measure your Lego baseplates too. Standard plates are 10 inches square. This tells you how many will fit on top.
For table height, use 18 to 20 inches for young kids. Older children need 22 to 24 inches. Test with a chair to ensure comfort.
Select a Storage Style
Built-in bins underneath work great for quick access. Drawers keep things neater but take more work to build. Pull-out crates offer easy cleanup.
A lift-top design hides everything instantly. This works well in shared spaces.
Step 2: Gather Materials and Tools
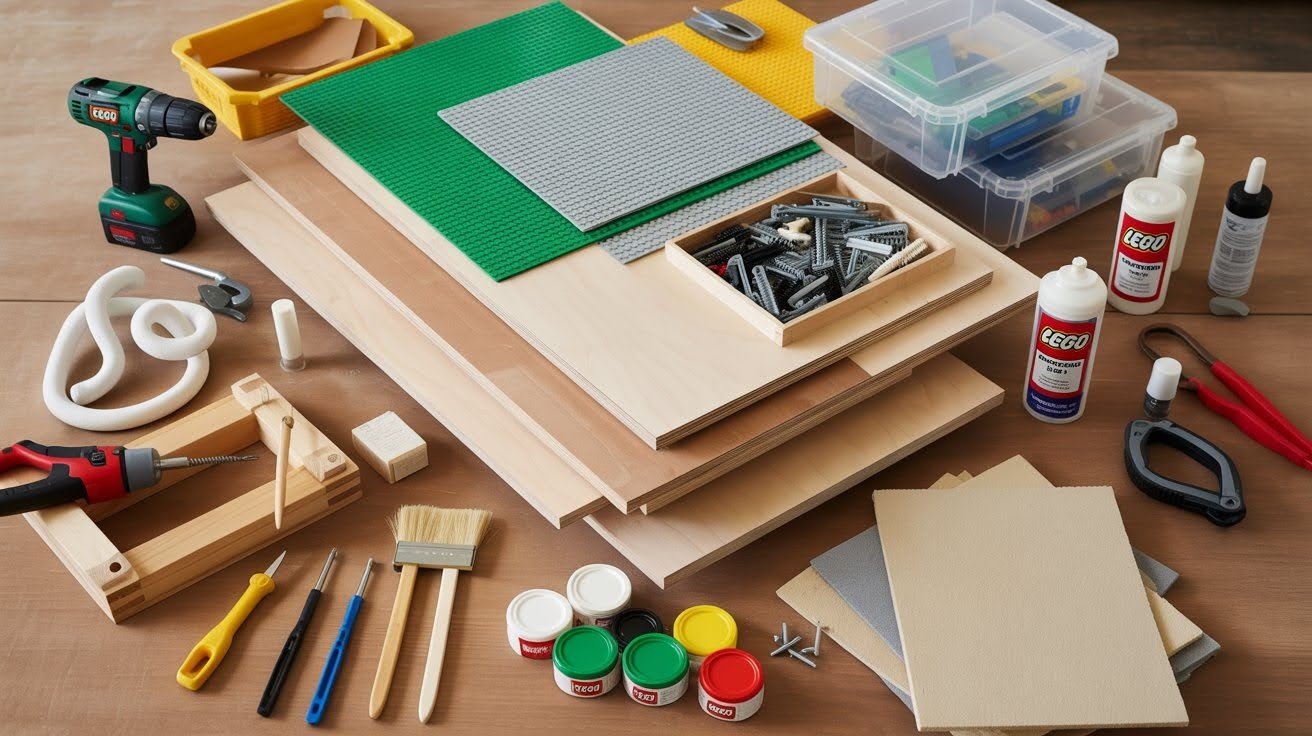
Essential Materials
Start with plywood or a pre-made table like IKEA Lack. Buy enough Lego baseplates to cover the top. Get wood screws, glue, and optional Velcro strips. Add storage bins that fit your design.
Recommended Tools
You need a drill, circular saw, clamps, and tape measure. Grab sandpaper for smooth edges. Pick child-safe paint or stain with brushes.
Step 3: Build the Lego Table Base
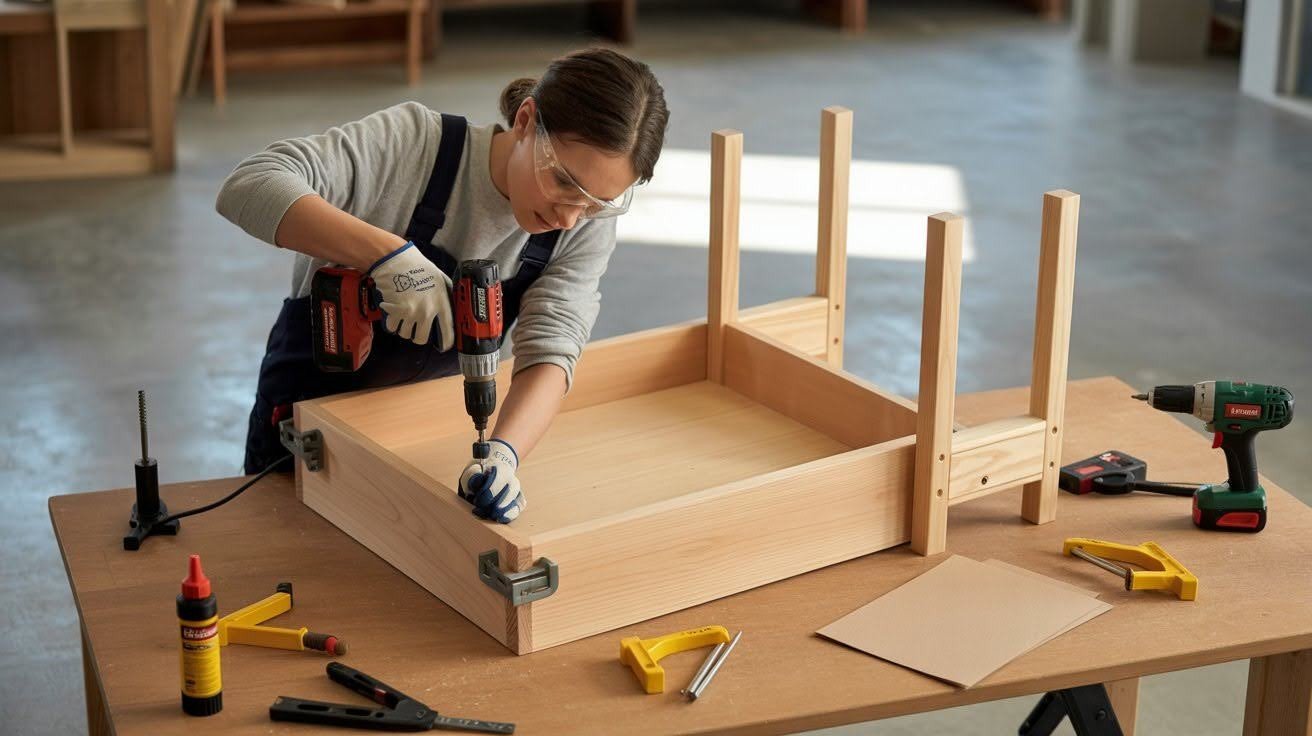
Cut and Assemble the Frame
Cut your tabletop to size. Measure twice before cutting. Cut four side pieces to create a border. Sand everything smooth to prevent splinters.
Apply wood glue to edges before joining pieces. This makes the table stronger.
Attach the Sides and Legs
Line up sides with the tabletop edges. Drill pilot holes first, then add screws. Attach legs at each corner. Use a level to check for wobbles.
Step 4: Add Lego Baseplates and Finishing Touches
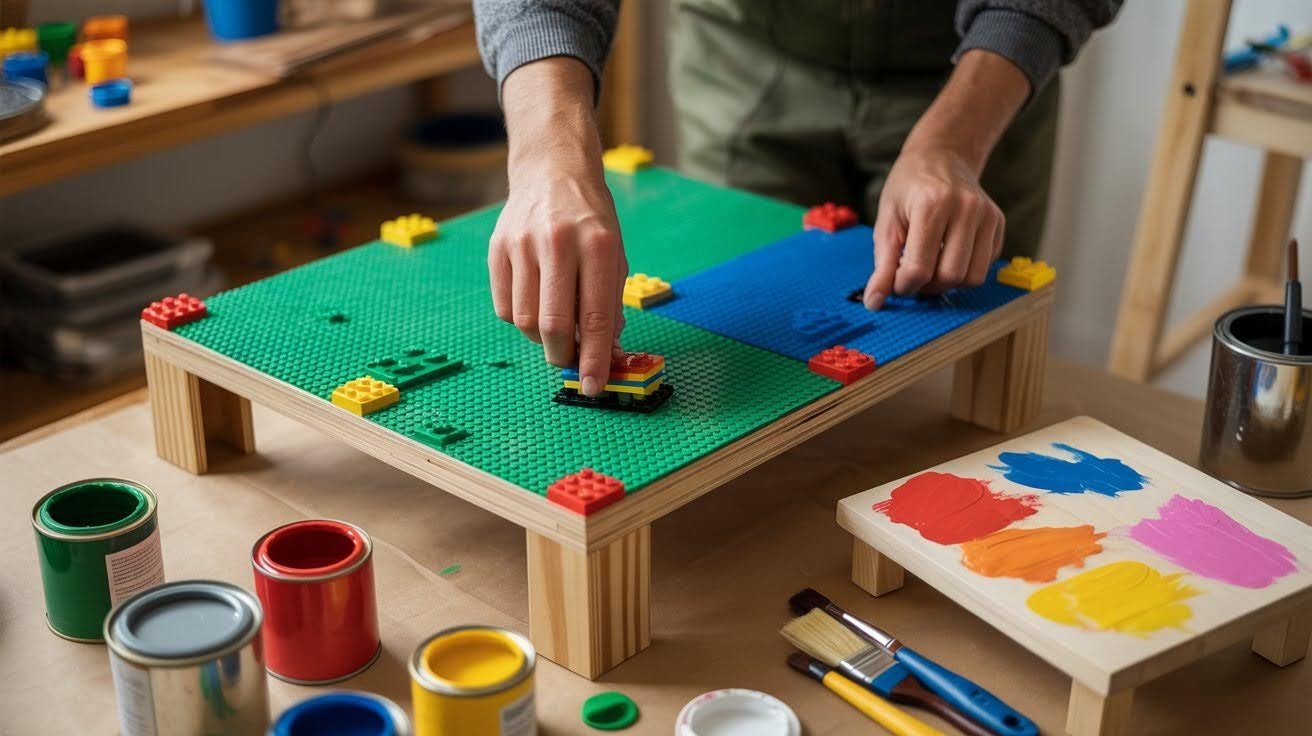
Attach the Baseplates
Lay out your baseplates on the tabletop. Space them evenly. Use strong adhesive or Velcro to attach them. Velcro lets you swap plates later.
Stain, Paint, or Seal the Table
Choose child-safe finishes only. Let kids pick fun colors that match their room. Apply two coats for durability. Let each coat dry completely.
Step 5: Create Smart Storage Solutions
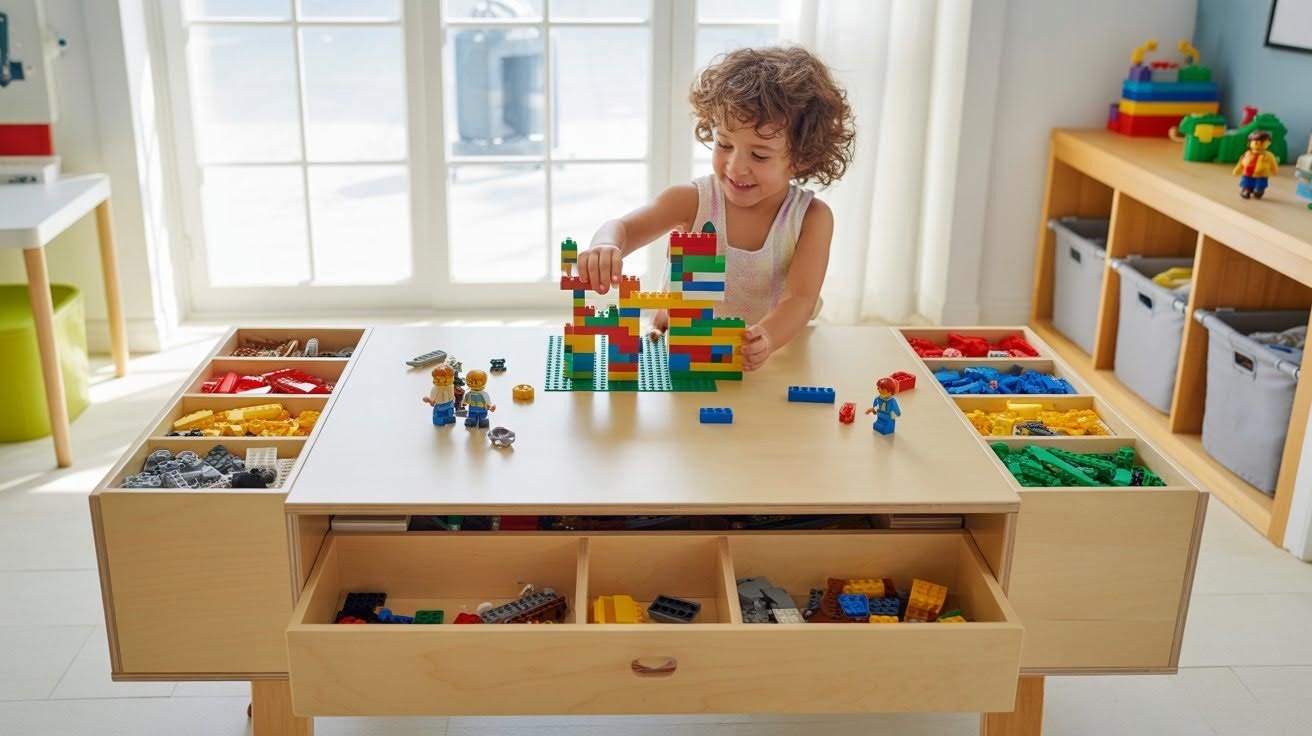
Under-Table Storage Ideas
Add open shelves for easy access. Kids can grab bins without help. Slide-in bins make cleanup fast.
Hidden and Dual-Purpose Options
A lift-top lid converts to a play surface. Add storage cubbies divided by brick color or size. This keeps everything organized and findable.
Practical Tips and Lessons Learned
- Measure three times before cutting: One wrong cut wastes wood and costs you time and money.
- Pre-drill all screw holes: This prevents wood from splitting and keeps your joints tight and stable.
- Use wood glue with every screw: The combination creates bonds that withstand years of rough play and movement.
- Leave small gaps between baseplates: Tight spacing makes them buckle over time as wood expands and contracts naturally.
- Apply polyurethane sealant to all surfaces: This protects against spills, scratches, and sticky fingers that damage bare wood.
- Add corner braces if the table wobbles: Metal L-brackets underneath fix stability issues without starting over from scratch.
DIY Lego Table Inspiration and Variations
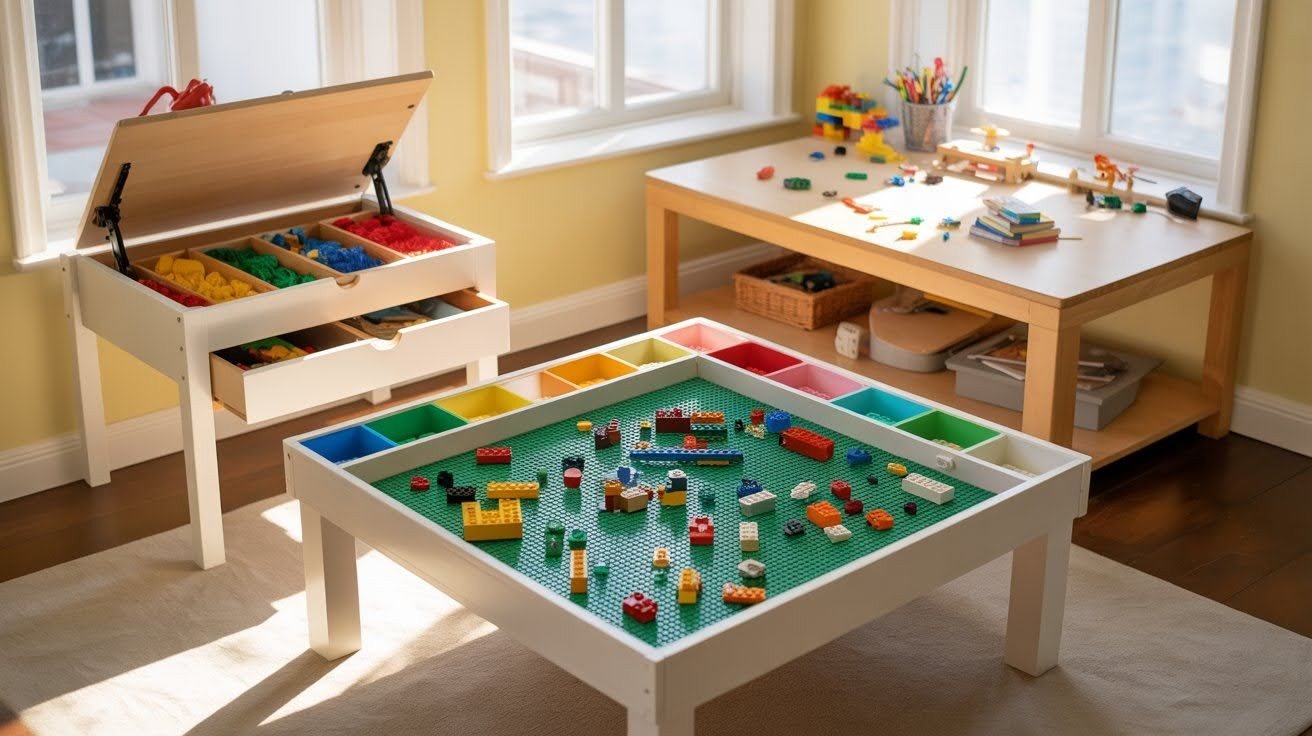
Get creative with these table designs that fit any space, family size, or need for multiple uses beyond just Lego building.
For Small Spaces:
Tight on room? Build a compact table that fits in corners or against walls. Use pull-out drawers underneath to maximize vertical space.
A 24×24 inch table works perfectly for apartments or shared bedrooms. Mount it at desk height so it doubles as a homework station when needed.
For Multiple Kids:
Large families need bigger surfaces. A 4×4 foot table gives everyone their own building zone. Add color-coded storage bins so each child has their own section.
This reduces fights over pieces and teaches organization skills. Label each bin with names or colors for easy identification.
Convertible Designs:
Make your table work harder with reversible features. Attach baseplates to one side and leave the other smooth for crafts or homework. Use removable tops that lift off completely.
Store the Lego surface in a closet and use the table for other activities. This flexibility helps the table grow with your kids’ changing interests.
Final Thoughts
Building this Lego table is just the start. Feel free to add your own touches. Paint it in your kids’ favorite colors. Add extra storage where you need it most. Make it yours.
A good Lego table does more than hold bricks. It gives your children a dedicated space to build and imagine. No more stepping on pieces or losing special builds. Everything has a place.
Your home stays cleaner. Your kids stay creative. And you made something that will last for years. That’s a win all around.
Now grab your tools and get started. Your family will thank you.
Frequently Asked Questions
What size should I make my Lego table?
Most tables work well between 24×24 inches for small spaces and 48×48 inches for multiple kids. Measure your room first and plan around standard 10-inch Lego baseplates for easy fitting.
Can I use a regular table instead of building from scratch?
Yes, IKEA Lack tables or old coffee tables make perfect bases. Just add a border frame, attach baseplates on top, and include storage bins underneath for a quick conversion.
How do I attach Lego baseplates to the table?
Strong adhesive works for permanent attachment, while Velcro strips let you remove and replace plates later. Leave small gaps between plates to prevent buckling as wood expands over time.
What type of wood is best for this project?
Plywood is affordable and sturdy for tabletops. Use solid pine or poplar for legs and frame pieces. Avoid particle board as it breaks down quickly with rough play.
How much does it cost to build a DIY Lego table?
Expect to spend $50 to $150 depending on size and materials. Using a pre-made table base and basic storage bins keeps costs low while building from scratch with custom features costs more.