A DIY camp shower is a homemade portable shower system you can build for outdoor trips. I’ll show you exactly how to make one that works great and costs less than store-bought options.
In this guide, I cover everything you need: the three main shower types, materials to buy, step-by-step assembly, and how to use and maintain your setup.
I’ve built several of these myself, and they work perfectly for camping, beach days, and festivals.
You’ll get simple instructions that anyone can follow. No special skills needed. This DIY camp shower keeps you clean on the trail without breaking the bank.
Let’s get started.
Why Make Your Own DIY Camp Shower?
Cost savings add up fast. Store-bought camping showers often cost $50 to $150 or more. A homemade version uses basic parts you can find at any hardware store for under $30.
You control the design. Want stronger water pressure? Need a bigger tank? Building your own lets you customize every detail. I’ve made mine fit perfectly in my truck bed.
It’s versatile for many uses. Beyond showering, you can rinse gear, wash dishes, or clean muddy boots. One camper I know uses his for rinsing off dogs after hiking.
Store-bought models break easily and have parts you can’t replace. When you build your own, you know how everything works. Fixing it on the trail becomes simple.
Types of DIY Camp Showers
Each design offers different benefits depending on your camping style and needs.
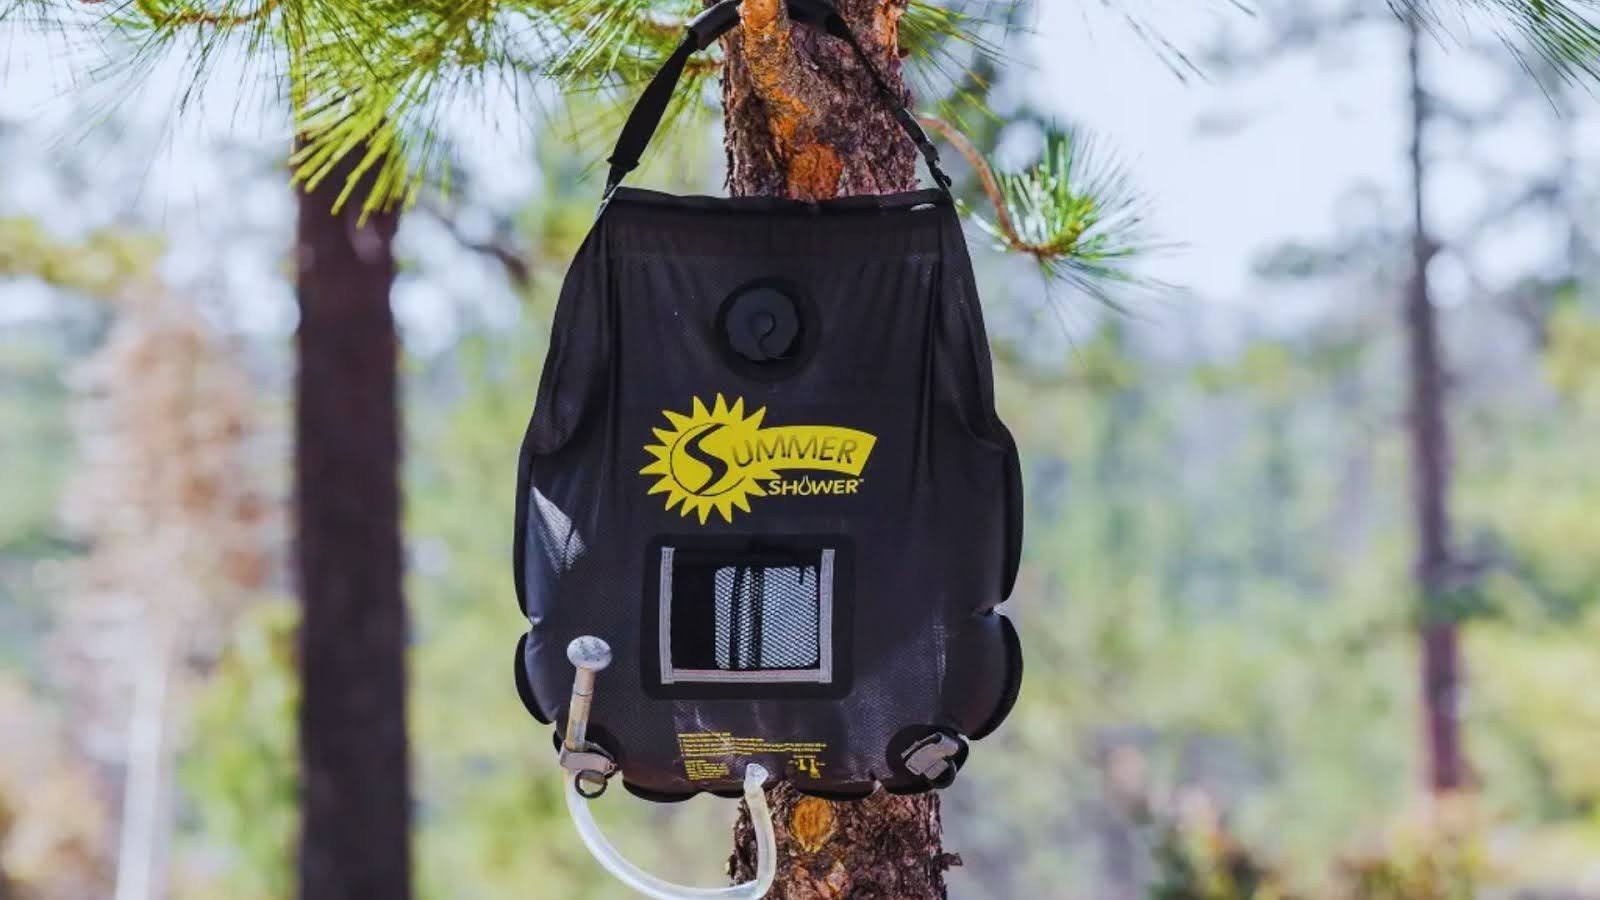
- Gravity-Fed Bag Showers: This design uses a water bag hung from a tree branch or tall post. The sun heats the water naturally throughout the day.
Best for ultralight backpackers. These weigh almost nothing and pack small. I’ve used one on week-long trips with no issues. The flow isn’t strong, but it gets the job done.
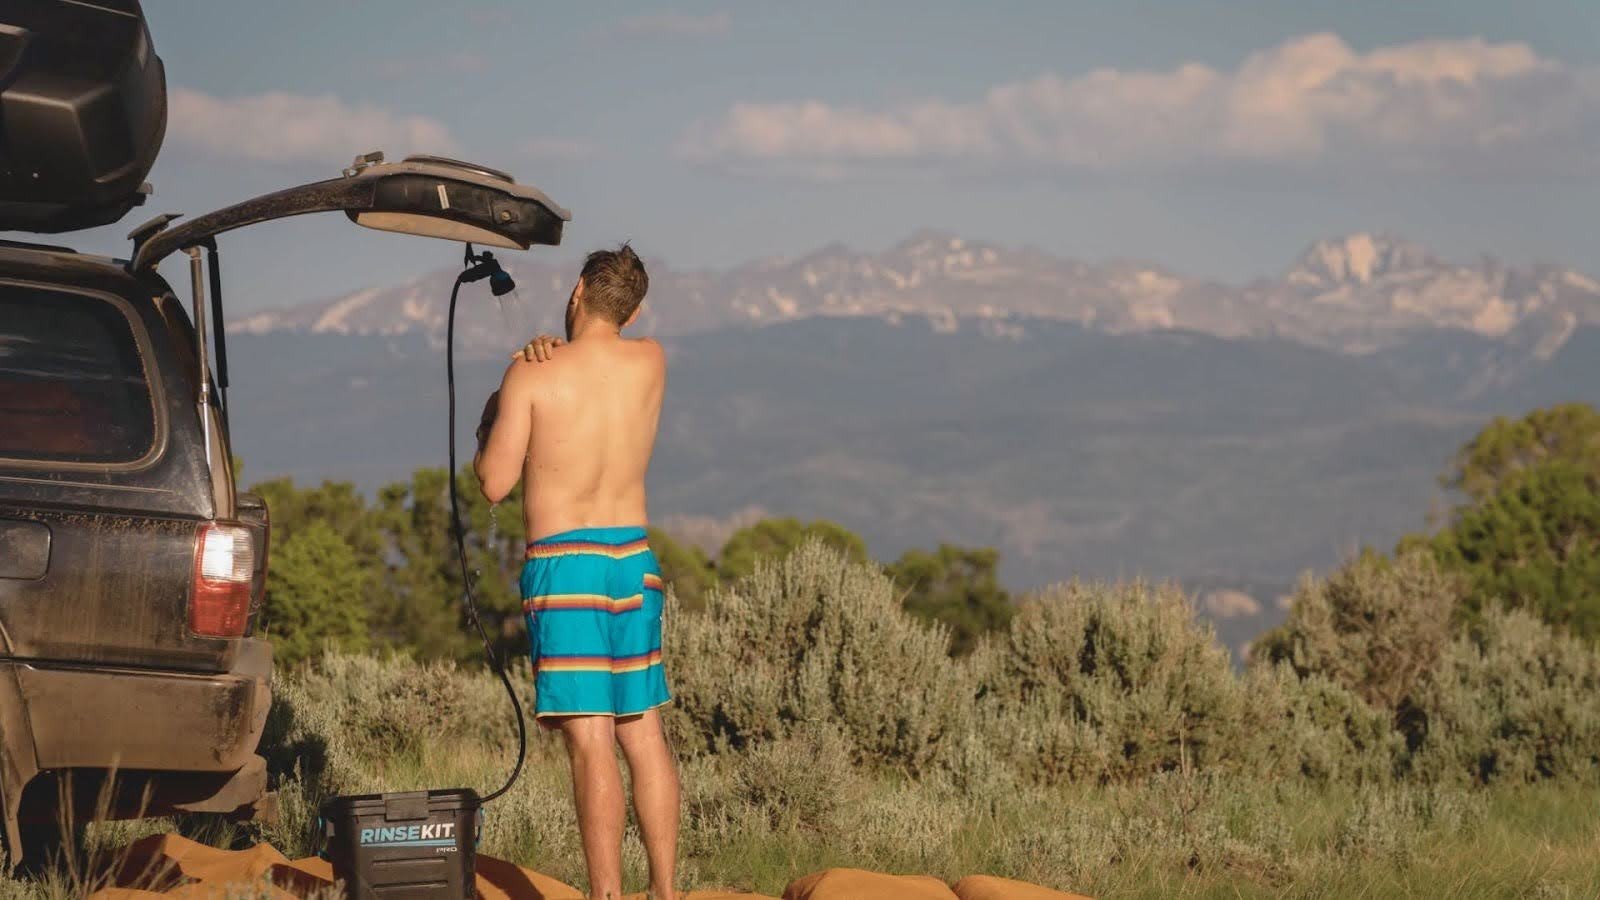
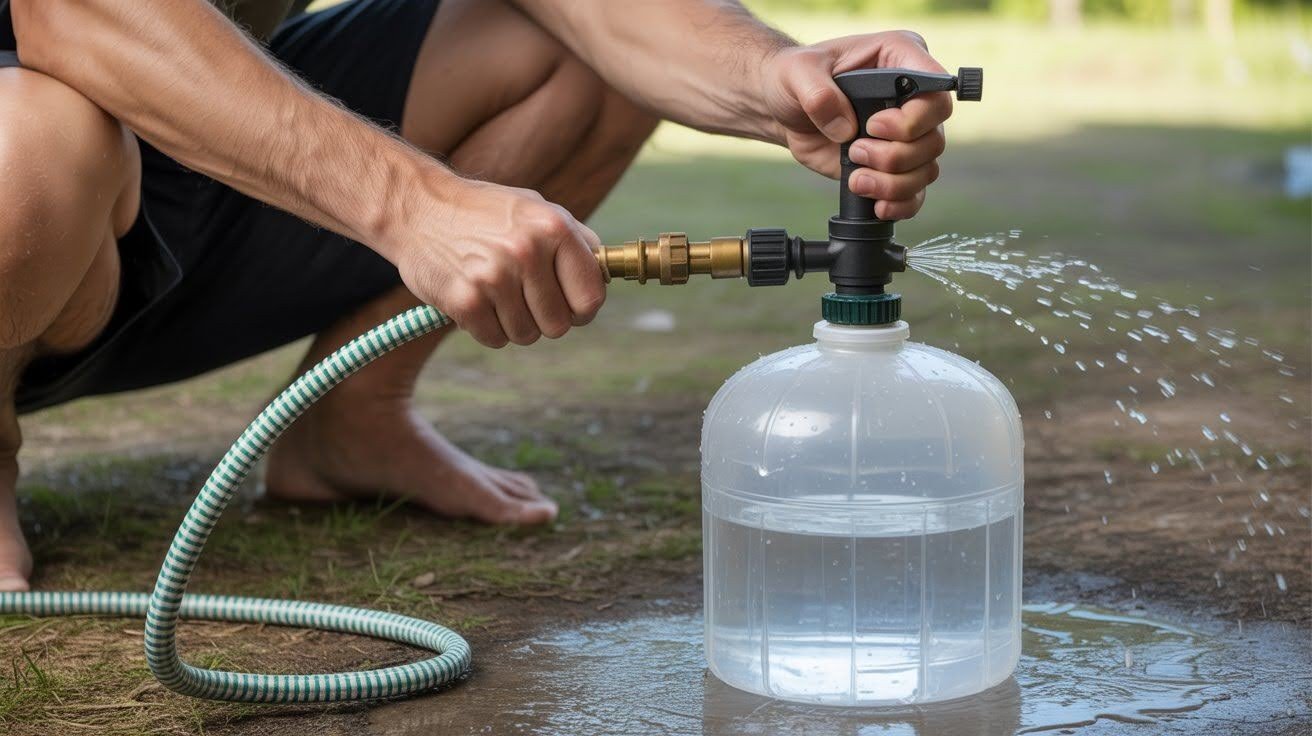
- Pressurized Garden Sprayer Showers: A pump-style garden sprayer creates real water pressure. You pump the handle to build pressure, then spray water through an attached nozzle.
This gives you the best pressure. It feels more like a real shower. You can stand farther from the water source. I prefer this style for car camping where weight doesn’t matter.
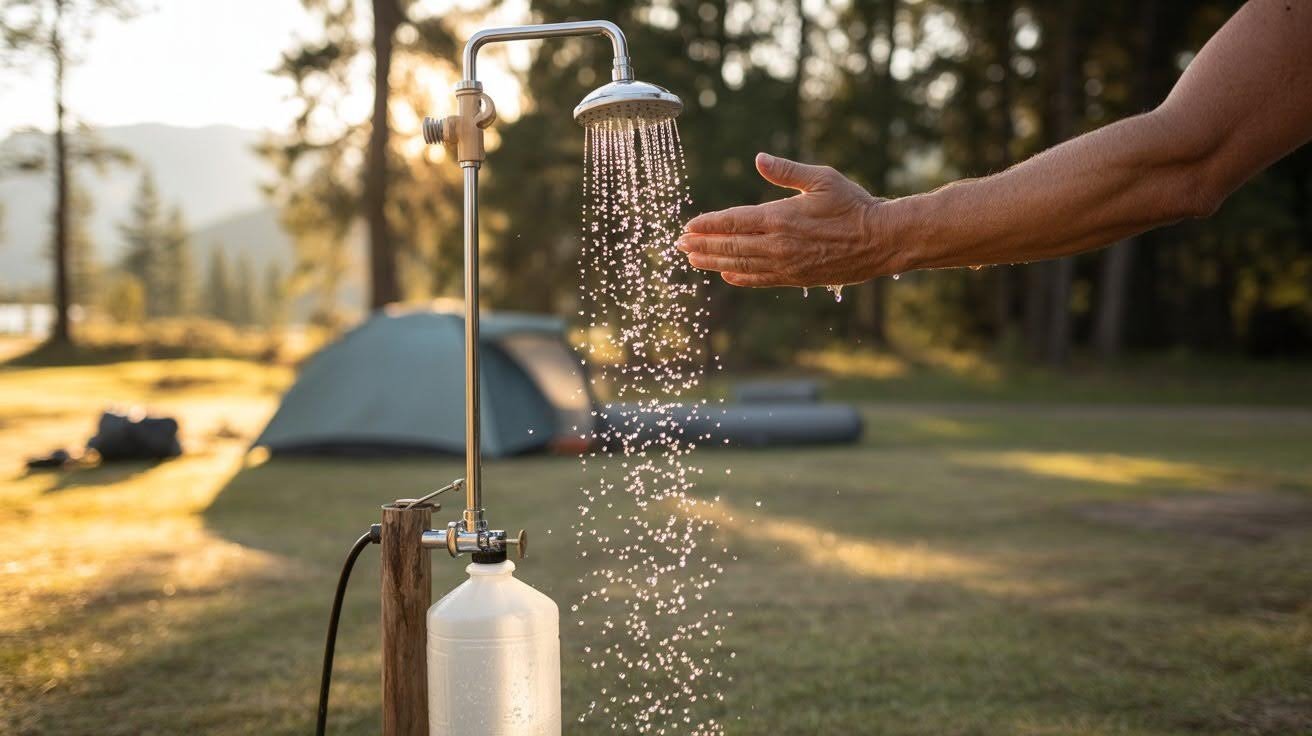
- Roof-Mounted Solar Pipe Showers: PVC or ABS pipes mounted on your vehicle roof collect and heat water. Black pipes absorb sunlight all day long.
Perfect for overlanding trips. The water stays warm for hours after sunset. You need a vehicle with roof racks, but the setup provides hot showers every night.
Materials and Tools You’ll Need

A garden sprayer or PVC pipe forms your main water container. A 2-gallon sprayer works well for solo campers. Families need 5 gallons or more. Pick based on which design you choose.
Hose adapter and spray nozzle control water flow. Look for adjustable nozzles that let you switch between spray patterns. I like ones with shut-off valves built in.
Hose clamps or fittings keep everything sealed tight. Leaks ruin camping trips fast. Use metal clamps instead of plastic when possible.
Black paint or thermometer strip helps track water temperature. Black paint absorbs 30% more heat than unpainted containers. A stick-on thermometer strip shows when water hits the right temperature.
Mounting brackets attach pipe showers to roof racks. Get ones rated for outdoor use. Rust-resistant materials last longer.
Quick-release valve or pressure gauge adds control. Gauges prevent over-pressurizing your system. Quick-release valves let you dump pressure safely.
Step-by-Step DIY Camp Shower Build
Follow these four simple steps to build a working camp shower in under an hour.
Step 1: Prepare Your Container
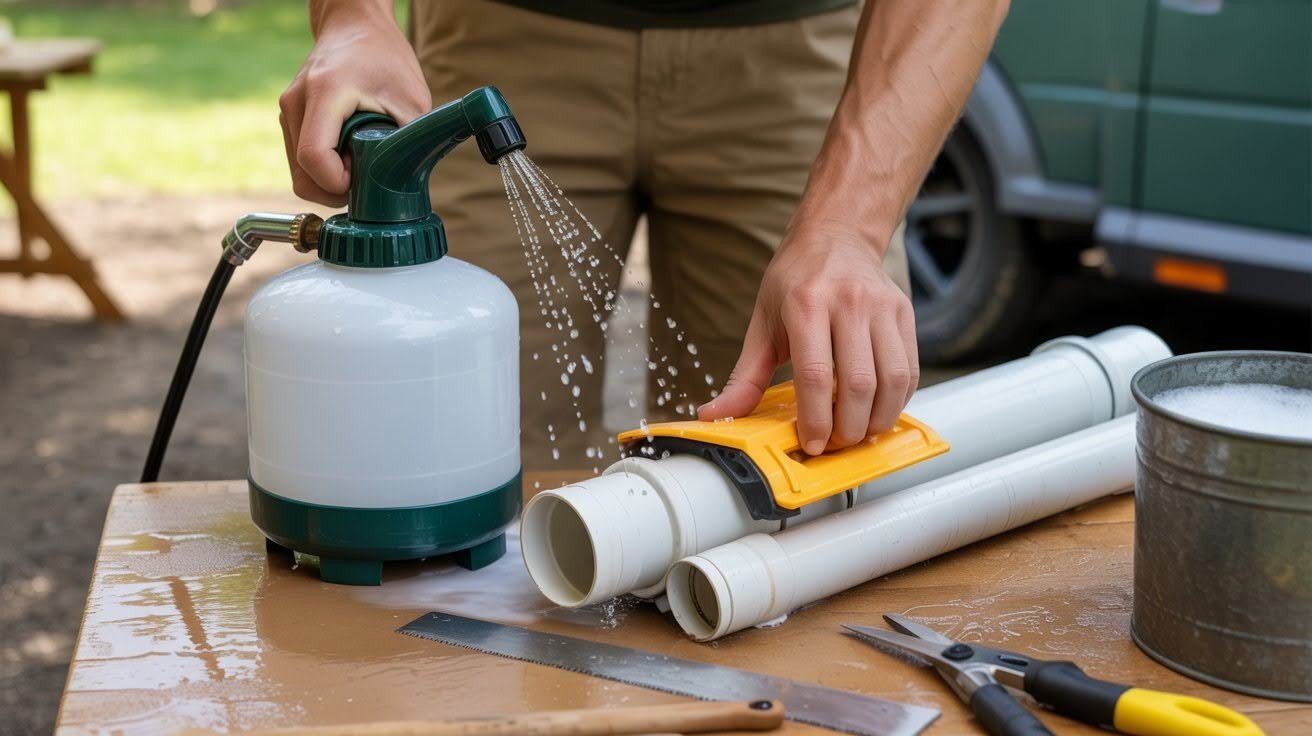
Start with a clean garden sprayer. Remove any chemical residue inside. I wash mine three times with hot soapy water.
For PVC designs, cut your pipe to length. Most roof setups use 4-foot sections. Sand the cut edges smooth so they don’t scratch your vehicle.
Check all parts for cracks or damage. A small crack now becomes a big leak later.
Step 2: Attach the Hose and Nozzle
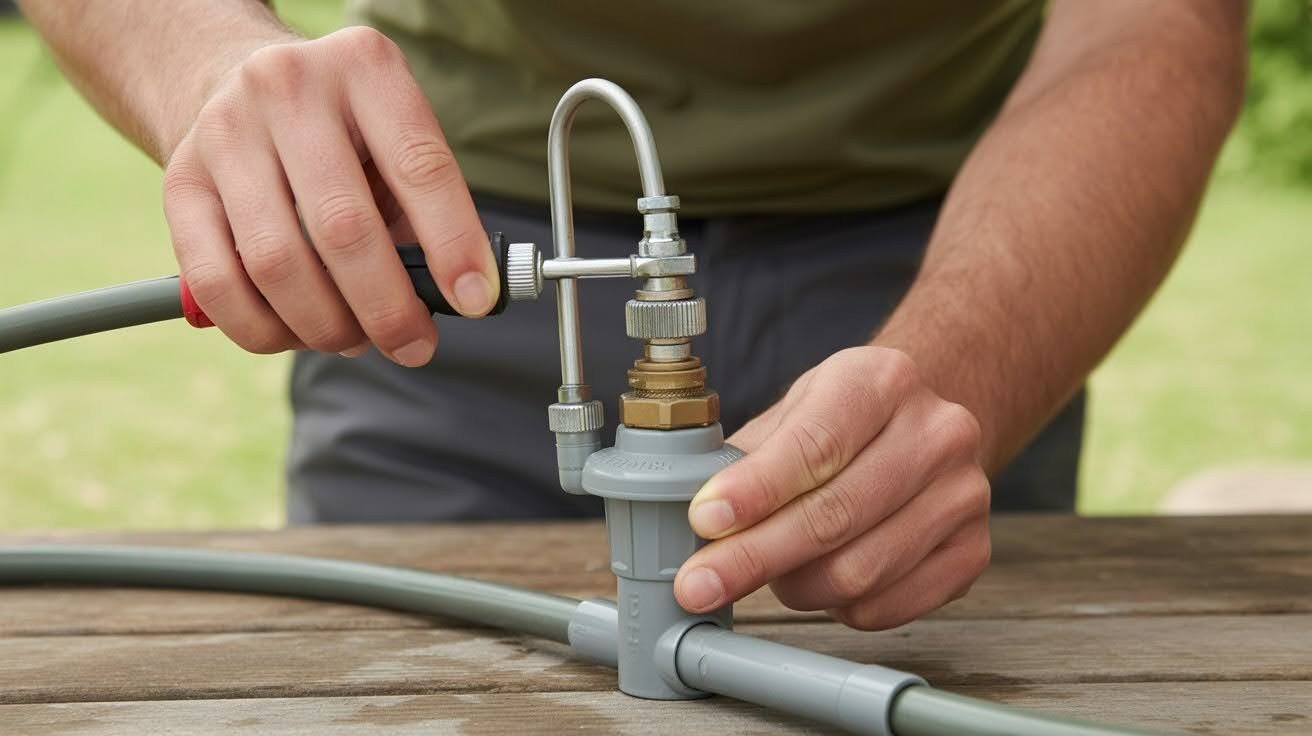
Connect the hose barbed adapter to your spray nozzle first. Push it on firmly until it seats completely.
Slide a hose clamp over the connection. Tighten it with a screwdriver until snug. Don’t overtighten or you’ll crack the plastic.
Attach the other end to your sprayer or pipe system. Use the same clamping method. Test each connection by pulling gently.
Step 3: Pressurize the System
Fill your container halfway with water for testing. Pump the handle 10 to 15 times for sprayer systems.
You should feel resistance building. Stop when pumping gets hard. An air compressor works too, but hand pumping is safer for beginners.
Open the nozzle briefly to check pressure. Water should spray out steadily. Too much pressure means you pumped too many times.
Step 4: Test and Adjust
Spray water on the ground and watch the pattern. A good shower head creates a wide, even spray.
Check how far the water reaches. You want at least 3 feet of spray distance. Less than that feels too weak.
Temperature matters too. Leave the filled container in the sun for 2 hours. Test the warmth with your hand before showering. Adjust heating time for next use.
Using and Maintaining Your DIY Camp Shower
Proper care keeps your shower working great for years of camping trips.
- Set your filled container in direct sunlight early in the day for best heating results
- Black containers heat faster than other colors and reach comfortable warmth in 2 to 3 hours
- Insulate heated containers with a towel to keep water warm until shower time
- Drain all water after each camping trip and shake out remaining drops to prevent mold
- Rinse the inside with clean water twice, then dry completely before storage
- Leave caps off during storage to let air circulate and prevent moisture buildup
- Check rubber seals and gaskets before each trip and replace worn parts right away
Conclusion
Building your own DIY camp shower changed how I camp. No more cold rinses or skipping showers for days. Mine cost $25 and still works after dozens of trips.
Start simple with a pressurized sprayer. You’ll have hot water ready in one afternoon. The first time I used mine after a dusty hike, I felt like I was at a resort.
Give it a try this weekend. Drop a comment below and tell me how your build turns out. I’m here to help if you hit any snags.
Frequently Asked Questions
How much water do I need for one shower?
Most people use 2 to 3 gallons for a full shower. You can cut that to 1 gallon if you just rinse off quickly.
Can I use regular tap water in my camp shower?
Yes, tap water works great. Some campers use lake or stream water, but that needs filtering first to stay safe.
How long does water stay warm in a black container?
Water holds heat for 2 to 4 hours after removing it from the sun. Wrapping the container in a towel helps it stay warm even longer.
What’s the best way to hang a gravity shower?
Use a sturdy tree branch at least 7 feet high. A roof rack or tall tripod works well when trees aren’t around.
Do I need special soap for outdoor showers?
Biodegradable soap is best for nature. Regular soap can harm plants and animals near your camping spot.