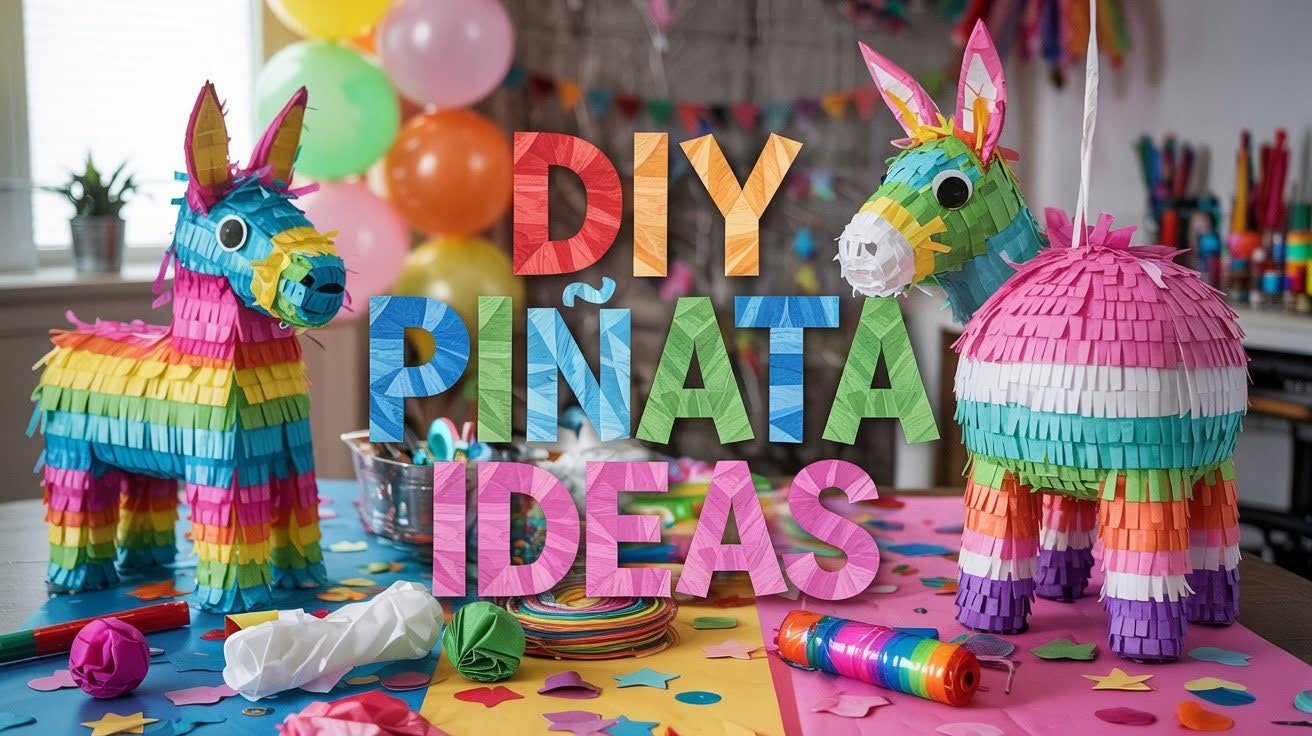
I remember the first time I made a piñata with my kids. We thought it would be super difficult, but it turned out to be one of our favorite crafting afternoons together!
A piñata is a colorful container filled with candy and treats that guests break open at parties. Making one yourself is a fun activity that brings everyone together.
You only need basic supplies you probably already have at home: cardboard, balloons, and tissue paper. No fancy tools or expert skills required.
In this guide, I’ll share both quick methods and traditional techniques that worked for us. Let’s create something special for your next celebration!
Why Making Your Own Piñata Is Worth It
Creating your own piñata is more than just a fun craft. It’s a budget-friendly way to add a personal touch to any celebration.
You can customize the shape, colors, and decorations to match your party theme perfectly. It works for a child’s birthday, a holiday gathering, or any festive family event.
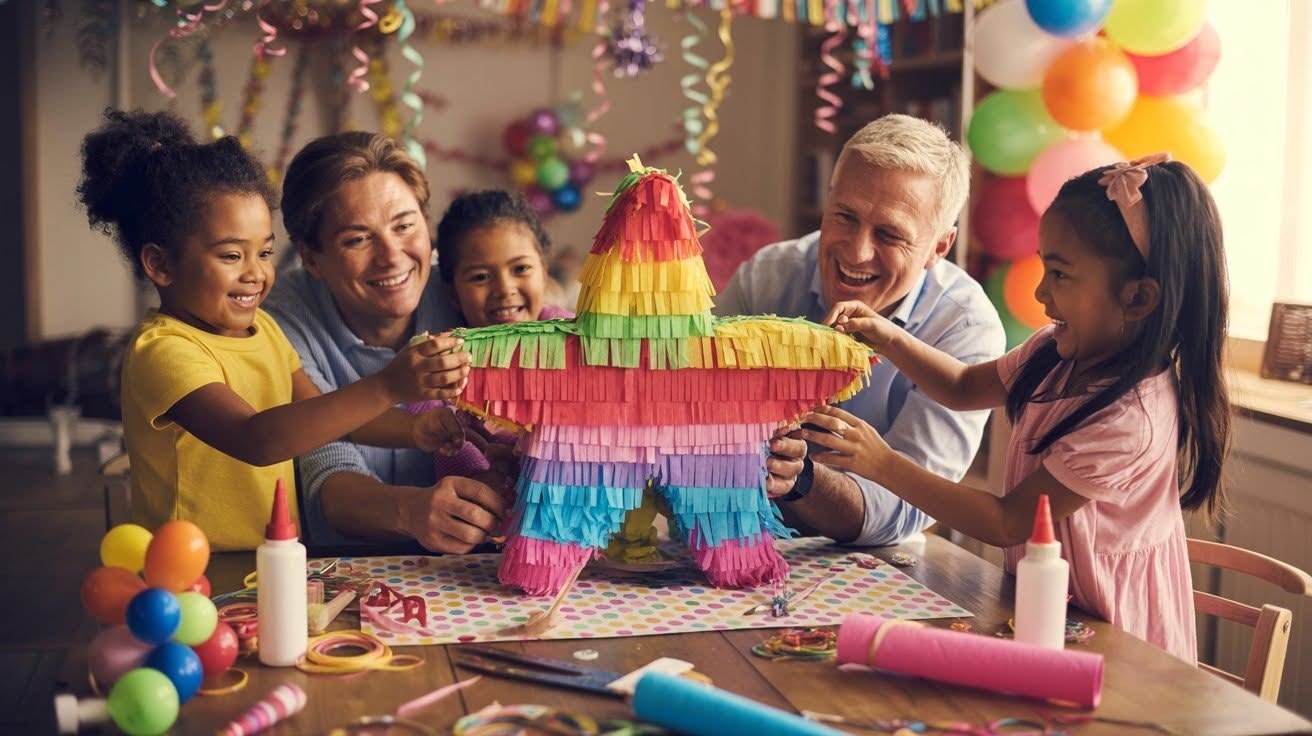
The best part? It’s an enjoyable DIY project that both kids and adults can participate in. Working together on the piñata turns party preparation into a shared memory that everyone will remember.
Making your own piñata gives you creative control while saving money. You decide what goes inside, how it looks, and how big it should be. The process itself becomes part of the celebration, not just the final product.
What You’ll Need to Make a DIY Piñata
You don’t need to spend a lot of money or visit specialty stores. Most of these items are already in your home or easy to find at any local shop.
Common Materials
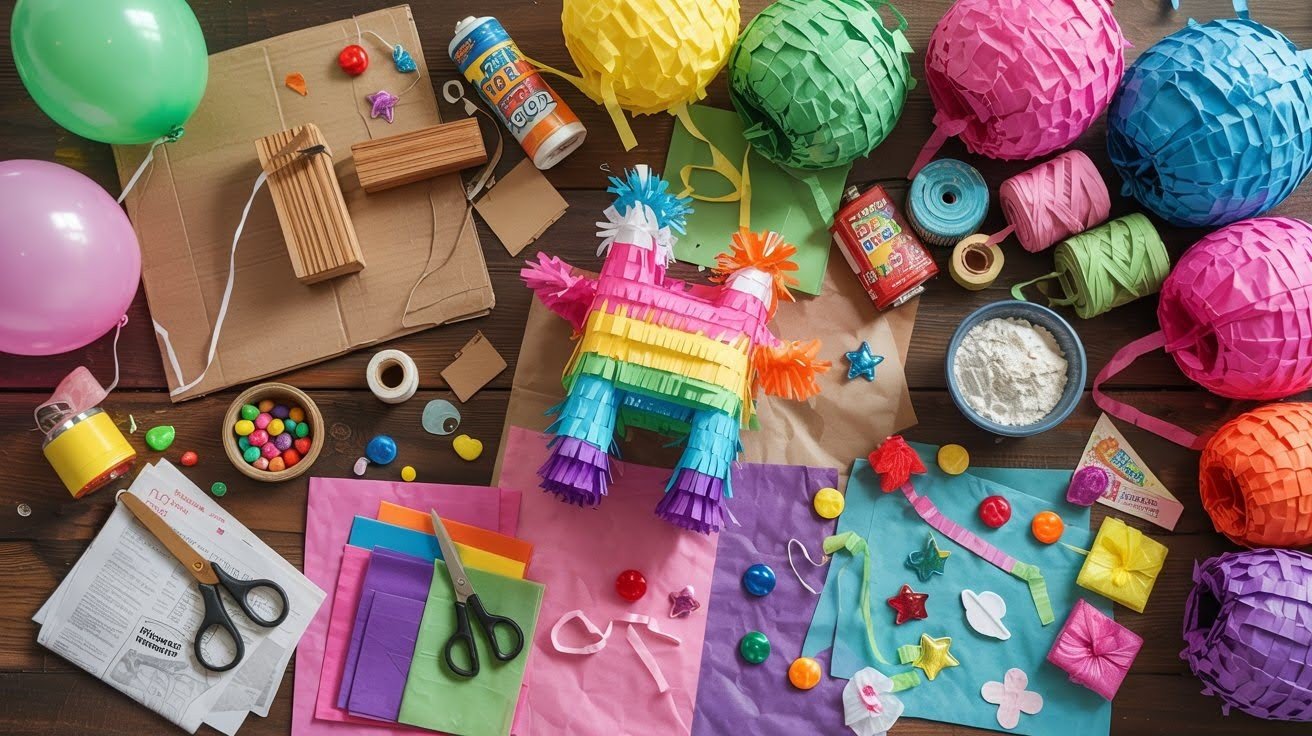
Here’s your basic supply list:
- Cardboard boxes or balloons (for the base structure)
- Newspaper or paperboard (to build layers)
- Tissue paper or crepe paper streamers (for the colorful outside)
- Flour and water for papier-mâche, or use masking tape for a quicker option
- Scissors, glue, and string or rope (to hang it up)
- Candy and small toys (the fun stuff inside!)
Optional Supplies for Decoration
Want to make your piñata extra special? Add these:
- Paint, markers, stickers, and glitter (for personality and sparkle)
- Printed photos or themed cutouts (perfect for birthday parties or special occasions)
The beauty of making your own piñata is that you can customize it however you like. Use what you have and get creative!
Easy DIY Piñata Ideas for Every Occasion
Choose from these five simple piñata styles based on your time, materials, and party theme. Something here works for everyone.
1. Classic Balloon Piñata
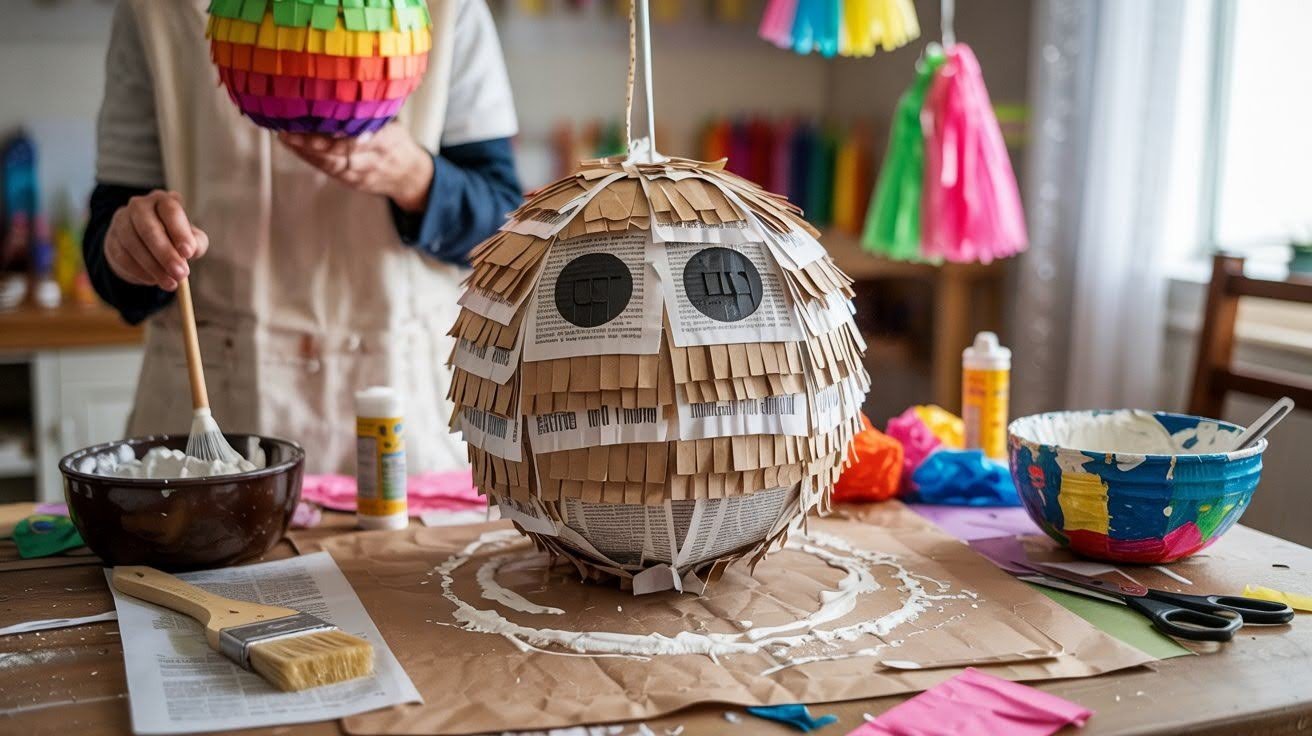
This is the traditional method that many of us grew up with. Blow up a balloon and cover it with strips of newspaper dipped in flour paste.
Let each layer dry before adding the next one. After three to four layers, pop the balloon inside. This technique works great for round shapes or animal designs like fish or bugs.
2. Cardboard Box Piñata
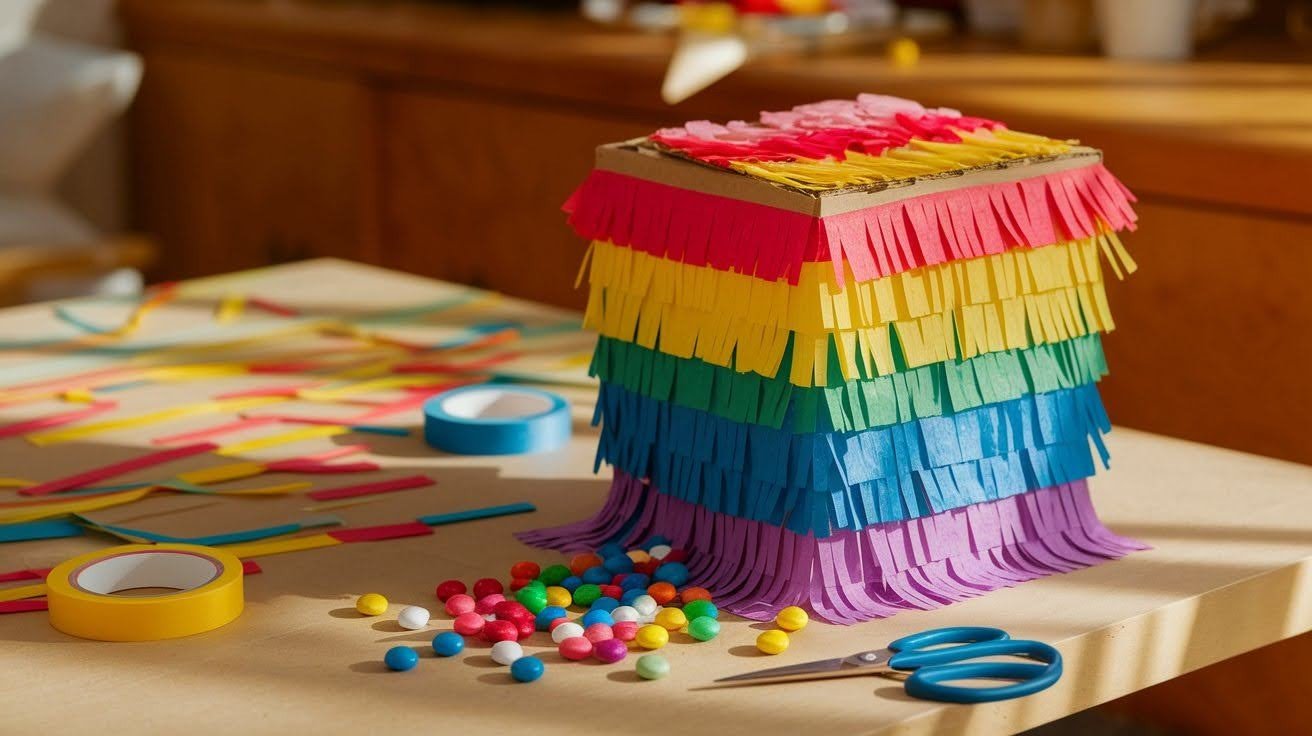
Need a piñata fast? This is your best option. Grab a cardboard box and cut a small flap on top for filling. Tape it securely, add candy inside, then cover the entire box with colorful tissue paper fringe.
It’s mess-free and takes just a couple of hours from start to finish. Perfect for busy parents planning last-minute birthday parties.
3. Shaped Piñatas for Kids
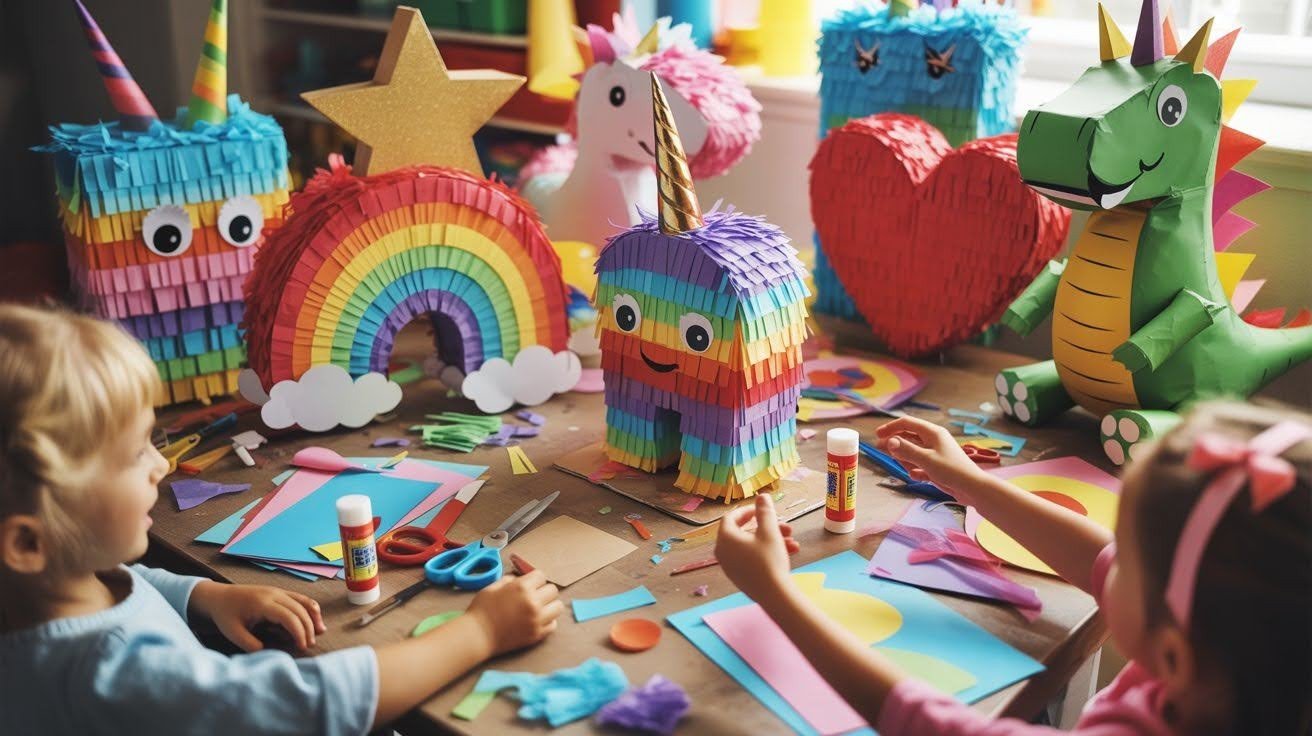
Kids love piñatas in fun shapes like rainbows, stars, cacti, or hearts. Draw your shape on cardboard and cut two identical pieces. Connect them with cardboard strips around the edges to create depth.
These work wonderfully for themed parties: think princess castles, dinosaurs, rockets, or unicorns. Let your child help choose and decorate their favorite design.
4. DIY Number Piñata
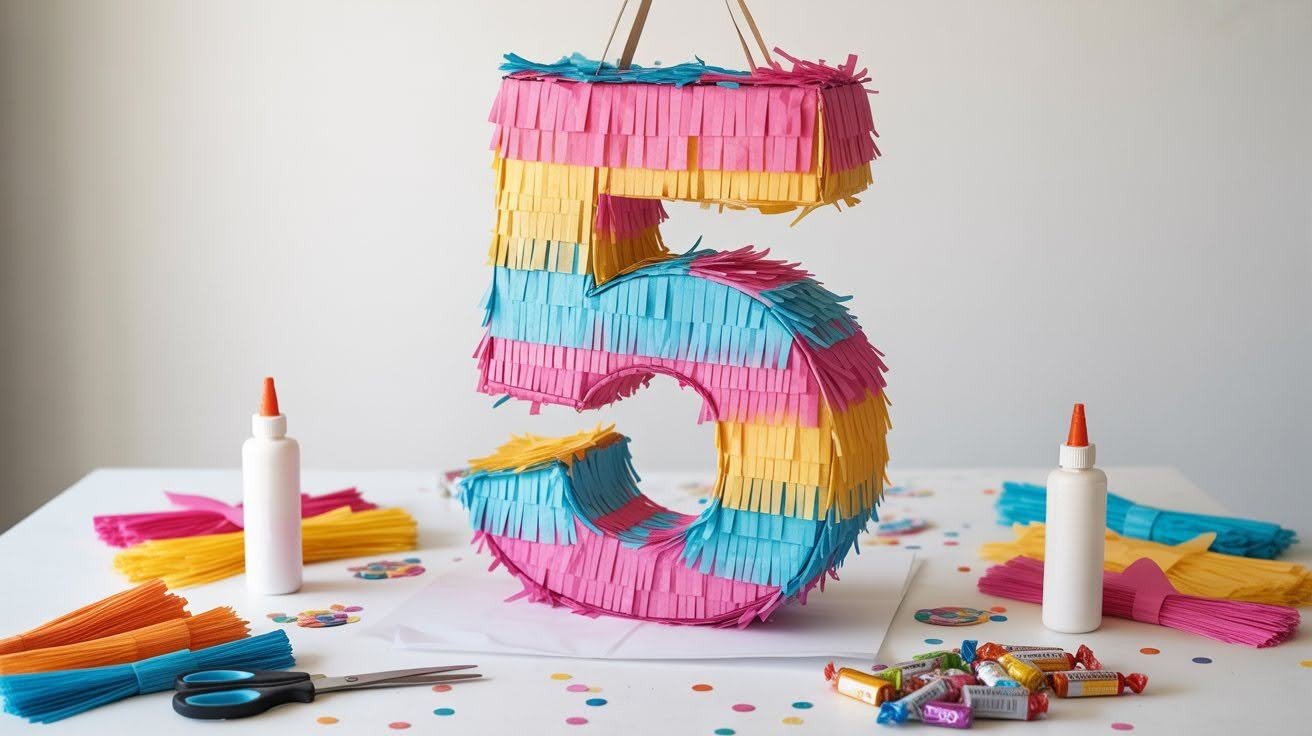
Celebrating a special age or anniversary? Number piñatas look impressive and are surprisingly simple to make.
Draw a large number on cardboard, cut two copies, and attach them with strips to form a 3D shape. Leave an opening at the top for candy. Cover with tissue paper in your party colors for a clean, professional finish.
5. Mini Piñatas for Party Favors
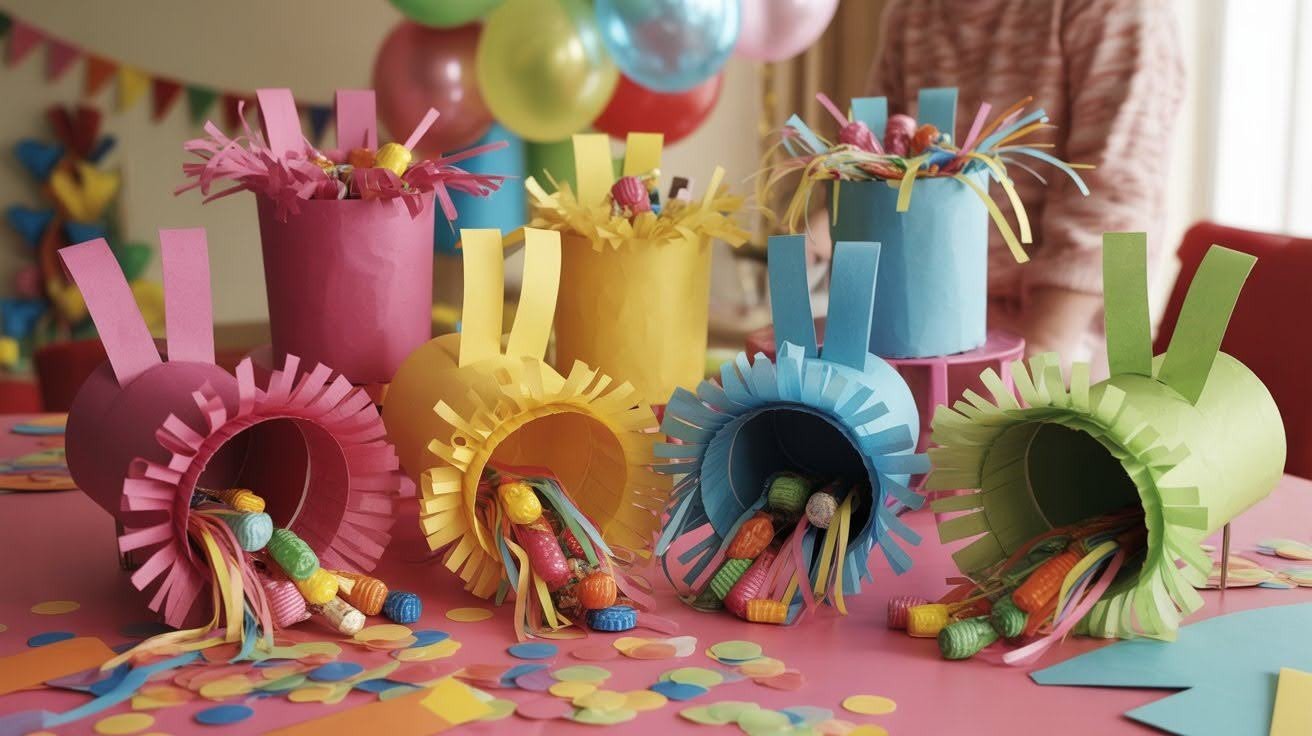
These adorable tiny versions make great party favors or classroom activities. Use paper cups or small boxes as your base. Kids can make their own and take them home.
They’re also perfect for individual treats instead of one large piñata. Fill them with a few candies, stickers, or small trinkets for each guest.
Step-by-Step Guide: How to Make a Piñata
Follow these five straightforward steps to create your piñata from start to finish. Each stage builds on the last for success.
Step 1: Choose Your Design
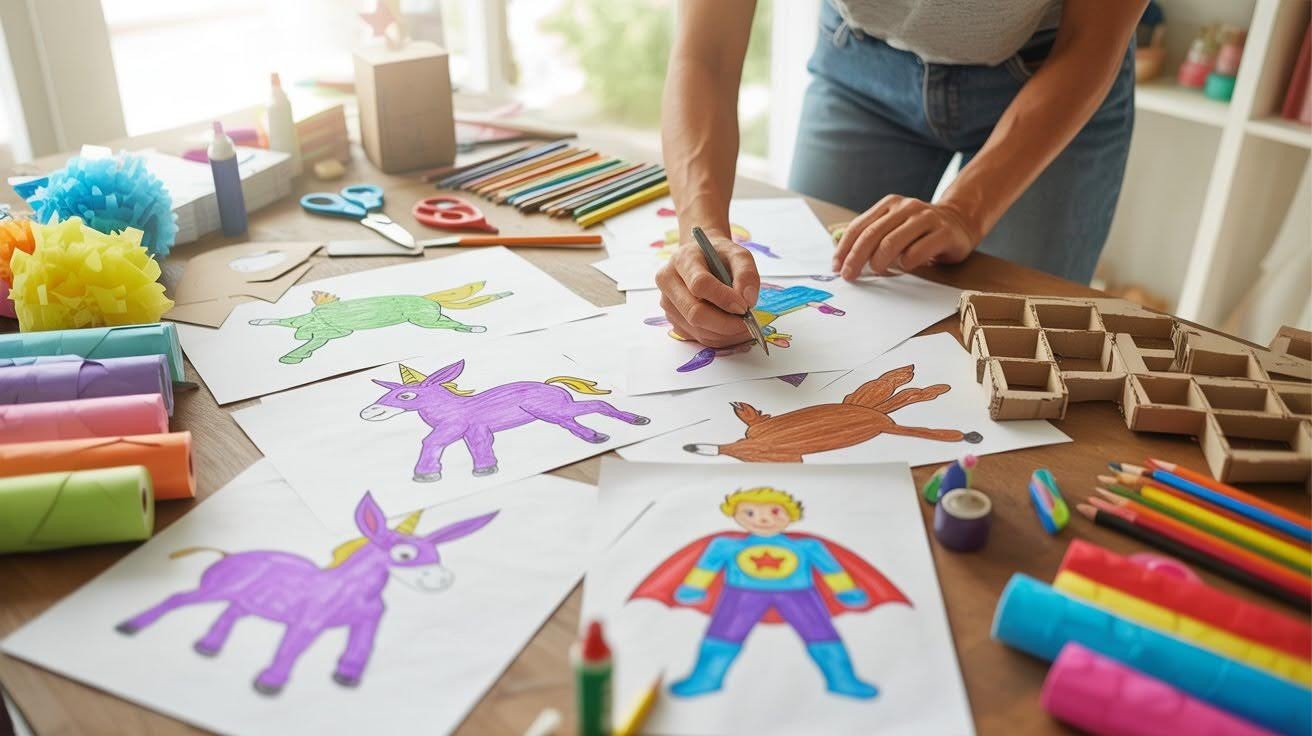
Before you start cutting or gluing anything, decide what you want to make. Think about your party theme and who it’s for.
A birthday boy might love a superhero shape, while a baby shower could use a cute animal. Sketch your idea on paper first. This helps you plan the size and figure out how much material you’ll need.
Step 2: Build the Structure
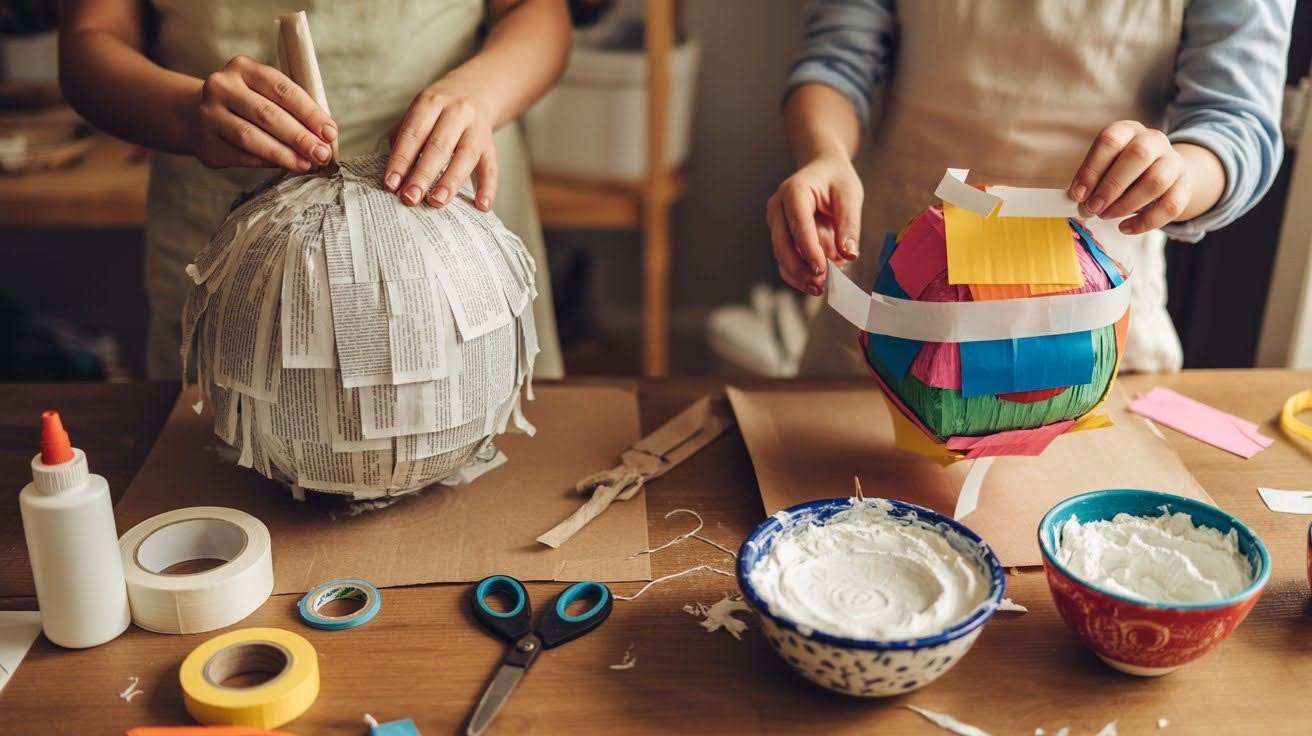
Now it’s time to create your base. For the balloon method, blow it up to your desired size and start applying papier-mâche layers. Let each layer dry completely.
For the cardboard method, cut two identical shapes and connect them with strips around the edges. Make sure everything is taped or glued firmly so it can handle being hit with a stick later.
Step 3: Add the Candy Opening and String
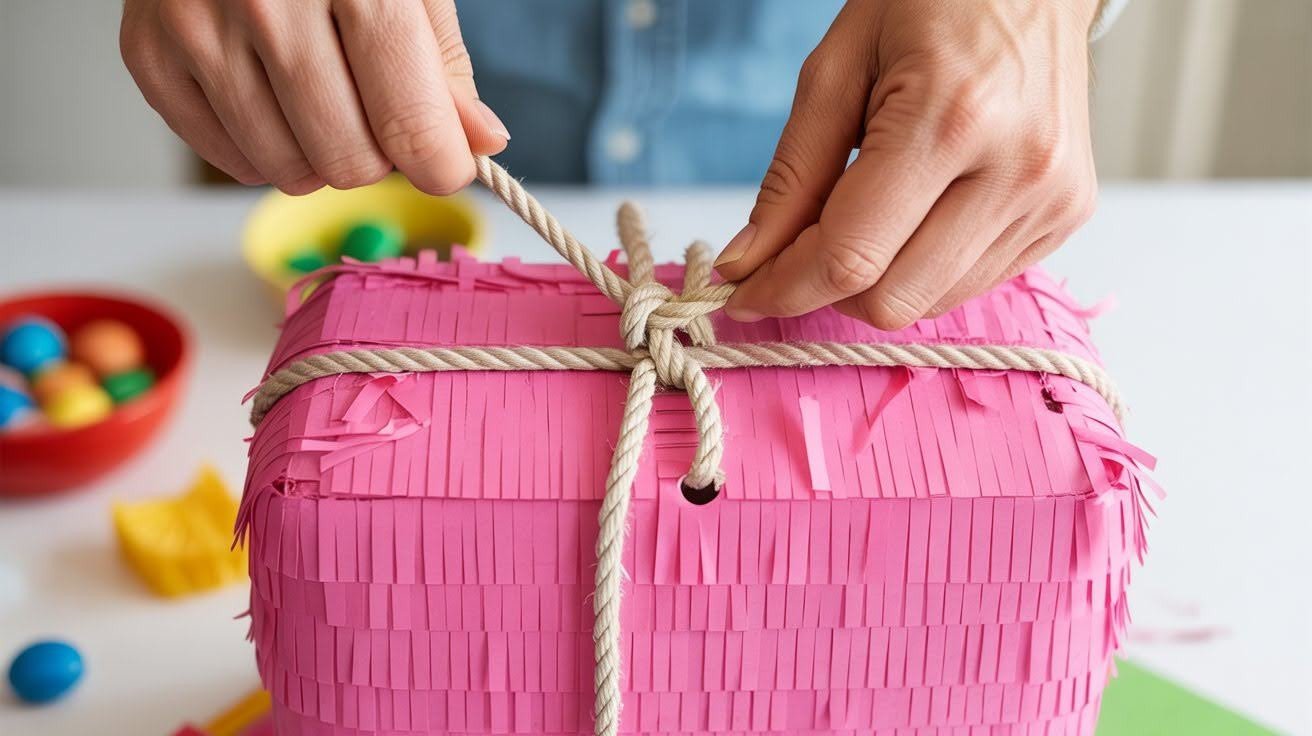
Cut a small flap at the top of your piñata before you finish sealing it completely. This is where you’ll add the candy later.
Poke two holes near the opening and thread strong rope or string through them. Tie several knots to make sure it won’t rip out when the piñata is hanging and getting whacked. Test the strength by pulling on it.
Step 4: Decorate with Fringe
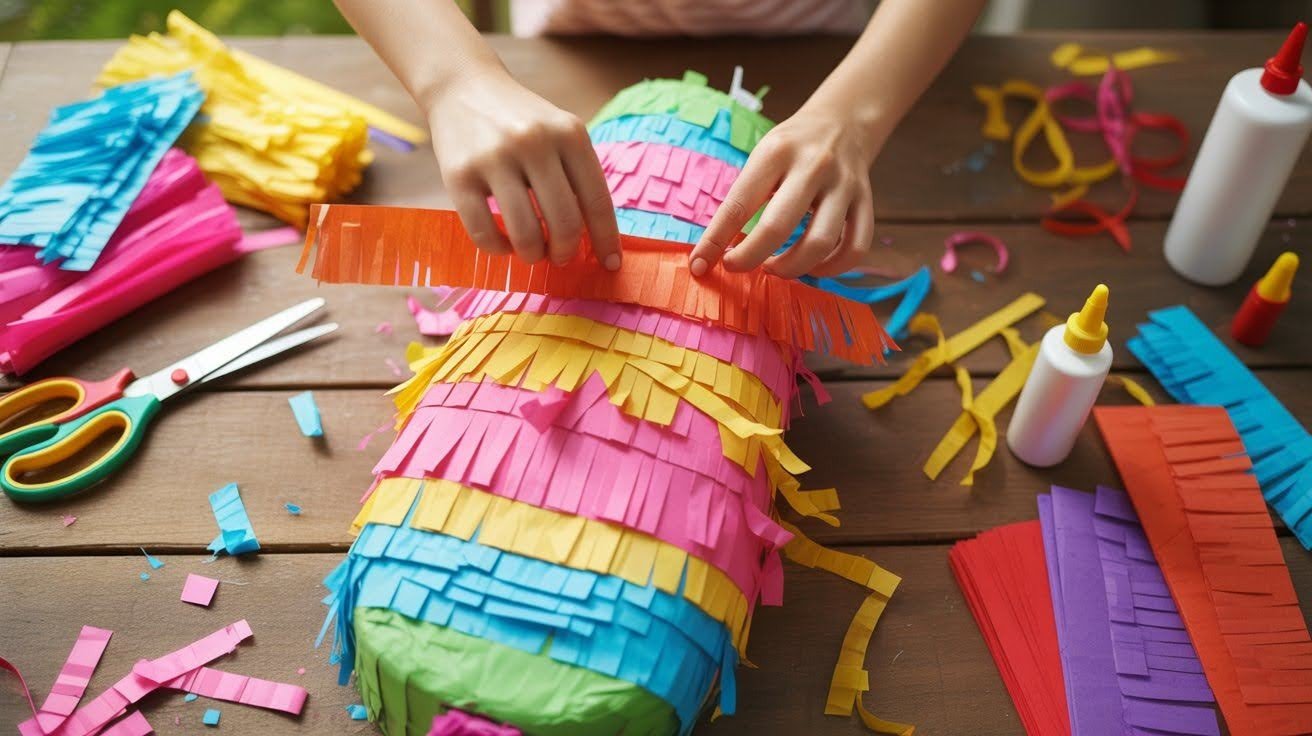
Cut your tissue paper into strips about two inches wide. Snip one edge to create fringe, leaving about half an inch uncut at the top.
Start gluing or taping the fringe at the bottom of your piñata and work your way up. Overlap each row slightly so you can’t see the base underneath. Mix colors to create patterns or gradients for extra visual appeal.
Step 5: Fill and Seal
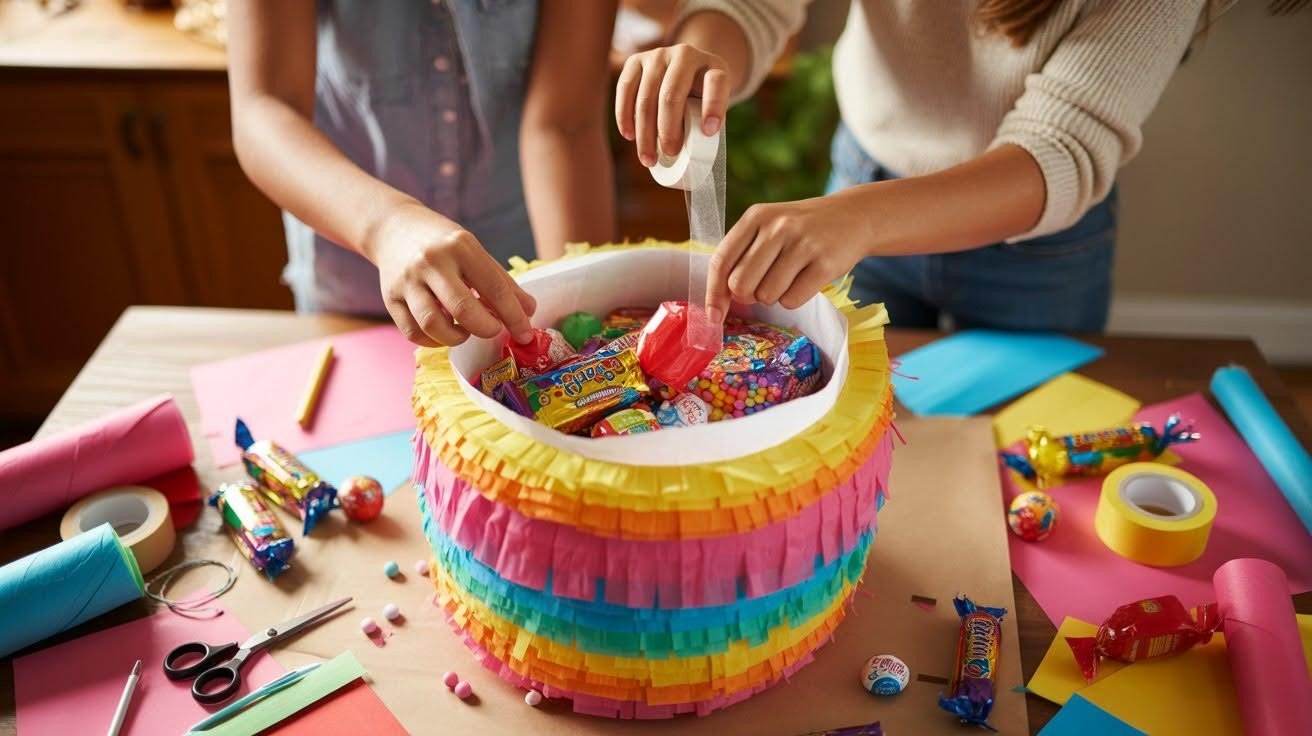
Open your flap and pour in the good stuff: candy, small toys, stickers, or confetti. Don’t overfill it, or it might break too easily. Close the flap and secure it with strong tape.
Add a final layer of tissue paper over the opening so it blends in. Give your piñata a gentle shake to make sure everything is secure before hanging it up.
Tips for the Perfect Homemade Piñata
- Use three to four layers of papier-mâche for the right strength: Too few layers and it breaks immediately. Too many and kids will struggle to open it.
- Test your hanging rope before the party by tugging hard on it: The last thing you want is the piñata falling on someone’s head during the game.
- Hang it from a sturdy tree branch or ceiling beam, not a light fixture: Make sure there’s plenty of open space around it so kids can swing safely without hitting anything.
- Store your finished piñata in a large garbage bag in a dry place: This keeps it protected from humidity and curious pets or siblings who might damage it before the party.
- Transport it in your car’s back seat or trunk with padding around it: Avoid putting heavy items on top. The tissue paper fringe can get crushed easily during travel.
- Make the piñata a day or two before your event, not weeks ahead: This prevents the candy from getting stale and keeps the structure from weakening over time in storage.
Conclusion
Making your own piñata is honestly one of the most rewarding party projects you can do.
It’s inexpensive, totally customizable to any theme, and the kids will love knowing you made it yourself. Plus, the look on their faces when they finally break it open makes all the effort worth it.
I’ve made dozens of piñatas over the years, and each one gets easier. You’ll be surprised how professional yours looks, even on your first try.
So grab some cardboard, tissue paper, and candy, and start crafting your next party hit! Your celebration deserves something homemade and special.
Frequently Asked Questions
How long does it take to make a homemade piñata?
A cardboard piñata typically takes 2 to 3 hours to complete from start to finish. The papier-mâche method needs 24 to 48 hours for drying time between layers.
What’s the easiest piñata for beginners to make?
The cardboard box piñata is the simplest option for first-timers. You just need to cut, tape, fill, and cover it with tissue paper fringe.
How much candy should I put inside a piñata?
Plan for about 3 to 5 pieces of candy per child at your party. Don’t overfill it or the piñata might break open too easily before everyone gets a turn.
Can I make a piñata without papier-mâche?
Yes, you can use cardboard and tape instead of papier-mâche for a quicker, less messy option. It works just as well and dries immediately so you can decorate right away.
How do I make my piñata strong enough but still breakable?
Use 3 to 4 layers of papier-mâche or double-layered cardboard for the structure. Test it by pressing gently. It should feel firm but give a little when pushed.