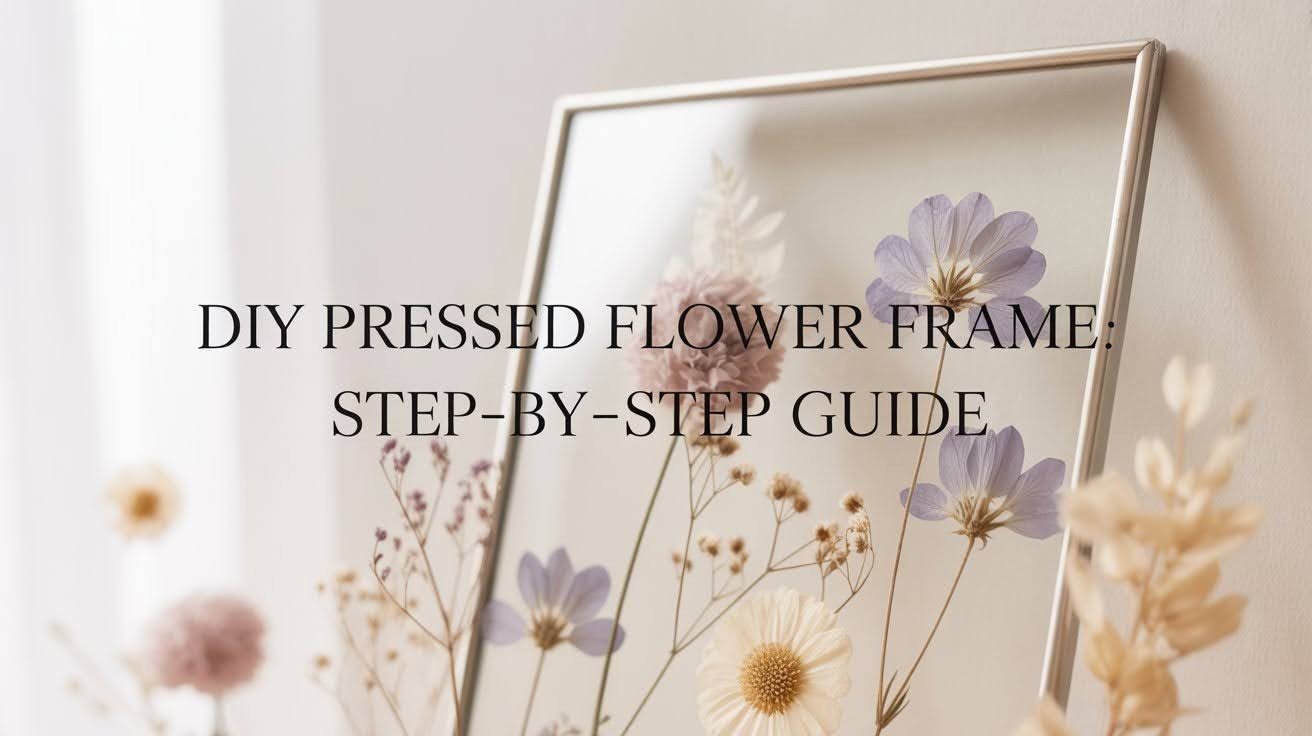
Want to learn how to make a DIY pressed flower frame? You’re in the right place. I’ll walk you through every step, from picking the perfect blooms to hanging your finished piece on the wall.
This guide covers collecting flowers, pressing them properly, arranging your design, and framing your art. I’ve made dozens of these frames myself, and I know how confusing it can feel at first.
That’s why I’m breaking it down into simple steps anyone can follow. If you’re preserving wedding flowers or creating handmade gifts, this method works beautifully.
You’ll also learn care tips to keep your frames looking fresh for years. Let’s turn those blooms into something you’ll treasure forever.
Why Make a DIY Pressed Flower Frame?
This craft is simple, affordable, and kind to the planet. You can reuse flowers from bouquets or save blooms from weddings, anniversaries, and other special days. The process itself feels calming and sparks creativity. Plus, you’ll add unique botanical touches to your home that reflect your personal style.
Making pressed flower frames costs very little compared to buying wall art from stores. Most materials you need are already in your home.
Books work just as well as fancy flower presses. You can even use frames from thrift shops or old picture frames you have lying around.
This activity also helps you slow down and focus on something peaceful. Arranging flowers takes patience and attention. It’s a break from screens and busy schedules.
Pressed flower frames make thoughtful gifts too. They show effort and care in ways store-bought items can’t match.
What You’ll Need
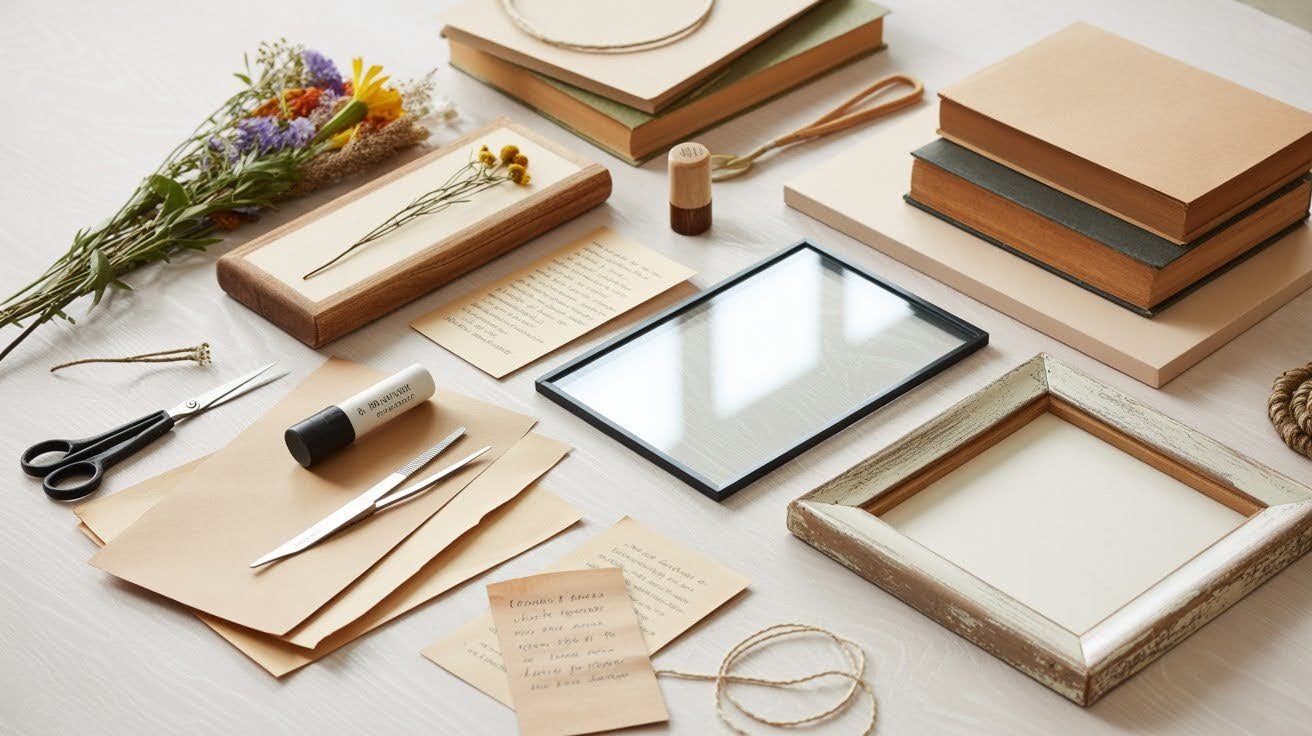
Start with fresh or dried flowers, a flower press or heavy books, and parchment or blotting paper. You’ll also need tweezers and scissors for handling delicate petals.
Grab archival glue or adhesive, mounting board or cardstock, and a glass or floating frame. Keep a pencil, ruler, and paintbrush handy for precision work.
You can add handwritten labels or memory notes to make your frame more personal. A double mat gives your piece a professional, polished appearance.
Vintage or reclaimed frames work beautifully if you want a rustic feel.
How to Make a DIY Pressed Flower Frame
Follow these simple steps to create your own pressed flower art from start to finish.
Step 1: Collect and Prepare Your Flowers
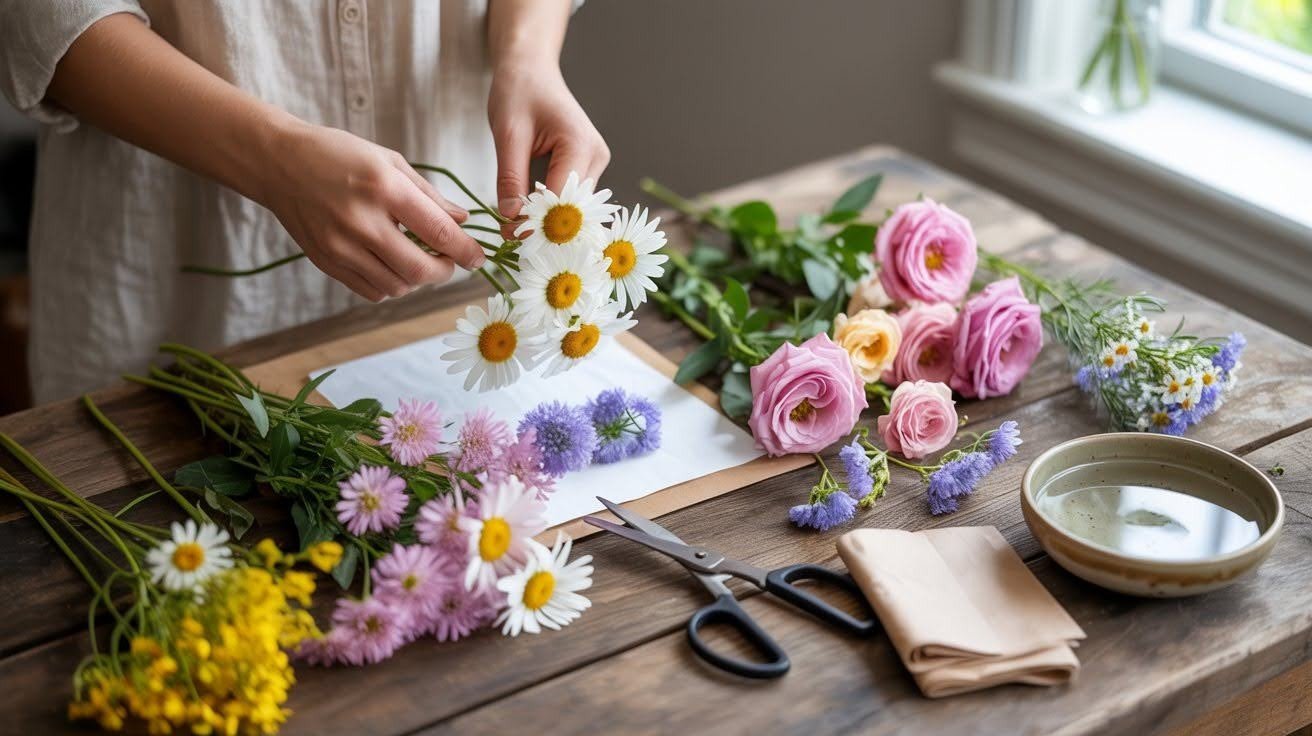
Pick fresh blooms when they look their absolute best. Gather flowers in different colors, sizes, and textures. You can use flowers from your garden, store-bought bouquets, or blooms from meaningful events.
Gently clean each bloom and pat it dry. Trim the stems short and flatten any thick petals. Skip artificial or synthetic flowers, as they don’t press well.
Step 2: Pressing the Flowers
Layer your flowers between sheets of parchment or blotting paper. Tighten the press evenly on all sides. Leave everything undisturbed for one to two weeks.
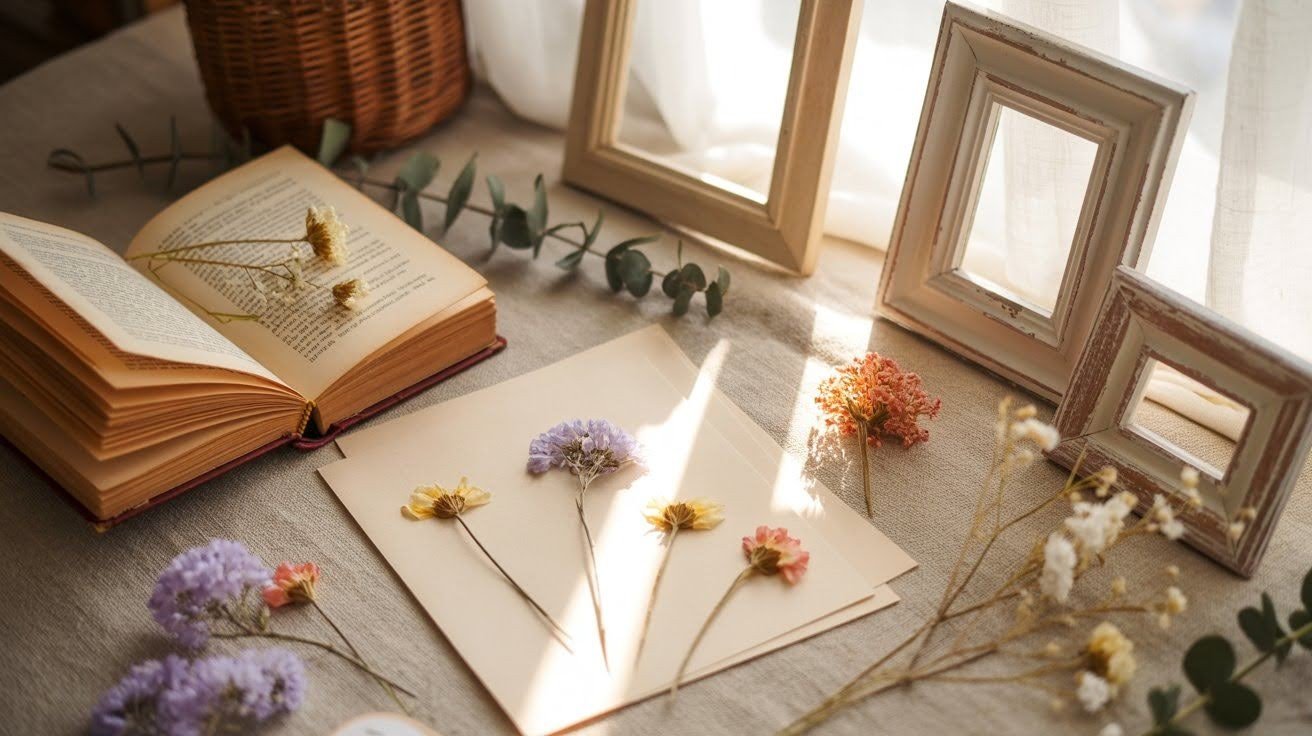
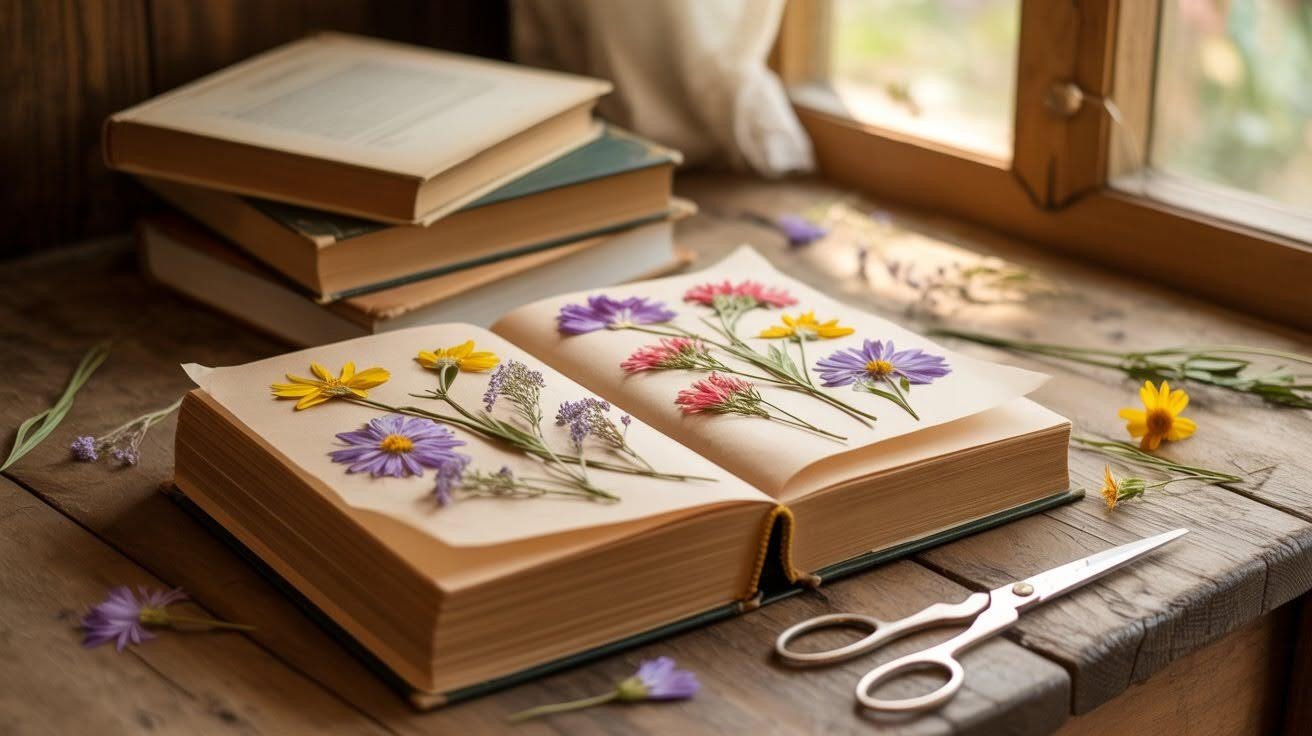
Place flowers inside a thick book with parchment sheets protecting the pages. Stack more books on top to add pressure. Check your flowers after seven to fourteen days. They should feel completely dry and flat.
Step 3: Design Your Composition
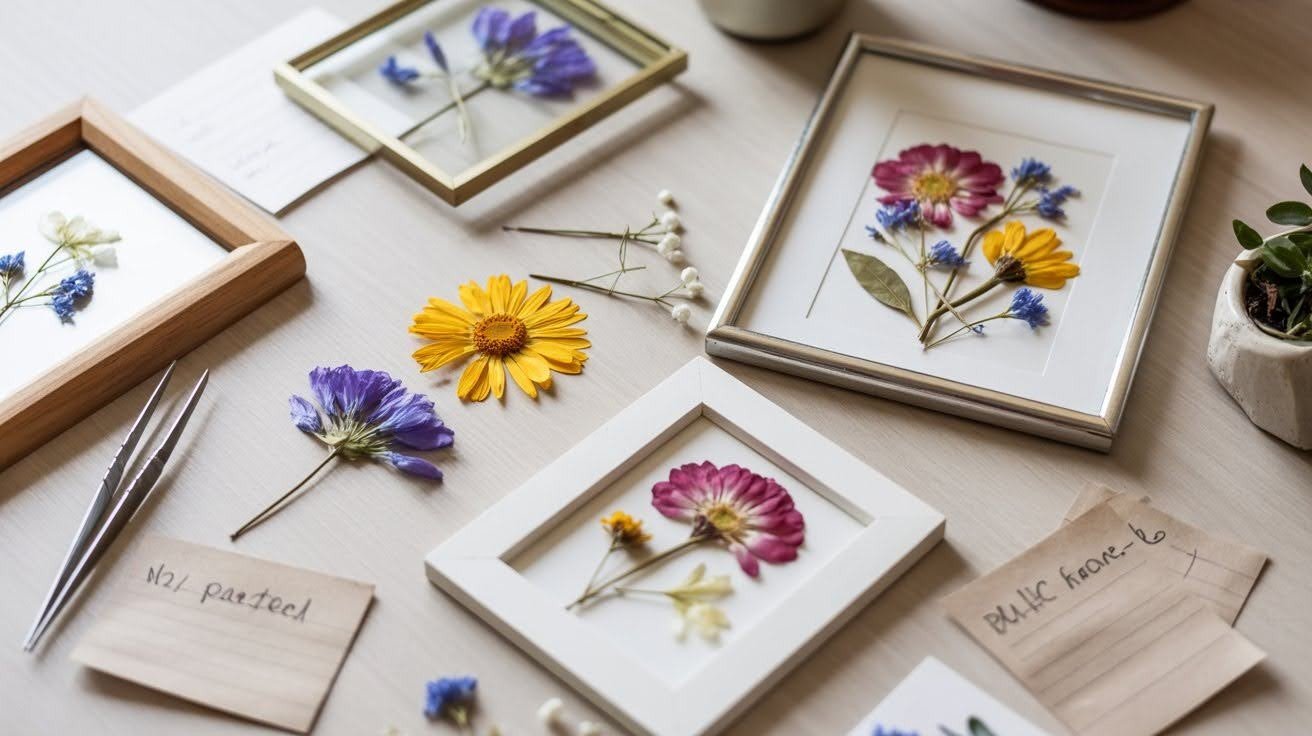
Try different layouts before gluing anything down. You might like symmetrical patterns, scattered designs, or minimal styles. Mix large blooms with smaller filler flowers. Leave some empty space for a balanced look.
Add handwritten notes with dates, flower types, or special locations. Use pressed flowers from weddings, trips, or other milestones to make your art more meaningful.
Step 4: Mounting and Framing

Apply a small amount of archival glue to the back of each pressed flower. Use tweezers to place them exactly where you want them. Let everything dry completely before you close the frame.
Floating frames give your art a modern, clean appearance. Double mats make smaller pieces look more substantial. Choose UV-protective glass to stop colors from fading over time.
Step 5: Styling and Display Ideas
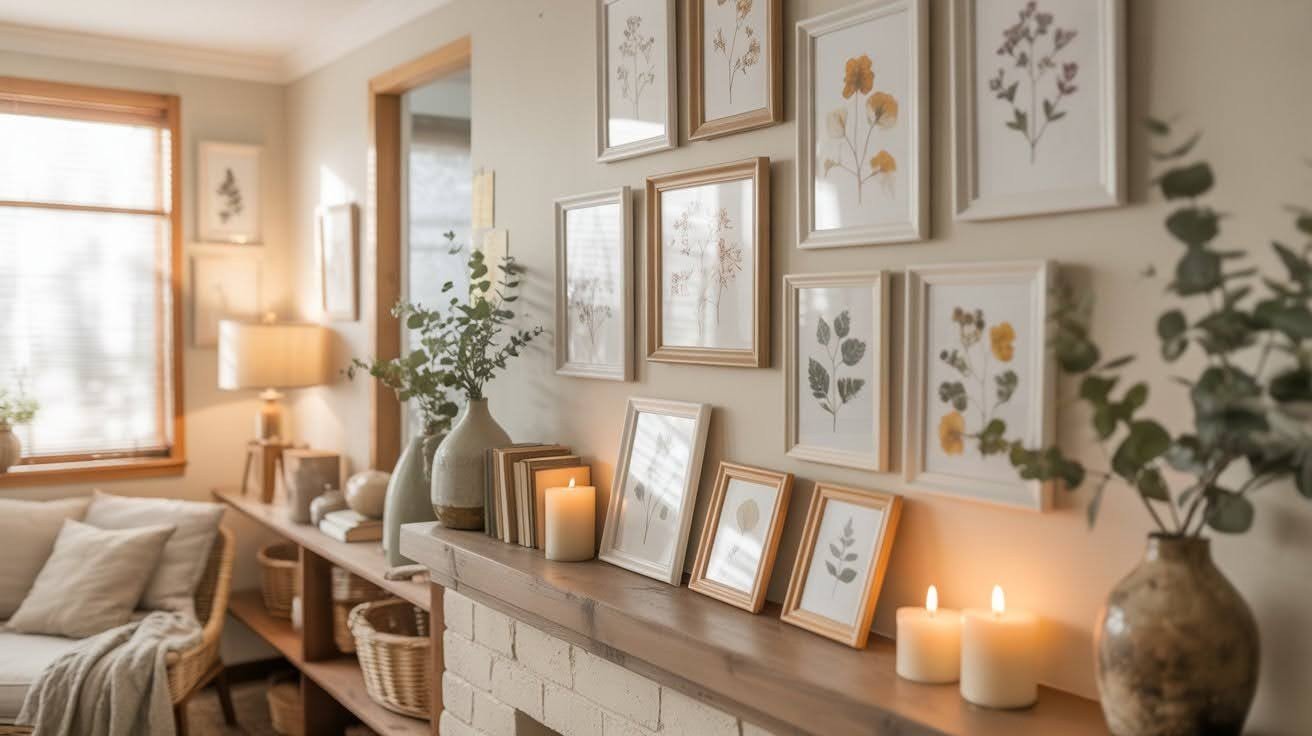
Build a gallery wall using multiple pressed flower frames. Lean smaller frames on shelves or mantels for a casual look. These pieces work beautifully in bedrooms, kitchens, or home offices.
Keep your frames away from direct sunlight and damp areas. Wipe the glass gently with a microfiber cloth when needed. Store extra pressed flowers in a cool, dry spot for future projects.
Step 6: Try a DIY Kit Alternative
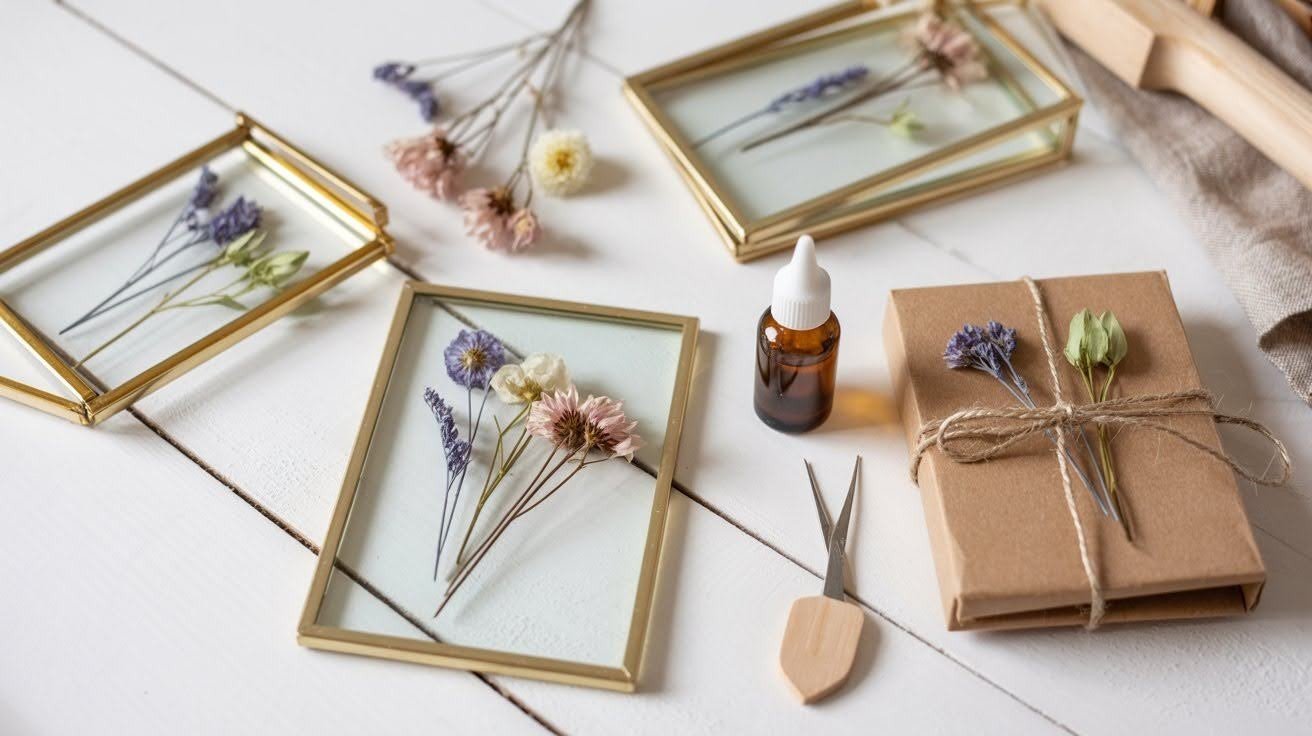
Kits work great for beginners or when you need a quick gift. They include pre-dried flowers, a frame, and glue in one package.
This brand uses sustainable, locally sourced materials. It offers a fast, stylish option if this is your first time making pressed flower art.
Tips to Preserve and Protect Your Pressed Flower Art
Keep your pressed flower frames looking fresh and vibrant for years with these care tips.
- Use archival-quality materials to keep colors from fading or yellowing.
- Never spray perfume or cleaning products near your frame.
- Add a backing board to shield your art from dust and moisture.
- Keep frames out of direct sunlight and away from heat sources like radiators.
- Rotate your seasonal displays to help colors last longer.
Conclusion
I made my first DIY pressed flower frame using daisies from my grandmother’s garden, and it still sits on my desk today.
Every time I glance at it, I smile. This craft is relaxing, affordable, and creates something truly personal. The best part? You don’t need to be crafty or artistic to make something beautiful.
If you’re preserving memories or making handmade gifts, pressed flower art never goes out of style. Grab some blooms and give it a try.
I’d love to hear how yours turns out! Drop a comment below or share your finished frame with me.
Frequently Asked Questions
How long do pressed flowers last in a frame?
Pressed flowers can last for years when properly sealed and kept away from direct sunlight. Using UV-protective glass and archival materials helps preserve colors and prevents fading.
Can I press flowers that are already dried?
Yes, you can press dried flowers, but fresh blooms usually give better results. Dried flowers may be more brittle and fragile during the pressing and arranging process.
What flowers work best for pressing?
Flat flowers like pansies, daisies, and violets work beautifully. Avoid thick, fleshy blooms like roses unless you flatten the petals first or use only individual petals.
Do I need special glue for pressed flowers?
Archival or acid-free glue works best because it won’t yellow over time. Regular craft glue can discolor your flowers and backing material after several months.
How do I prevent my pressed flowers from turning brown?
Press flowers when they’re completely dry and at their peak freshness. Store finished frames away from humidity and direct sunlight to maintain their color longer.