Ever looked at your grimy roof or stained siding and felt stuck? I get it. Pressure washers seem like the answer, but they can strip paint and crack surfaces. That’s where a DIY soft wash system comes in.
I built mine three years ago, and it’s been a game changer. Soft washing cleans gently using low pressure and special solutions. No damage, just results.
In this guide, I’ll show you exactly how to build your own system from scratch. You’ll learn what soft washing is, which tools to buy, how to assemble everything step by step, plus maintenance and safety tips.
This is your complete roadmap to cleaning roofs, siding, and driveways the right way. Let’s get your home looking fresh without the risk.
Understanding the Soft Wash System
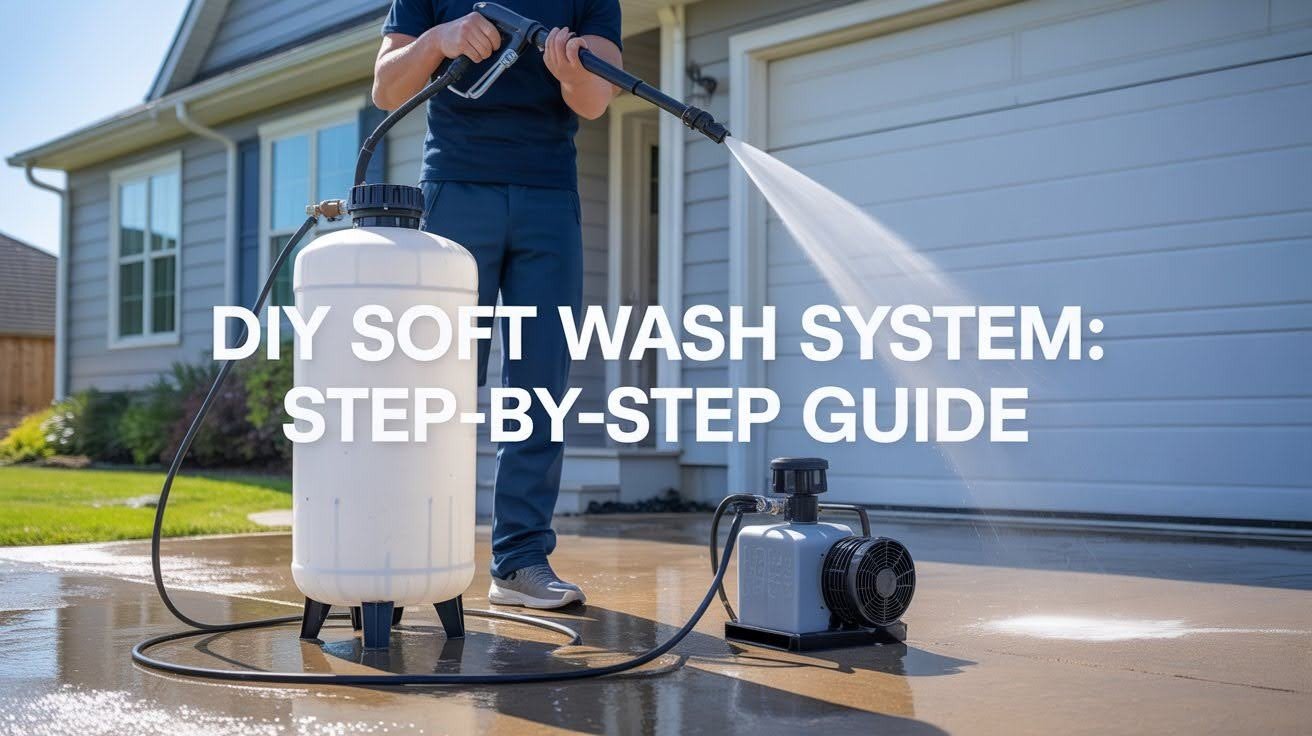
Soft washing changes how you clean outdoor surfaces. Instead of blasting with high pressure, it uses low water pressure combined with specialized cleaning solutions. Think of it as giving your home a bath instead of attacking it with a firehose.
The system pushes a mix of water and cleaning solution through a hose at low pressure. Surfactants help the mixture stick to surfaces and break down dirt. Bleach mixtures kill mold, algae, and bacteria at the root.
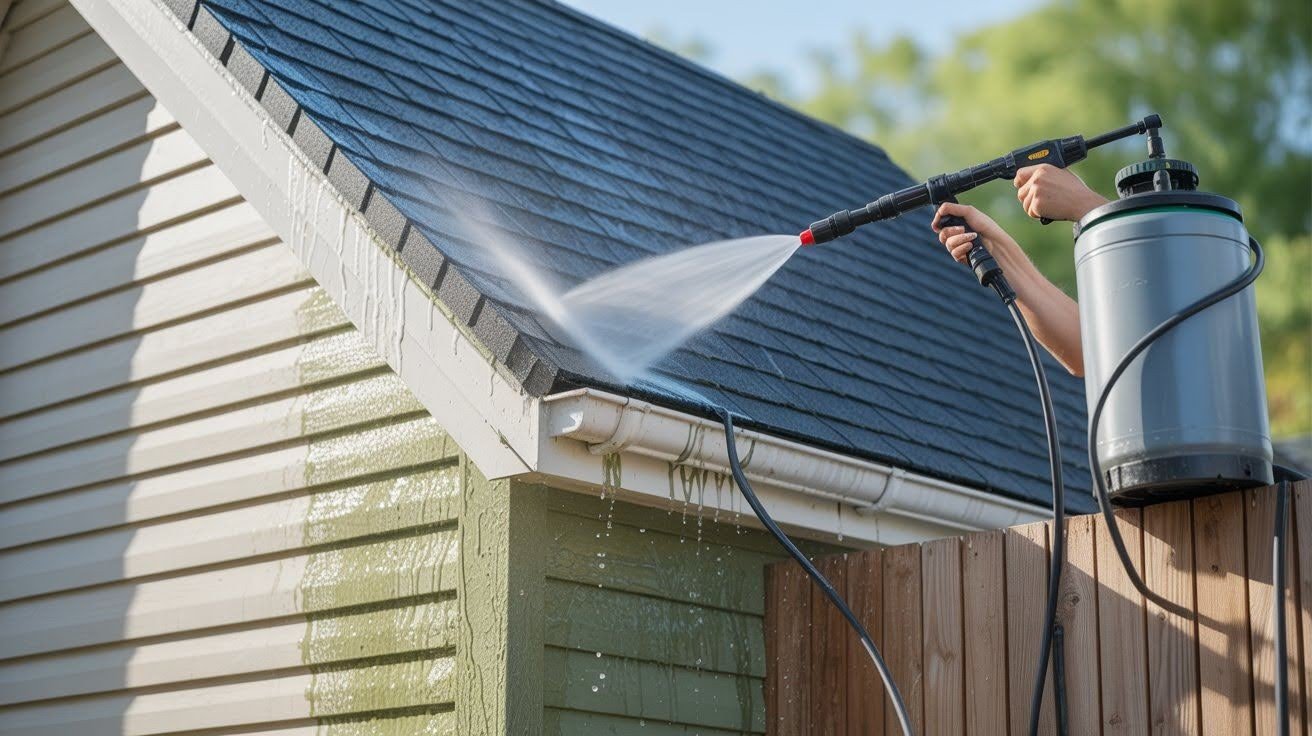
You can use it on roofs, vinyl siding, wooden fences, and driveways. Why this matters: It’s safer for your surfaces, better for the environment, and the results last longer because you’re killing the growth at its source, not just washing it away.
Tools and Materials You’ll Need

Getting the right components makes assembly easy. Start with a 12V diaphragm pump rated for 5 to 7 GPM. You’ll need a chemical tank (25 or 55 gallons), 100 feet of hose, and quick-connect fittings.
Add a wand or gun assembly, a nozzle kit (J-Rod or soap nozzles), hose clamps, Teflon tape, and a tank screen. Finally, grab a deep-cycle 12V battery for power.
Optional upgrades include a proportioner for mixing solutions, a hose reel for organization, and a secondary rinse hose for faster cleanup.
Step-by-Step Assembly Guide
Building your system is simpler than you think. Follow these steps and you’ll be ready to clean in no time.
Step 1: Set Up the Pump and Tank
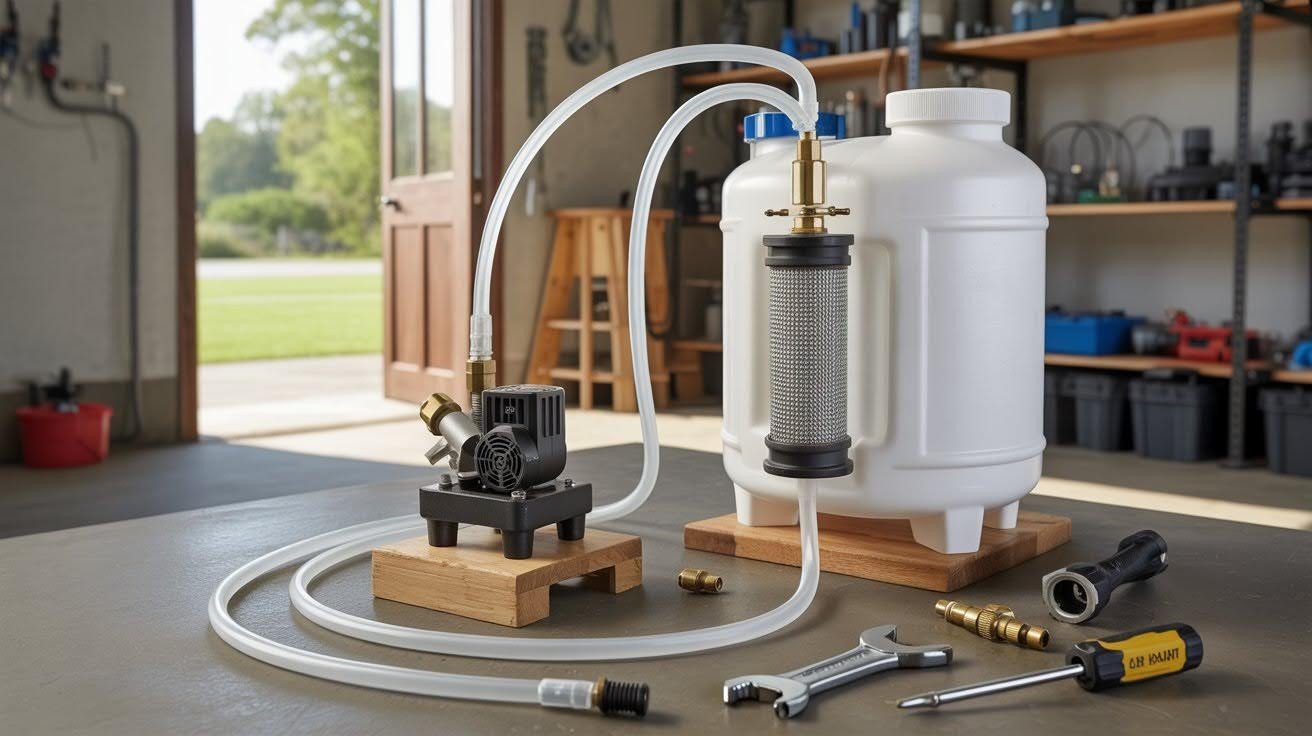
Mount your 12V pump on a secure surface near your chemical tank. Use bolts or zip ties to keep it from shifting.
Connect the intake tubing from the tank to the pump inlet using adapters. Tighten everything with hose clamps.
Install a tank screen on the intake line inside your tank. This catches debris before it reaches the pump.
Step 2: Connect the Hose and Wand
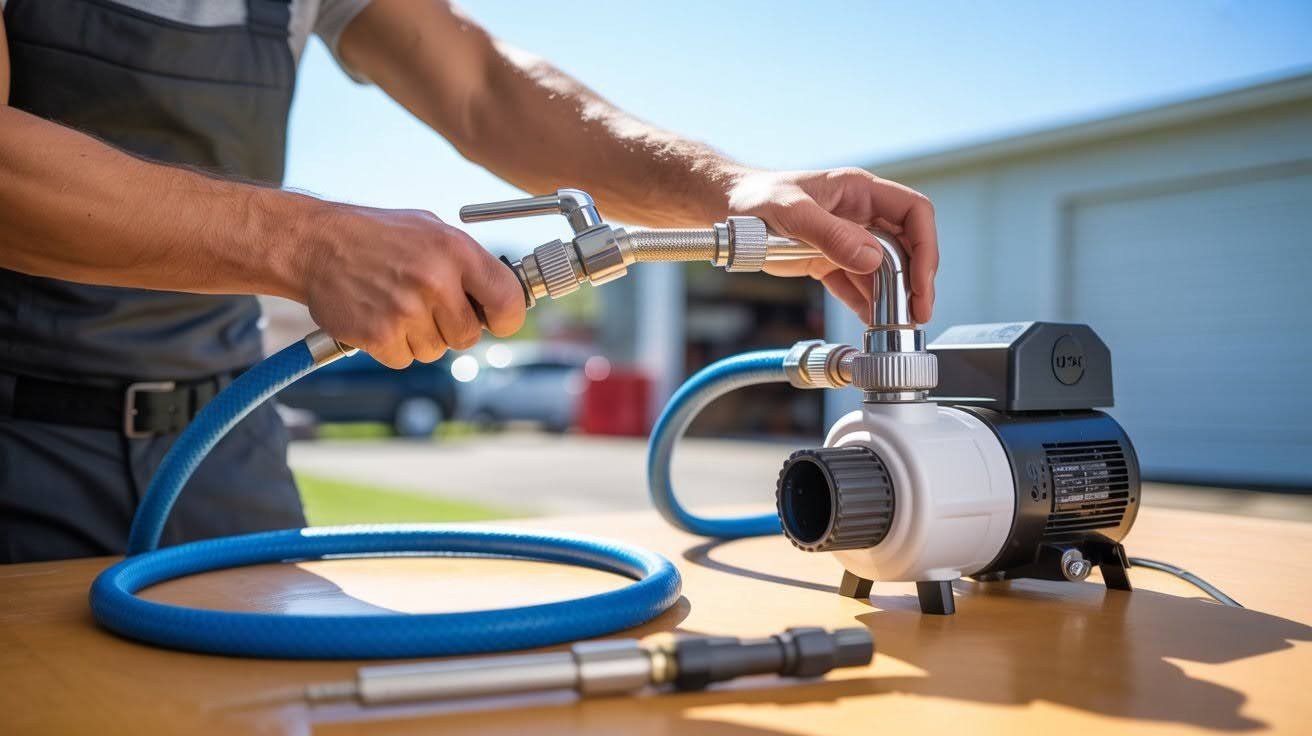
Run your hose from the pump’s outlet to wherever you’ll attach the spray wand.
Add quick-connect fittings to both ends. This makes disconnecting for storage incredibly easy.
Make sure all connections are hand tight. Over-tightening can crack plastic fittings.
Step 3: Install the Nozzles
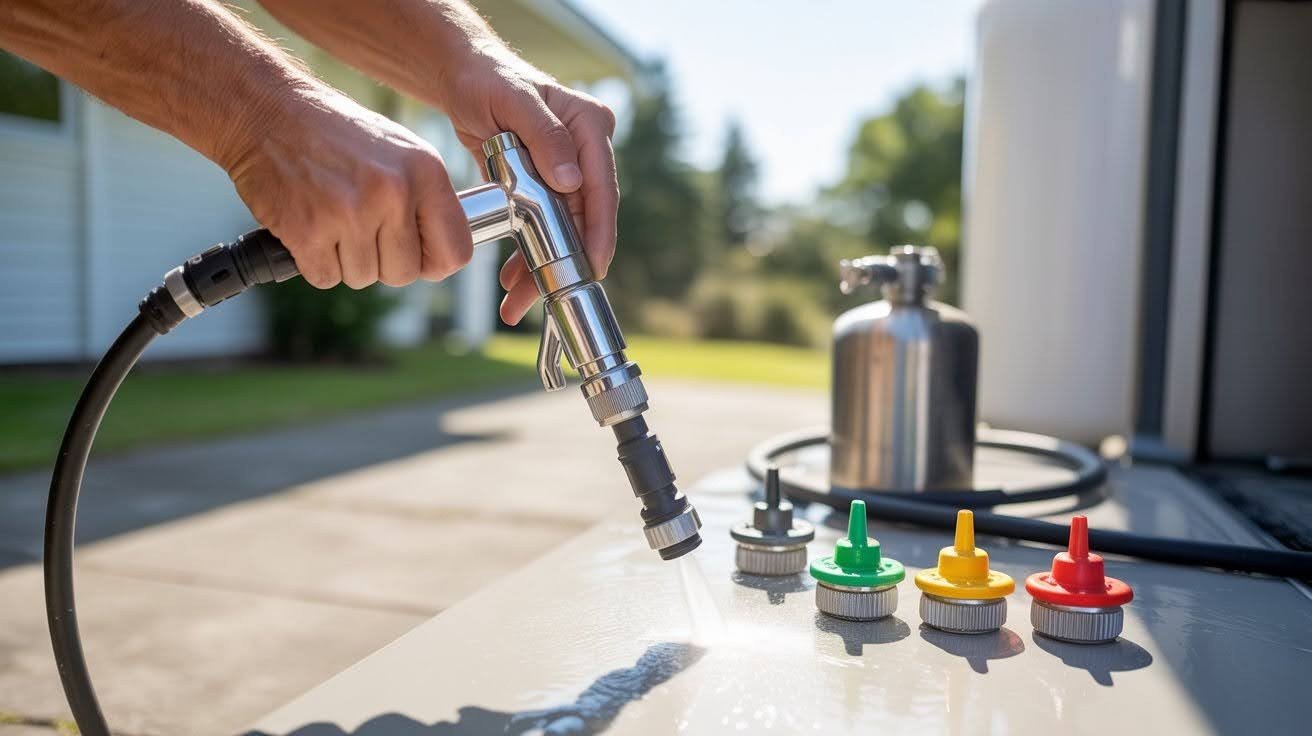
Choose nozzle tips that match your pump’s flow rate. A 5 GPM pump needs different tips than a 7 GPM model.
Attach the nozzle to your wand using a quick-disconnect coupler. This lets you swap nozzles mid-job if needed.
Test the fit before you add a solution to the tank.
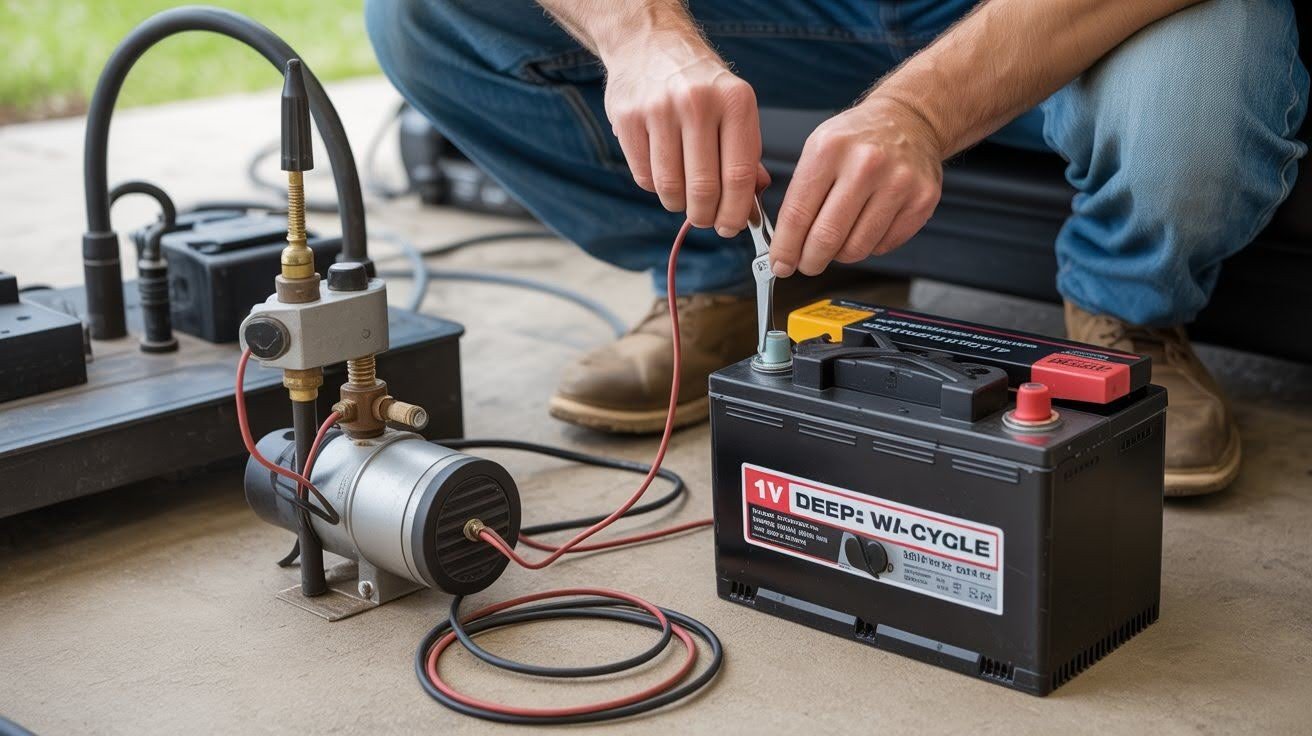
Step 4: Add Power Supply
 Test the System
Connect your pump wires to a deep-cycle 12V battery. Red goes to positive, black to negative.
Some people use a charger cable plugged into their vehicle instead.
Double-check all wiring connections. Loose wires can cause short circuits or prevent the pump from running.
Step 5: Test the System

Fill your tank with clean water only. No chemicals yet.
Turn on the pump and spray water through the wand.
Look for leaks at every connection point. Check that the spray pattern is even and consistent.
If everything works smoothly, you’re ready to add a cleaning solution and start washing.
Maintenance and Troubleshooting
Taking care of your system keeps it running for years.
- Rinse out your pump and hoses with fresh water after every use to prevent chemical damage
- Store all components in a dry, shaded spot and check nozzles and fittings regularly
- Drain your tank completely between uses if you won’t be washing for a while
- Low flow or zero PSI means a clog or leak, check your intake screen and all connections
- Pump cycling on and off rapidly indicates an air leak, tighten fittings and check hose connections
- Uneven spray pattern means your nozzle is dirty or damaged, clean it or replace it
- Pump won’t start, test your battery voltage and verify all electrical connections are secure
Safety Tips and Best Practices
Protecting yourself and your surroundings matters. Follow these guidelines every time you soft wash.
- Always wear gloves, goggles, and protective clothing. Cleaning solutions can irritate skin and eyes.
- Use biodegradable soaps whenever possible. They’re safer for your lawn, pets, and local water sources.
- Never spray near pets, plants you want to keep, or open water sources like ponds. Chemical runoff can harm living things.
- Wet down plants before you start and rinse them thoroughly afterward. This dilutes any solution that lands on them.
- Work on calm days. Wind can blow spray where you don’t want it.
- Keep your wand pointed away from yourself and others. Even low pressure can cause injury at close range.
- Read all product labels before mixing solutions. Some chemicals react dangerously when combined.
Conclusion
I built my first DIY soft wash system three years ago in my garage, and honestly, it’s one of the best weekend projects I’ve done. You’ll save hundreds compared to professional setups that cost thousands, and you get the same clean results.
Your system will get better as you use it. You’ll learn which nozzles work best and how to mix solutions for different surfaces. Start small, test everything, and grow from there.
Ready to get started? Grab your materials and build it this weekend. Drop a comment below with your questions or setup tips!
Frequently Asked Questions
Can I use a soft wash system on my car?
No, soft washing solutions contain bleach that can damage car paint. Use car-specific products instead.
How long does a soft wash treatment last?
Most treatments last 4 to 6 times longer than pressure washing because you’re killing growth at the source.
What’s the best bleach ratio for soft washing?
Start with a 1:4 ratio of bleach to water. Adjust stronger for heavy staining or weaker for wood.
Do I need a water source or can the system work standalone?
You need to fill your tank with water before starting. It doesn’t connect to a garden hose.
Is soft washing safe for roof shingles?
Yes, it’s much safer than pressure washing. The low pressure won’t lift or damage shingles when done correctly.