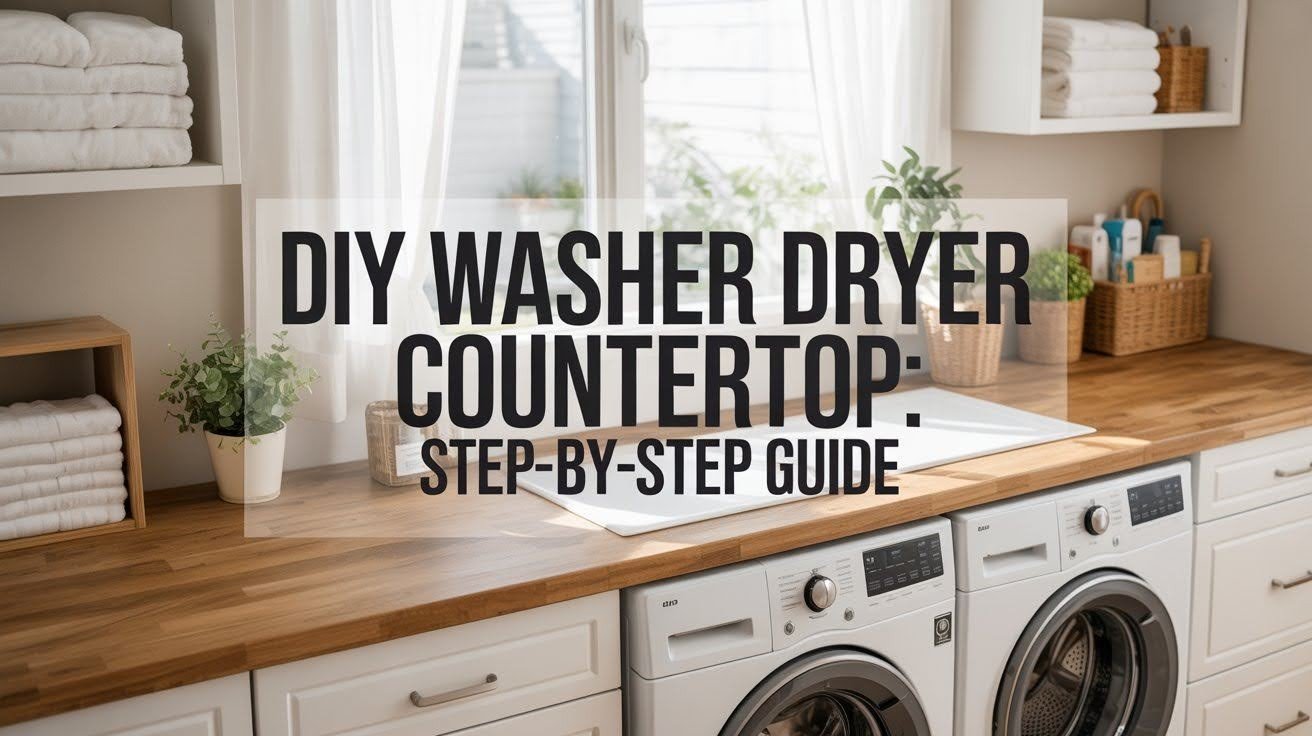
Ever wished your laundry room looked better and worked smarter? I’m going to show you how to build a DIY washer dryer countertop that does both.
This project solves that annoying problem where socks and detergent bottles keep falling behind your machines. Plus, it gives you extra folding space.
You don’t need fancy skills or expensive tools. I’ll walk you through every step, from picking wood to the final seal coat.
This guide covers materials, cutting techniques, assembly methods, and finishing touches. We’ll also tackle waterfall edges and cord management if you want those upgrades.
I built mine last year and it still looks great. Trust me, if I can do this, so can you.
Why Build Your Own Washer Dryer Countertop?
Buying a premade countertop costs way more than making your own. You can save hundreds of dollars with this approach.
When you build it yourself, you control the exact size. Every laundry room is different. A DIY countertop fits perfectly because you measure and cut for your specific setup.
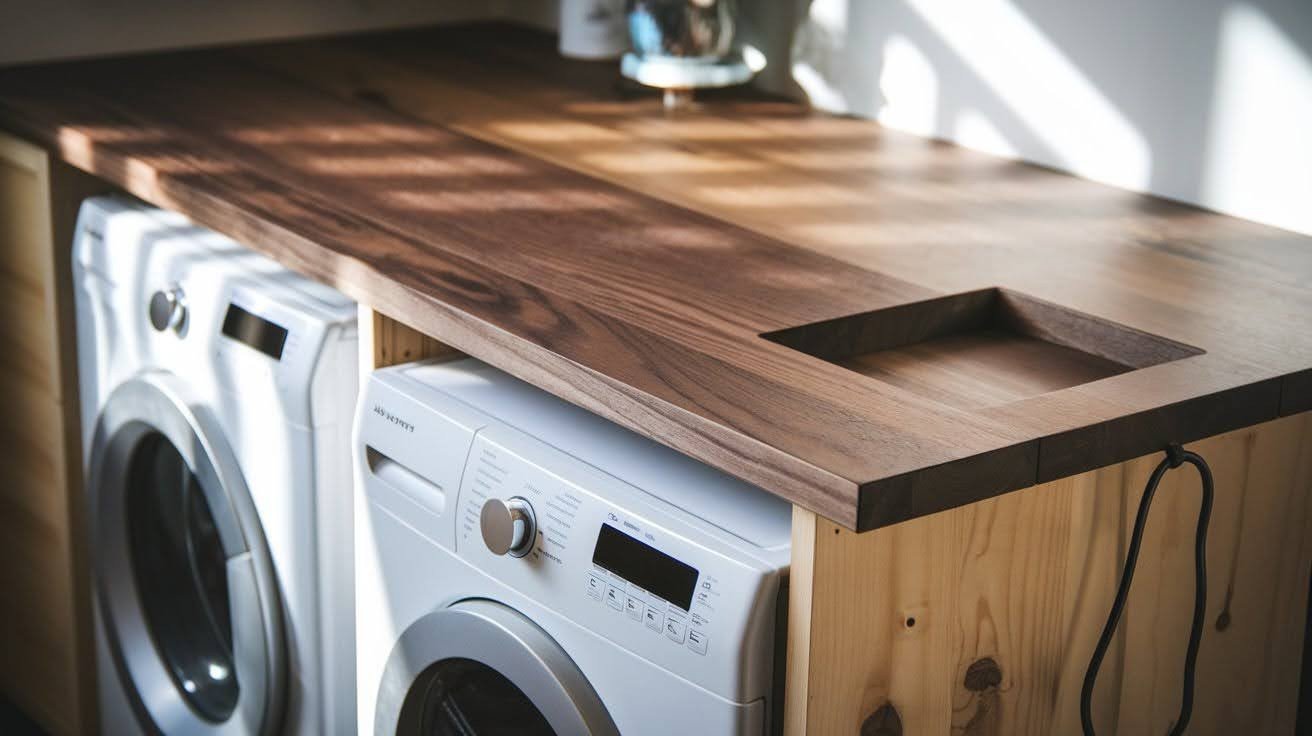
Material choice becomes your decision. Want a dark walnut? Go for it. Prefer light maple? That works too. You pick the stain color and finish type.
Add waterfall edges for a modern look. Install cord covers to hide ugly wires. Built in a small shelf for dryer sheets. These touches make the space yours.
You create exactly what you need.
Materials and Tools Needed
Getting the right materials and tools makes this project smooth and simple.
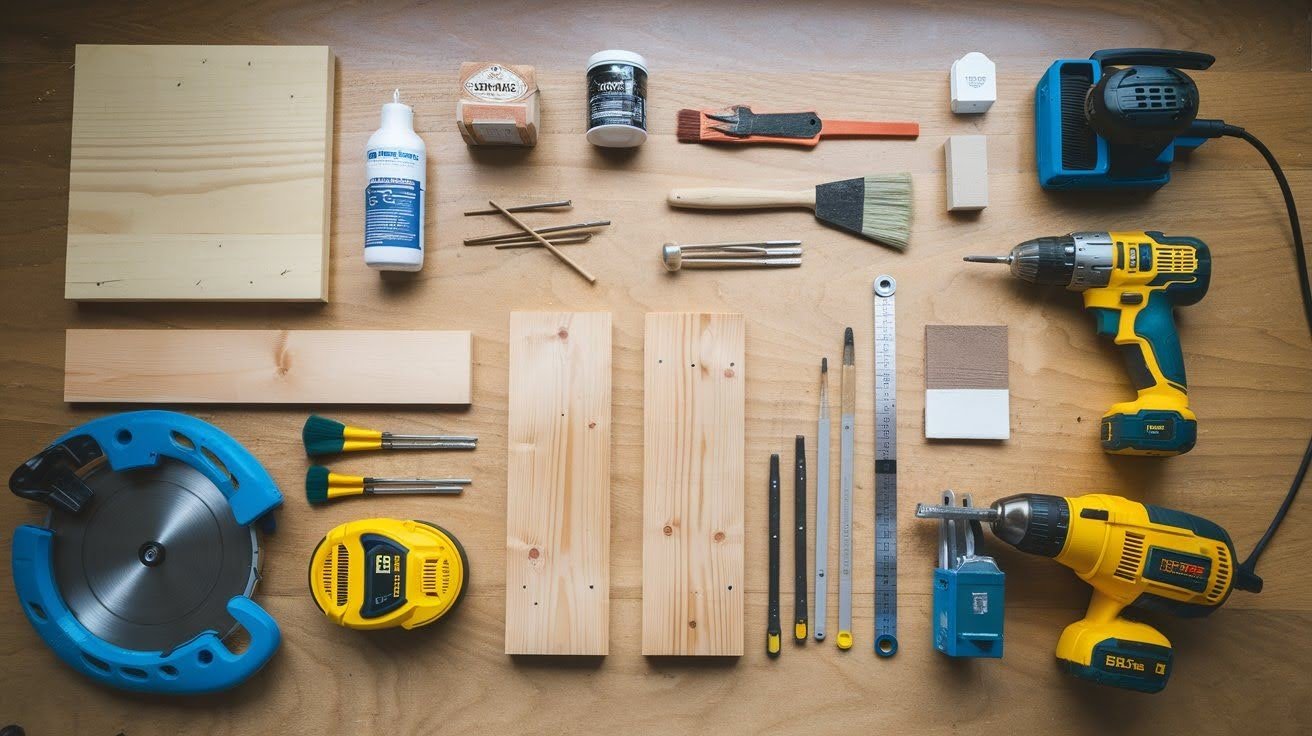
Materials you’ll need: Butcher block or plywood for the main surface, 1×2 or 2×4 boards for support, wood glue, L-brackets, mending plates, felt furniture feet, screws in various sizes, wood conditioner, stain in your chosen color, polyurethane or polycrylic for sealing.
Tools required: Circular saw for straight cuts, jig saw for curves or detailed work, drill with bits, electric sander, measuring tape, level, pocket hole jig if you want hidden joints (optional), brad nailer for quick fastening (optional).
Choosing your wood matters. The butcher block looks professional and handles moisture well. It costs more but lasts longer. Plywood works great too and saves money. Pick birch or oak plywood for better results. Avoid cheap pine since it dents easily.
Hardware selection tips: Get L-brackets rated for the weight. Felt furniture feet protect your machines from scratches. Stainless steel screws resist rust in humid laundry rooms.
Buy 10% more materials than you think you need. Mistakes happen. Better to have extra wood than run to the store mid-project.
DIY Washer Dryer Countertop: Step-by-Step Instructions
Follow these steps carefully and you’ll have a professional-looking countertop in no time.
Step 1: Cutting Your Countertop Pieces
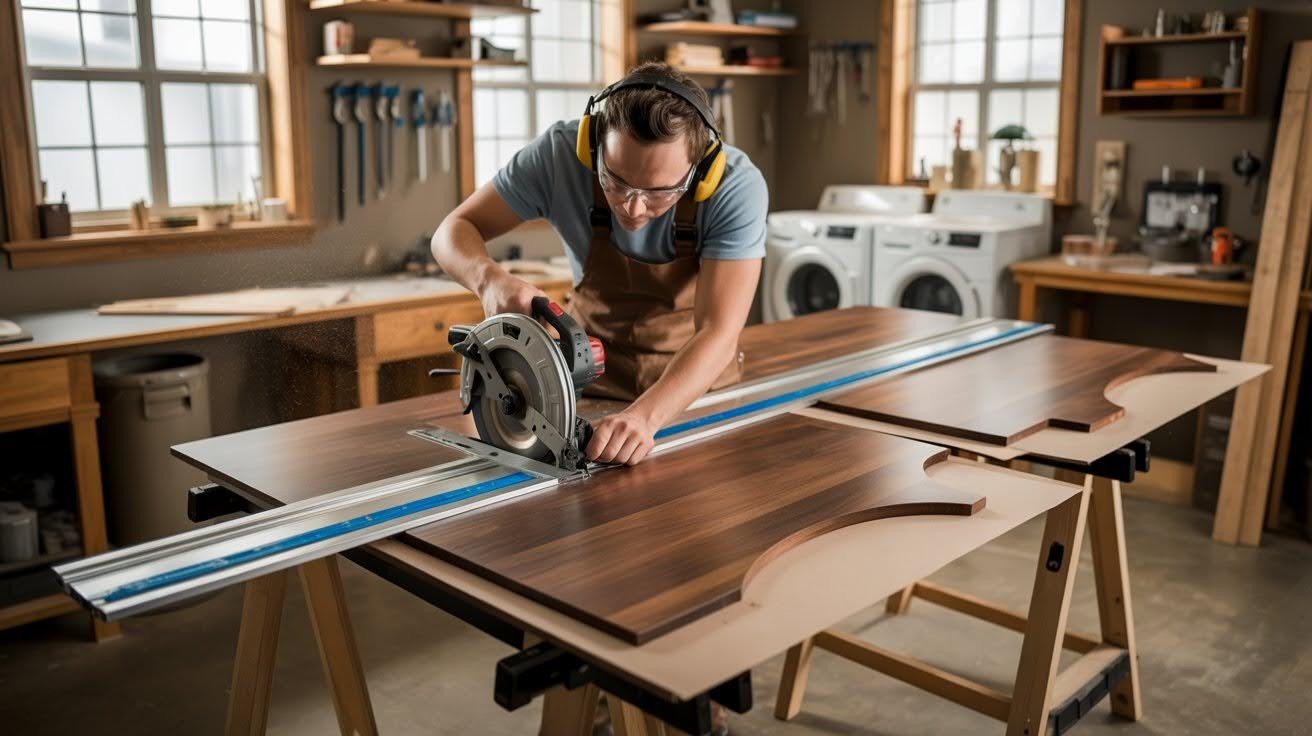
Measure the space above your washer and dryer. Add two inches to the depth so the countertop extends past the machines slightly. Mark your cutting lines on the wood using a straight edge. Set your circular saw blade just deeper than the wood thickness and cut slowly.
For waterfall edges, measure from your countertop height to the floor and subtract two inches for clearance. Cut two panels to this height. The width should match your countertop depth.
Put painter’s tape along your cut line before sawing to prevent splintering. Support both sides of your cut and keep your saw blade sharp. Cut with the good side facing down when using a circular saw.
Step 2: Assembling the Countertop
Position your waterfall panels against the main countertop edges. Apply wood glue to the joining edges and press them together firmly. Clamp the pieces while the glue dries for 30 minutes to an hour.
Install L-brackets underneath where the panels meet the main slab. Space them every 12 inches and drill pilot holes first. Screw the brackets into both pieces, making sure screws don’t poke through the top surface. Add mending plates at stress points for extra strength.
Stick felt pads on the underside where the countertop rests on your machines. Place pads at each corner and a few in the middle. Test the fit on your washer and dryer to make sure it sits level.
Step 3: Sanding, Staining, and Sealing
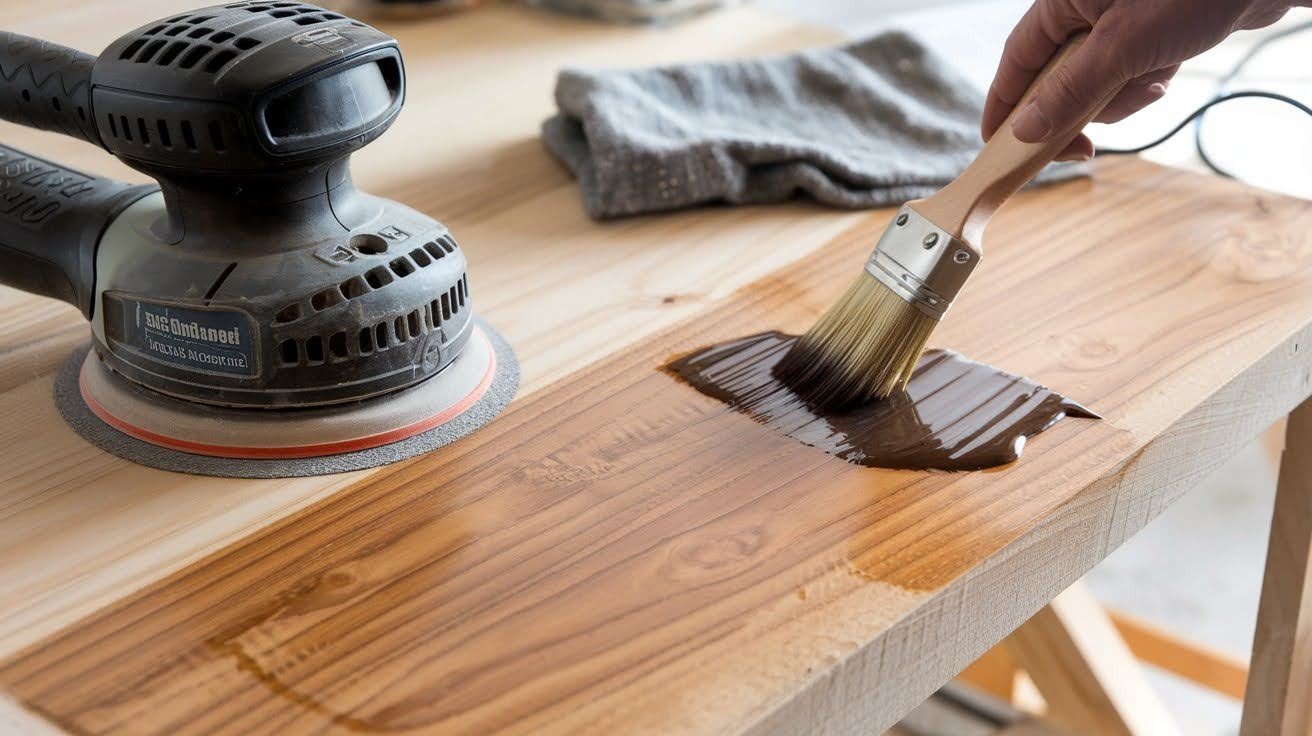
Start with 80-grit sandpaper on your electric sander, then move up to 120-grit, and finish with 220-grit for a silky texture. Sand with the wood grain and wipe the dust off completely.
Brush on a wood conditioner following the grain direction. Let it soak in for 15 minutes, then wipe off excess. Apply stain with a brush or cloth, working in sections. Let the stain sit for a few minutes, then wipe off the excess. Test your stain color on scrap wood first.
Brush on thin coats of polyurethane or polycrylic. Three thin coats work better than one thick coat. Sand lightly between coats with 220-grit paper. Let each coat dry completely and cure the final coat for 24 hours.
Step 4: Installing the Countertop

Cut a 1×2 or 2×4 ledger board to match your countertop width. Find the studs in your wall with a stud finder and level the board before screwing it in. Use long screws that go deep into the studs.
If your countertop spans more than four feet, add center support with L-brackets. Position brackets where they won’t interfere with opening machine doors.
Get help lifting the countertop if it’s heavy. Tilt the back edge onto the ledger board first, then lower the front edge down onto your machines. Push the countertop against the wall and check level in both directions.
Step 5: Adding Optional Features
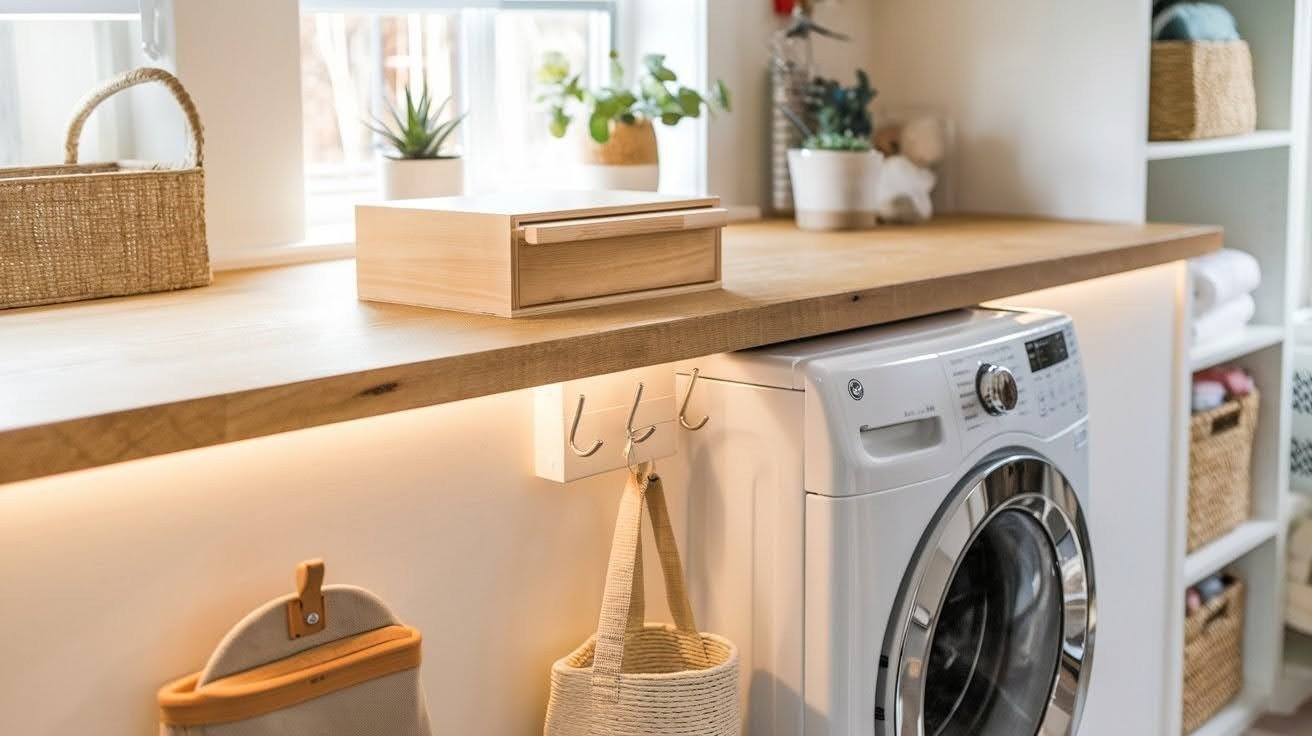
Build simple pipe covers from leftover wood scraps. Mount a bread box on the countertop to hold dryer sheets and stain removers. Use small wood channels or plastic cord management systems to hide power cables.
For waterfall edges, use a router to round the sharp corners slightly. Fill any small gaps with wood filler before staining. Plan your cuts to match grain direction so the pattern flows from the top surface down the side panel.
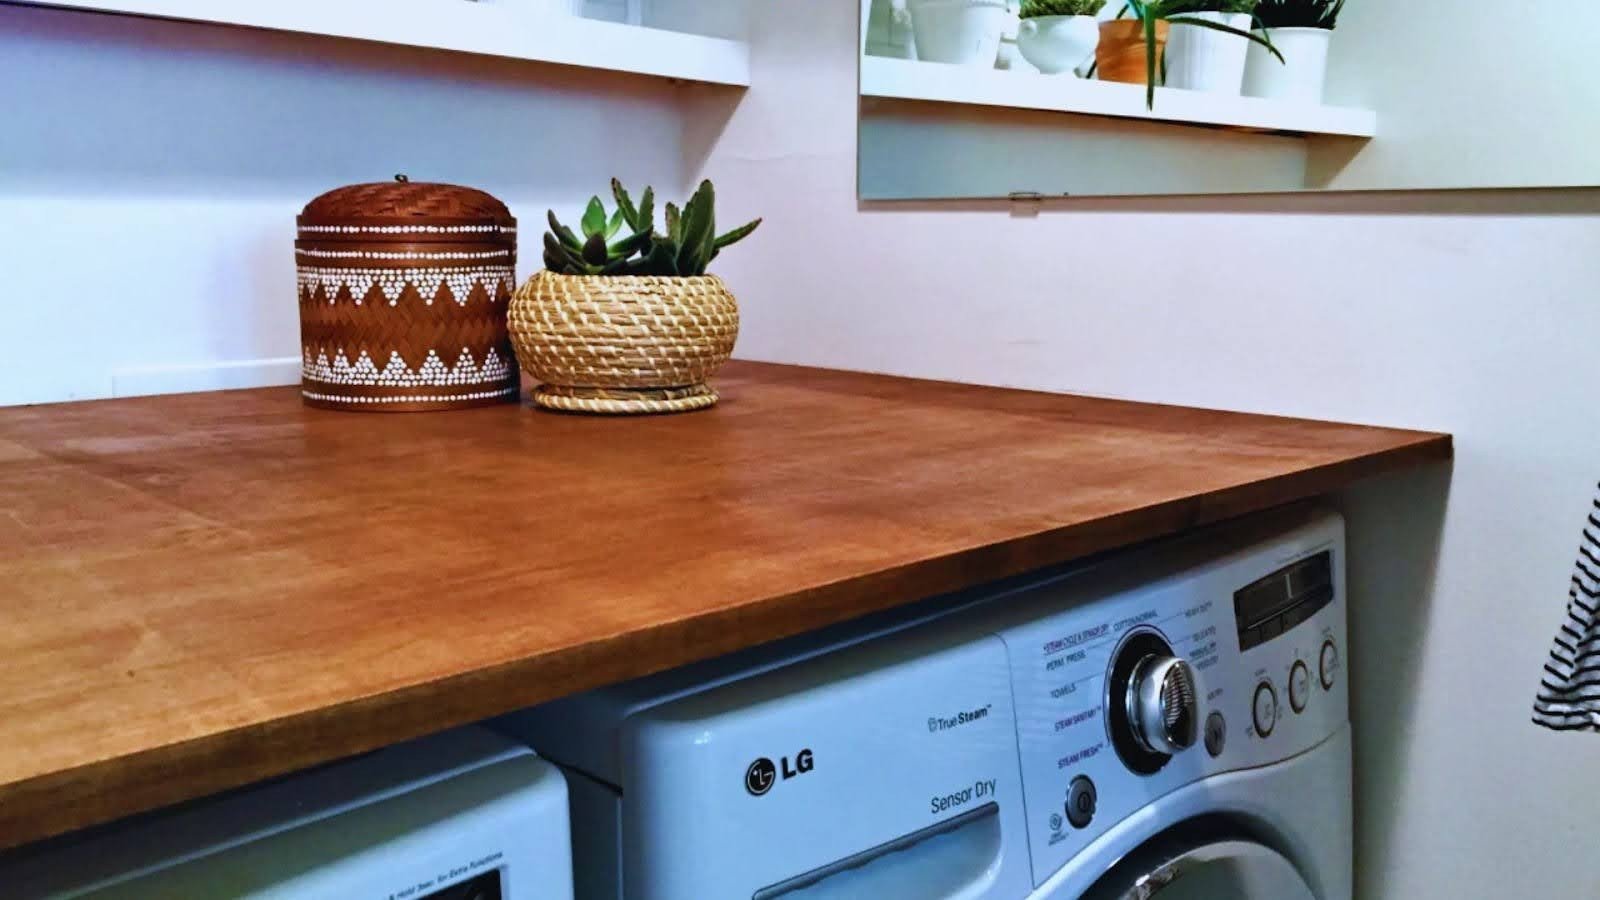
Add hooks underneath for hanging cleaning brushes or bags. Paint the underside a fun color if it’s visible. Install LED strip lights underneath for mood lighting. Place decorative items on top like small plants or baskets, but don’t overload the surface.
Tips for a Successful DIY Washer Dryer Countertop
These simple tips will help you avoid common mistakes and create a countertop that lasts.
- Measure three times before cutting once. Write measurements down and double-check that your machines are level first. Uneven machines mean an uneven countertop.
- Hardwoods resist dents better than softwoods. Butcher block handles water spills without warping. Avoid particleboard in laundry rooms since moisture makes it swell.
- Wear safety glasses when cutting or sanding. Use hearing protection with power tools. Keep your work area clean and get help lifting heavy pieces.
- Wipe up water immediately. Reapply sealer once a year in high-use spots. Check mounting hardware every few months and tighten loose screws. Clean with mild soap and water.
- Test your setup before finishing. Set heavy items on the countertop to make sure it holds weight without sagging.
Conclusion
I finished my DIY washer dryer countertop last spring, and honestly, it made laundry less of a chore. Having that extra surface to fold clothes and store supplies just works. You can build yours too.
Grab your materials this weekend and start measuring. Take your time with each step. Small imperfections give it character and prove you made it yourself.
Ready to try this project? Drop a comment below with your questions or share photos of your finished countertop. I’d love to see what you create.
Frequently Asked Questions
What thickness should I use for a washer dryer countertop?
Use wood that’s at least 3/4 inch thick for strength. The butcher block comes in 1.5 inches which handles weight better and looks more substantial.
Can I make this countertop removable?
Yes, skip the wall cleats and just use felt pads underneath. This lets you move it when machines need service.
How much weight can a DIY washer dryer countertop hold?
A properly built countertop with good support handles 50 to 100 pounds easily. Spread weight evenly across the surface for best results.
Do I need to seal wood in a laundry room?
Yes, absolutely. Laundry rooms get humid and wet. Use waterproof polyurethane with at least three coats for protection.
What if my washer and dryer are different heights?
Shim the lower machine until both match heights. Use rubber shims under the feet and test that machines still drain properly.