I used to walk past my window every day, thinking about how much wasted space it was. Then I built a window seat, and now it’s my favorite spot in the house.
If you’re looking for extra seating or a quiet place to read, a window seat can transform that empty area. Plus, the hidden storage underneath is perfect for keeping clutter out of sight. I keep my extra blankets and books tucked away there.
Don’t worry if you’re not an expert builder. I’ll walk you through five simple steps that worked for me, and they’ll work for you too.
Why Build a DIY Window Seat?

That awkward space under your window doesn’t have to sit empty. A window seat turns it into a comfortable spot where you can relax, read, or just enjoy the view.
Building it yourself saves you hundreds of dollars compared to hiring someone. Custom furniture gets expensive fast, but doing it on your own keeps costs down.
The best part is making it your way. You pick the size that fits your window, choose colors that match your room, and decide what kind of storage works best for your needs.
Materials and Tools You’ll Need
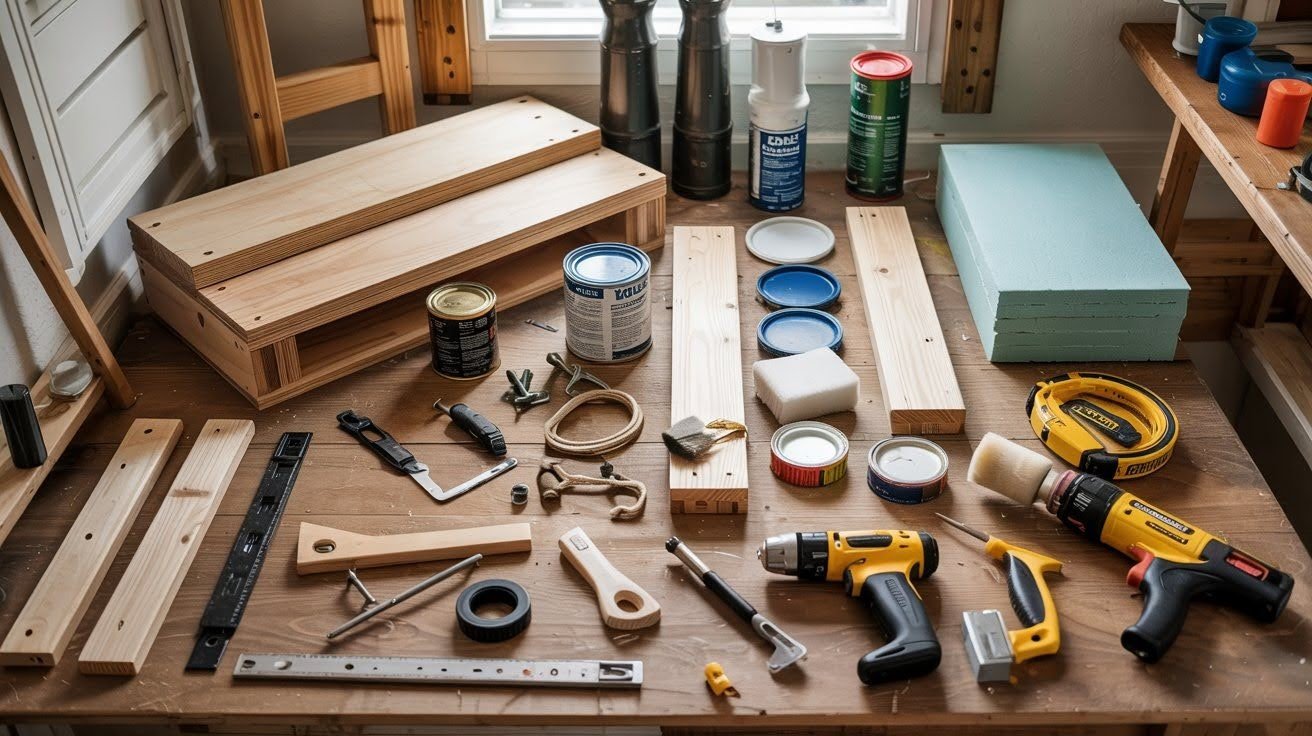
Before you start, gather everything so you’re not making multiple trips to the hardware store.
Materials:
- Plywood for the seat top
- 2×4 lumber for the frame
- Screws to hold it together
- Hinges or drawer slides for storage access
- Paint or stain in your chosen color
- Trim boards for a finished look
- Cushion foam to make it comfortable
Tools:
- Drill
- Saw
- Level
- Measuring tape
- Sander
- Paintbrush
- Caulk gun
If you don’t own these tools, most hardware stores rent them affordably.
5 Steps to Build One With Storage
Follow these five straightforward steps to create a functional window seat that provides comfortable seating and smart storage solutions for your home.
Step 1: Plan and Measure Your Space
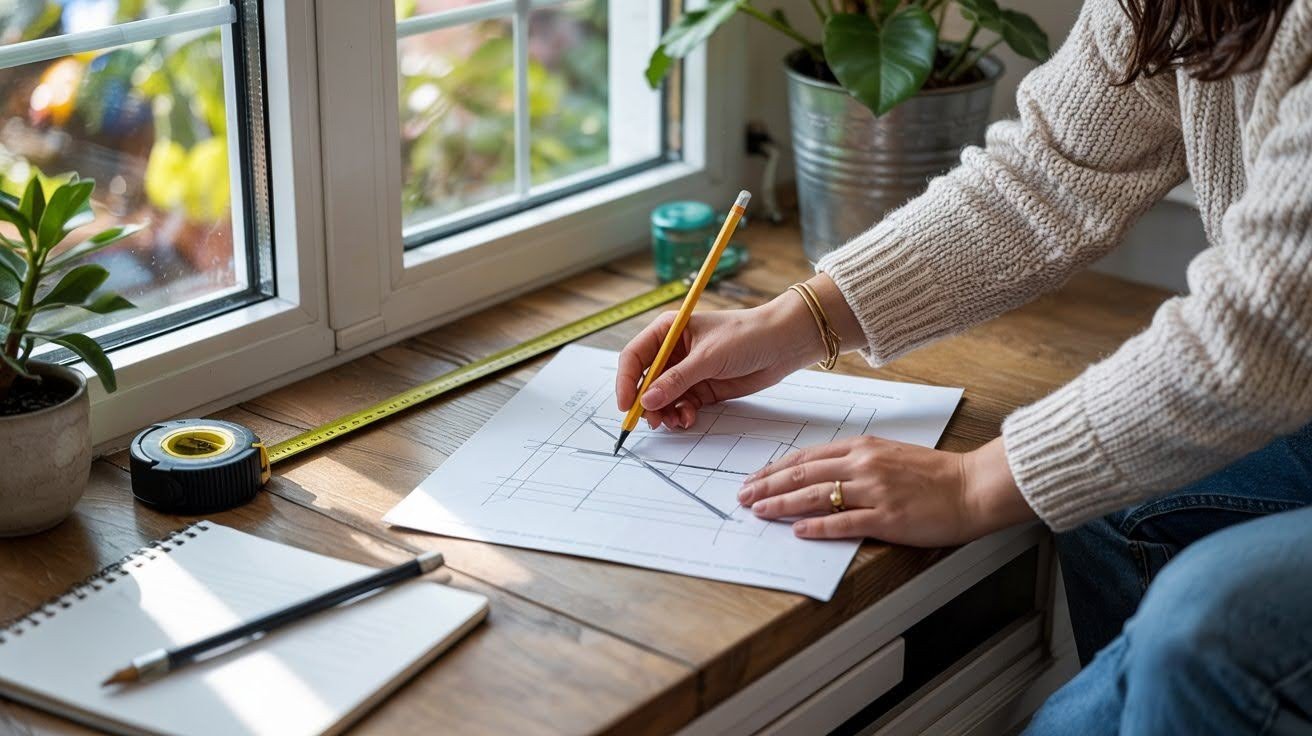
Start by picking the right spot under your window or along a wall. Measure the height, depth, and width carefully. A good rule is 18 inches high and 20 inches deep for comfortable seating.
Sketch your design on paper and decide how you want to access the storage. Will you use drawers, doors, or a lift-top seat?
Step 2: Build the Base Frame
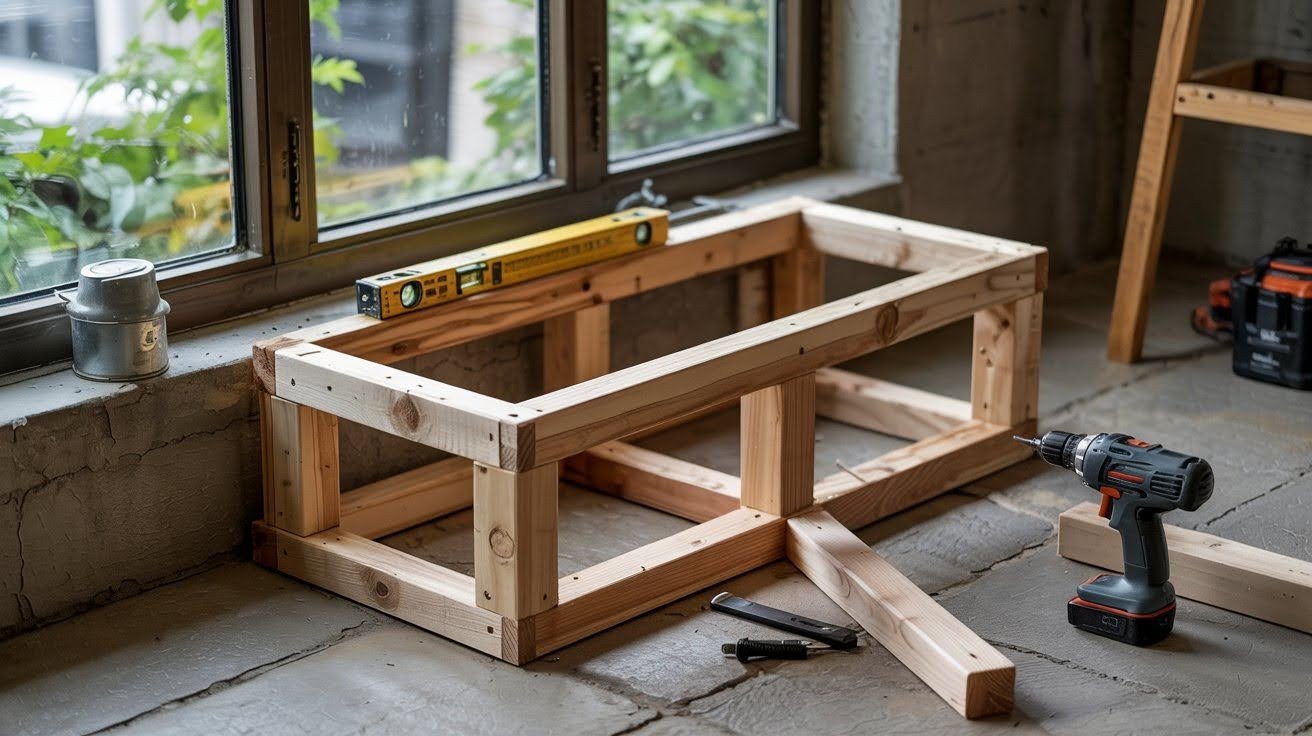
Use 2×4 lumber to build a strong rectangular frame. Make sure it’s level before securing it to the wall with screws. This base supports everything, so it needs to be solid.
If your bench is longer than four feet, add cross supports in the middle. These extra pieces prevent sagging and keep the structure stable over time.
Step 3: Add the Storage Box and Top
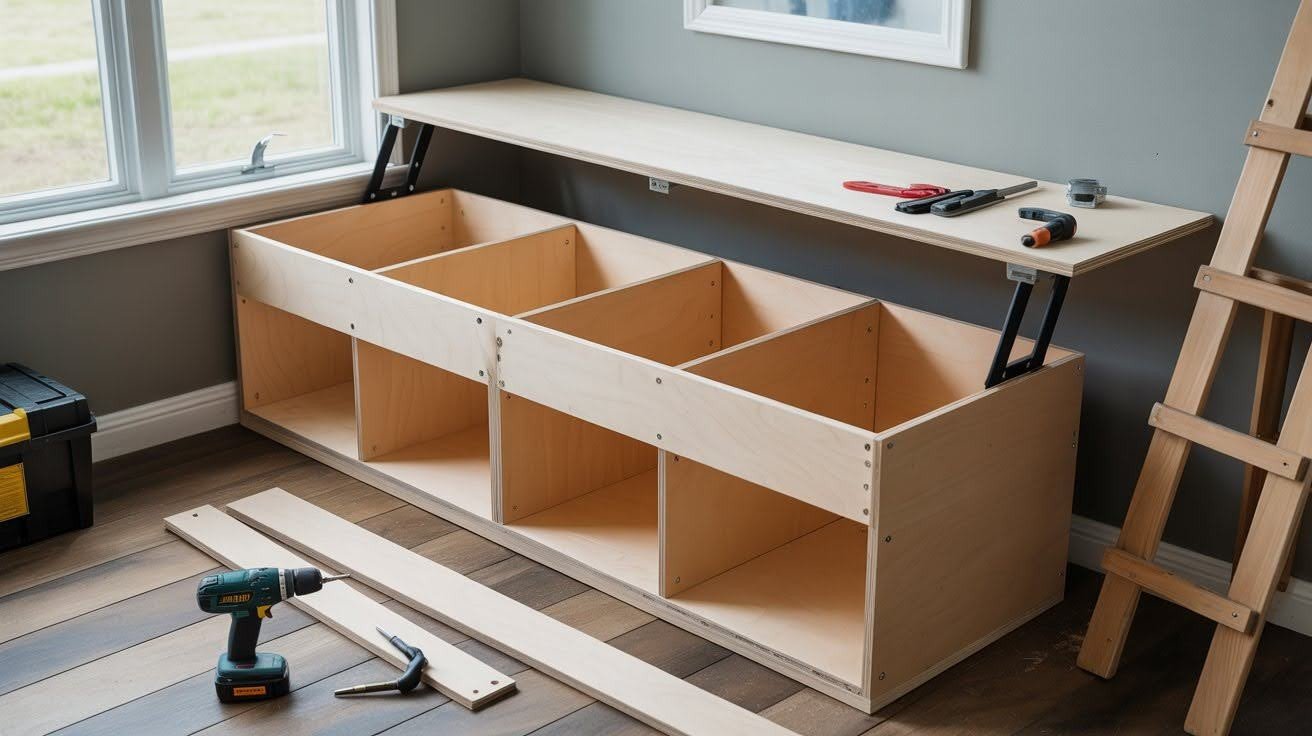
Build simple box compartments using ¾-inch plywood, or save time with ready-made IKEA cabinet bases. Attach these boxes on top of your frame with screws.
Then cut your top panel to size and install it. If you want easy access to storage, attach the top with hinges so it lifts up instead of being permanently fixed.
Step 4: Trim, Sand, and Paint
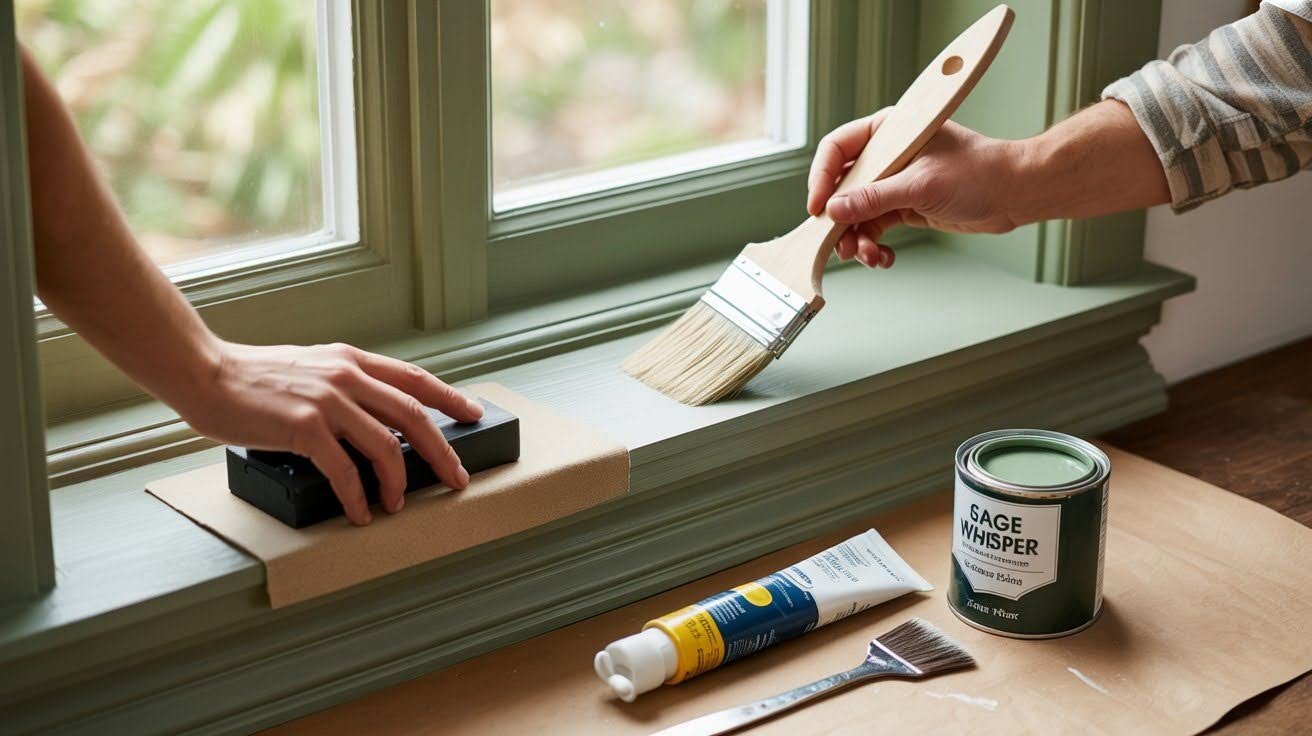
Add trim boards around the edges to give your seat a professional, built-in appearance. Fill any visible screw holes with wood filler, then sand everything smooth.
Apply primer first, then paint or stain in your chosen color. White creates a classic look, while sage green or natural wood tones add warmth and character to your space.
Step 5: Add the Cushion and Final Touches
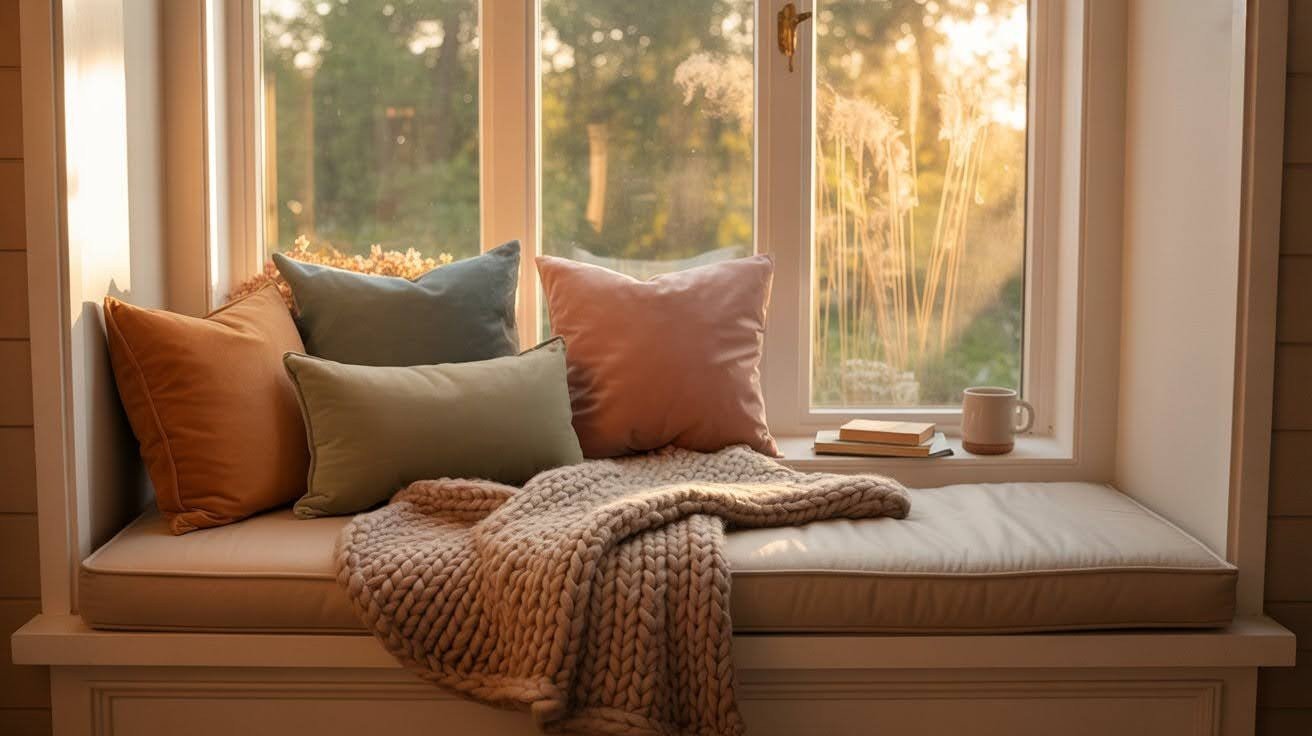
Cut cushion foam to match your bench top and cover it with fabric that can handle daily use. Add throw pillows and a cozy blanket to make the space inviting.
If you installed drawers, attach handles or knobs that match your room’s style. Step back and enjoy your new reading spot with all that hidden storage underneath.
Design Inspiration: Creative DIY Window Seat Ideas
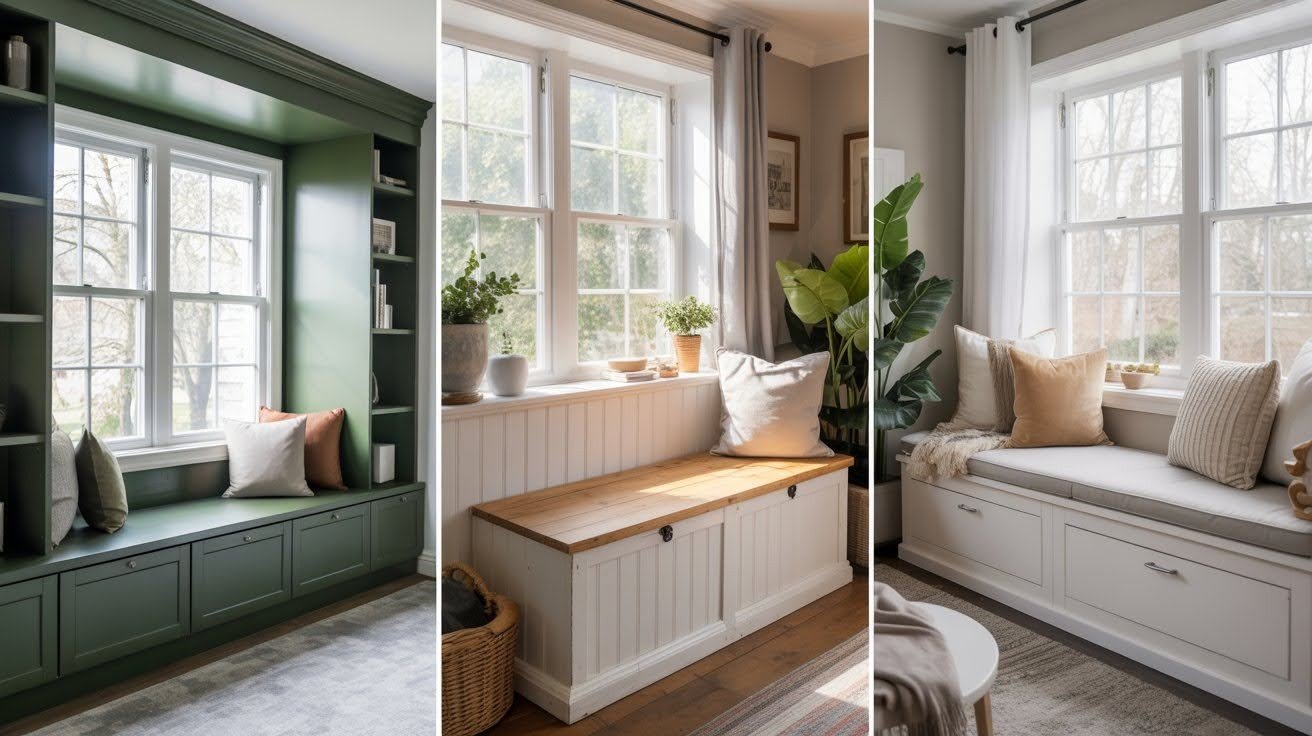
Get inspired by these three popular window seat styles, from IKEA hacks to farmhouse charm and sleek modern designs for any home.
1. Built-In Style Using IKEA BESTA Units
These cabinets are budget-friendly and save you construction time. You can add doors or drawers based on what you need. Paint them in modern colors like Evergreen Fog or Tate Green to match current trends.
2. Rustic Farmhouse Bench with Lift-Top Storage
Go for a natural wood finish and add beadboard paneling on the front. This style brings warmth and character to your space. The lift-top makes accessing your stored items simple.
3. Modern Minimalist Window Seat
Keep things clean with sleek white paint and push-to-open drawers. No visible handles means a smooth appearance. Pair it with neutral cushions in gray or beige for a calm, uncluttered look.
Maintenance Tips for Your DIY Window Seat
- Keep surfaces clean: Wipe down painted areas with a damp cloth and mild soap. Avoid harsh chemicals that can damage the finish.
- Protect the paint: Reapply a fresh topcoat every two to three years. This prevents scuffs and keeps your seat looking new.
- Vacuum cushions weekly: Remove dust, crumbs, and pet hair from the fabric regularly. This keeps your seating area fresh and comfortable.
- Check hardware: Tighten loose screws and hinges every few months. This prevents squeaks and keeps drawers or lift-tops working smoothly.
- Spot clean stains quickly: Treat spills on cushions immediately with fabric cleaner. The faster you act, the easier stains come out.
- Inspect for damage: Look for cracks, chips, or wear every season. Small repairs done early prevent bigger problems later.
Conclusion
You did it! That once-empty space is now a comfortable seat where you can relax, read, or watch the world go by. Plus, all that hidden storage keeps your room organized and clutter-free.
I hope this project turned out just the way you imagined. There’s something satisfying about building furniture with your own hands and knowing it’s made exactly for your space.
If you’re proud of how it looks, I’d love to see it. Share your photos or tag your finished project. Your window seat might inspire someone else to start building too.
Frequently Asked Questions
How much does it cost to build a DIY window seat?
Most DIY window seats cost between $200 to $500 depending on materials and size. Using budget options like IKEA cabinets or reclaimed wood can lower costs significantly.
What’s the ideal height for a window seat?
The standard height is 18 inches from the floor, similar to a regular chair. This makes it comfortable to sit on and easy to get up from.
Can I build a window seat without attaching it to the wall?
Yes, you can make a freestanding version that sits against the wall. Just make sure the base is wide and sturdy enough to stay stable without being anchored.
What type of fabric works best for window seat cushions?
Choose durable, easy-to-clean fabrics like canvas, outdoor fabric, or performance upholstery. These materials resist stains and hold up well with daily use.
How long does it take to build a window seat?
A basic window seat takes about 1-2 days to complete for beginners. This includes building, painting, drying time, and adding the cushion.